Introduction

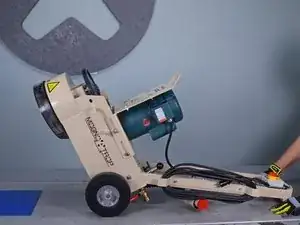
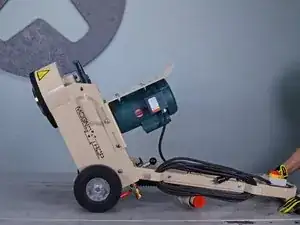
Follow this guide to replace the sheave on an EDCO Disk Grinder model 50200-HD.

This repair requires two people.

  1. 2fKORrEANeaqW1JG
    • Before you begin, ensure the device is powered down and cool to the touch.

    • Ensure the machine is unplugged.

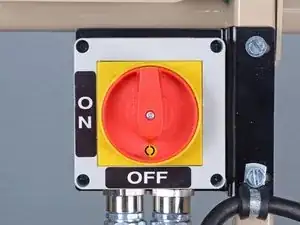
    • Turn the power switch counterclockwise into the OFF position.

  2. qlQqHsiyoXyhhfKn
    qlQqHsiyoXyhhfKn
    DfTQZ4WcIhUpEGkv
    loEkSD2eUquIVHVj
    • Use a 9/16 inch socket to remove the two bolts securing the weighted hood.

    • During reassembly, ensure the bolts are reinstalled with the washers and lock washers in the correct order.

  3. Wc1WX3GdGCOcg2sJ
    Wc1WX3GdGCOcg2sJ
    xhdglHaPhtjKK5OH
    vjUDM4xgamOKIJMb
    • Remove the weighted hood.

    • The weighted hood weighs 37 pounds. Wear gloves and handle with caution.

  4. qxJlXIxXd2Lio5Pw
    qxJlXIxXd2Lio5Pw
    DW2aOHVOI2qeWqMG
    • Use a 9/16 inch socket to loosen the bolts securing the motor mount.

    • Do not completely remove the bolts.

  5. jHTFBItigkDGZHiU
    jHTFBItigkDGZHiU
    JcRuC1xgIXBFG4by
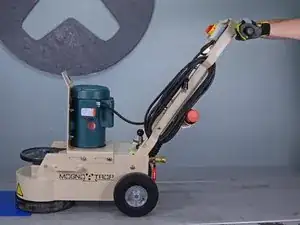
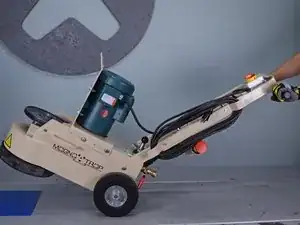
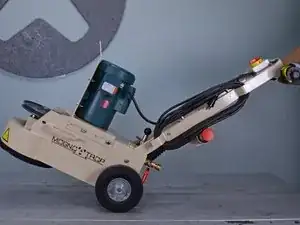
    • Slide the motor towards the front of the machine as far as it will go to loosen the belt tension.

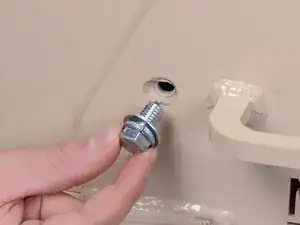
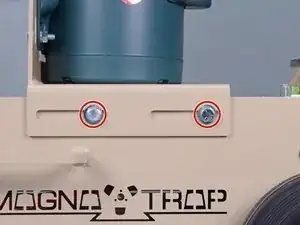
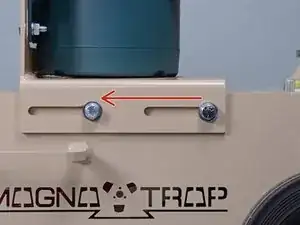
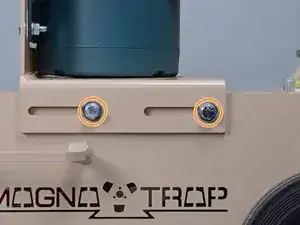
    • Use a 9/16 inch socket to tighten the four bolts back down to lock the motor in a position where there's the least belt tension.

    • During reassembly, have one person slide the motor mount towards the rear of the machine to tension the belt while the other person tightens the bolts.

  6. CxlltkrPAakBFsIc
    CxlltkrPAakBFsIc
    4pVMDY1KGVMTWUHH
    F46PnZZ4BRFN6twS
    • Tilt the front of the machine up and rest the handlebars on the ground.

    • Have someone hold down the handlebars to prevent tipping while working on the belt.

  7. 1g6wxmDU6wB14LWG
    1g6wxmDU6wB14LWG
    A1wmXfRuOdrENSwI
    FDluYZWRWlbeIbRR
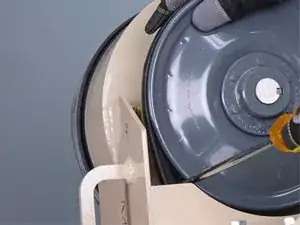
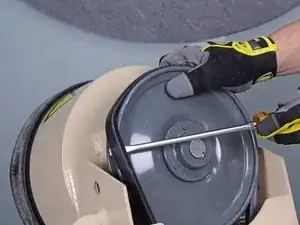
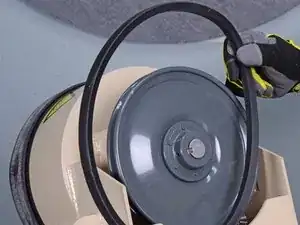
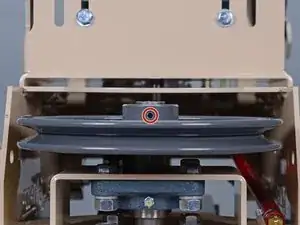
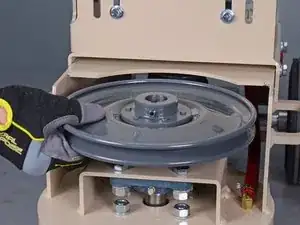
    • Pinch a flathead screwdriver between the belt and sheave.

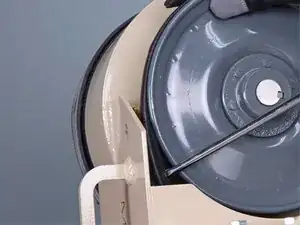
    • Rotate the sheave and pivot the belt up and away from its groove.

  8. SpMbZWgLmJN6YySQ
    SpMbZWgLmJN6YySQ
    T6eQltcQaxSiLv3y
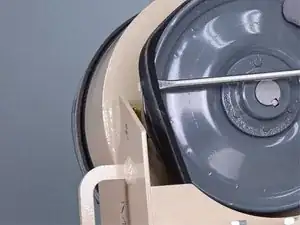
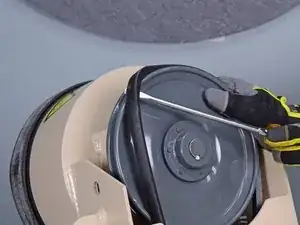
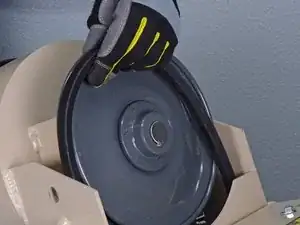
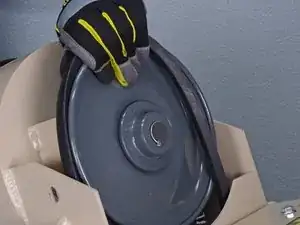
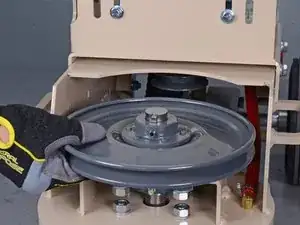
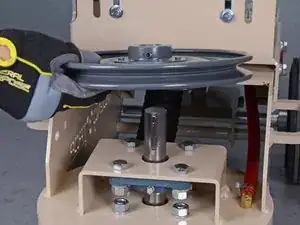
    • Continue to rotate the sheave with once hand while holding the flathead screwdriver with the other to fully dislodge the belt from the groove.

  9. 6UodBSpXwCMmoQbY
    6UodBSpXwCMmoQbY
    whcLMfUSGCUv5AGa
    XVM2AHFGkaUinEgr
    • Remove the belt from the motor pulley, then fully remove it from the machine.

    • Reassembly tip: loop the belt around the motor pulley before placing it on the sheave.

  10. AZFaobNRdUrboTlR
    AZFaobNRdUrboTlR
    F6VDhwV6GgCWKAvK
    DHlBOUPIFnnJAsBG
    • Reassembly tip: place the belt over the rim and rotate the sheave to guide the belt into the groove.

  11. ILTVBEsoZthnolNy
    ILTVBEsoZthnolNy
    qEqqdYU2aQXMEdMr
    W143XbILuyTayusH
    • Tilt the machine back into working position.

  12. TTyU1JkMIlcOtNaD
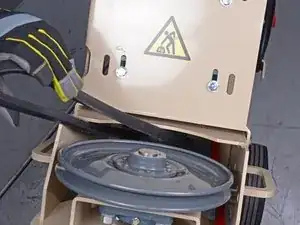
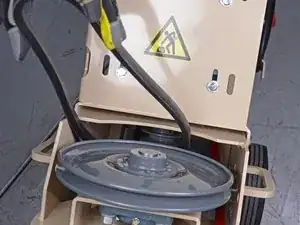
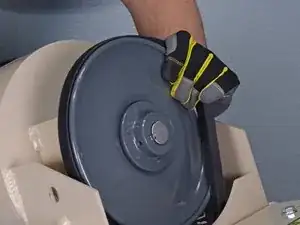
    • Use a 5/32 inch hex wrench to loosen the set screw securing the sheave to the head assembly shaft.

    • If the set screw is seized, use an impact driver with a 5/32 inch hex socket to loosen it.

  13. I5kECDPJAnaWdnW1
    I5kECDPJAnaWdnW1
    mlq1suL6GjxfcXFY
    ydPyo51OuNlcQcQ3
    • Lift the sheave straight up off of the head assembly shaft.

    I’m having a hard time taking mine off. It won’t slip out. The wheel on mine seems to be upside down compared to this one. Maybe mine is an older model? Idk how to remove it without damaging it. Please help

    Angel Ramirez -

Conclusion

To reassemble your device, follow these instructions in reverse order.

Sam Omiotek

Member since: 25/02/19

72005 Reputation

0 comments