Introduction
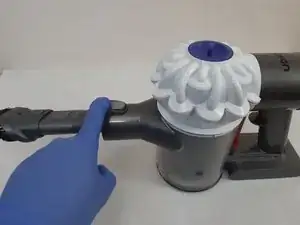
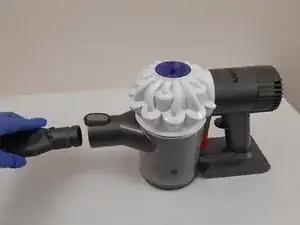
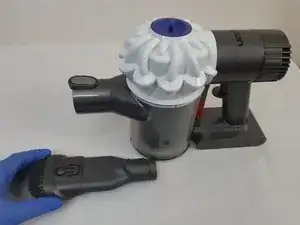
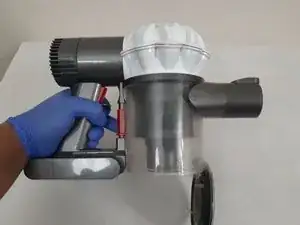
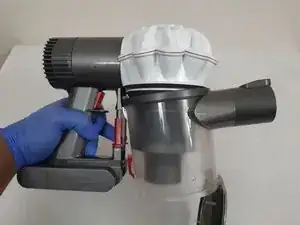
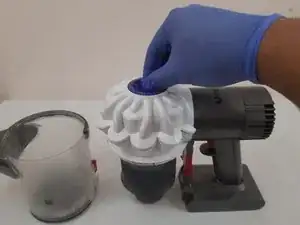
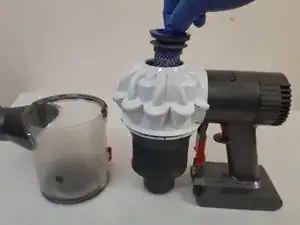
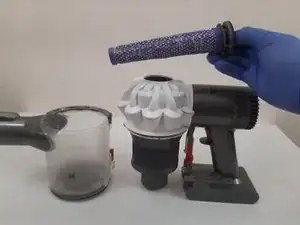
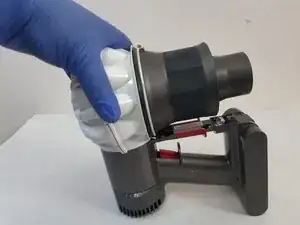
If your Dyson V6 Cord-Free vacuum’s cyclone/motor is damaged or weak and unable to operate, utilize this guide to replace the cyclone/motor.
The cyclone/motor is the main component that allows the vacuum to operate and suck up dirt and debris as intended with speed and efficiency. Using this guide will showcase how to replace the old/damaged cyclone with a spare or new replacement.
Note that if all tools and procedures are used/followed properly, you should not have to use any excessive force. If things seem stuck and you are getting frustrated, be patient and check that you are using the tool correctly during disassembly and have everything properly aligned during reassembly. Good luck!
Tools
-
-
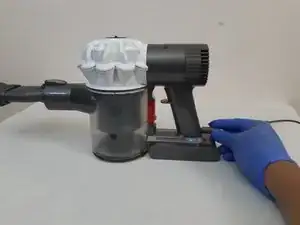
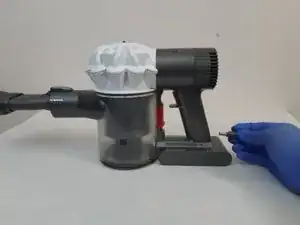
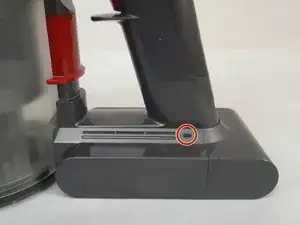
If there is a blue light on the base of the device just below the handle, the device is on. Make sure no light is on.
-
-
-
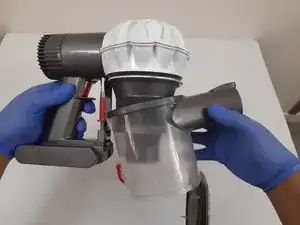
Push the red tab against the bin once to open the dust bin.
-
Push the red tab against the bin a second time to release the bin from the cyclone.
-
-
-
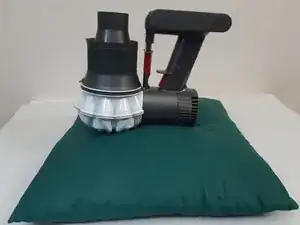
Rest the Dyson upside down on a cushion or something soft.
-
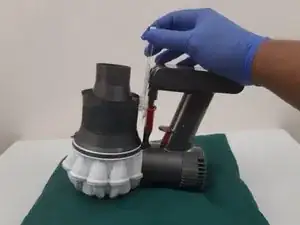
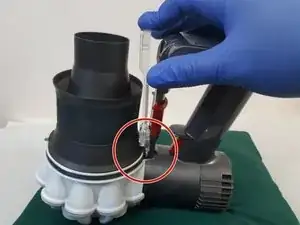
Insert the separator tool between the handle and the cyclone/motor.
-
In the gap you will notice 2 white pins. This is what the separator tool is pushing.
-
-
-
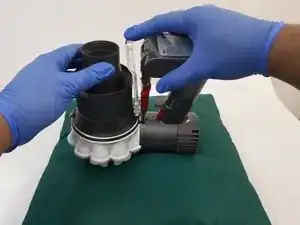
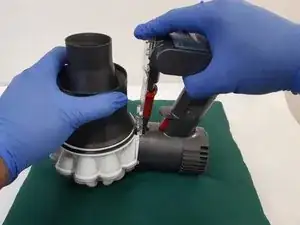
With one hand, apply pressure on the tool whilst the other hand holds the cyclone.
-
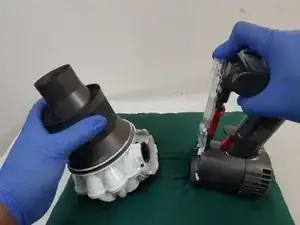
At the same time, slightly pull the cyclone away from the handle/main component until they are separated.
-
-
-
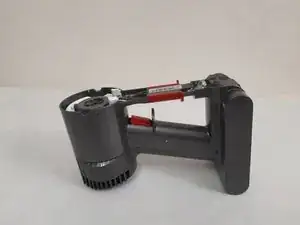
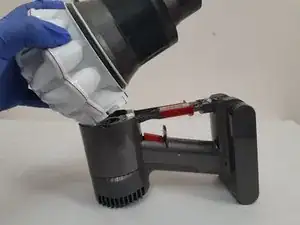
Move the handle to a firm surface, then with the new cyclone/motor align the top edges of the new cyclone/motor to the interface on the handle.
-
Apply a decent amount of pressure on the new cyclone/motor until you hear it click with the handle.
-
To reassemble your device, follow these instructions in reverse order.
