Introduction
No tools or skills are needed to remove the filters. This is one of the most basic and useful replacements when dealing with these vacuums.
-
-
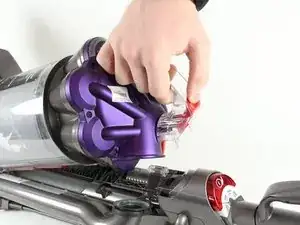
Find and press firmly on the red button located above the dust chamber.
-
Hold the handle and pull away from the vacuum base when the button releases the dust chamber.
-
Set off to the side.
-
-
-
Find and firmly press the purple buttons on each side of the pre filter assembly.
-
When the button releases the filter and its casing, lift straight out of vacuum base.
-
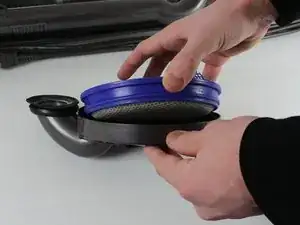
After removing the filter in its casing, hold the case with one hand while gently prying the filter out with your other hand.
-
-
-
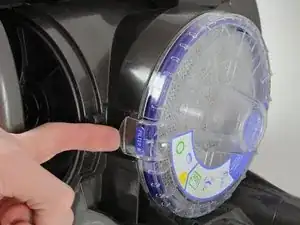
Find the tab for the post filter cap and pull away from base of vacuum to release the top.
-
When the cap has been swung out of the way, pry the post filter out gently (using same technique as before with pre filter).
-
To reassemble your device, follow these instructions in reverse order.


