
Introduction
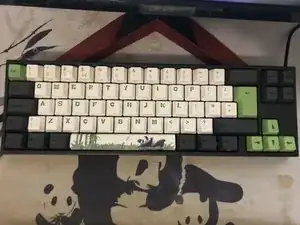
Use this guide to replace or reuse your keycaps on a Ducky x Varmilo MIYA Pro Panda mechanical keyboard to restore the performance and responsiveness of the keyboard to perfect condition.
If you use your keyboard daily for multiple hours, you may have noticed over time the decrease of responsiveness on your keycaps due to excessive use. This is also due to the collection of small debris over time that can be found in between and under each keycap making them feel sticky or slow. This can be fixed through replacing or restoring the keycaps displayed in this guide.
If your keyboard keys are unresponsive at all then it is best to troubleshoot the switches (mechanisms under the keycaps) and or maybe thinking of replacing the keyboard itself.
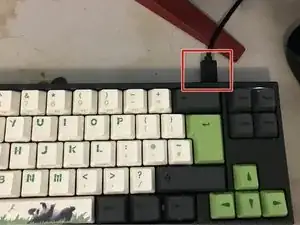
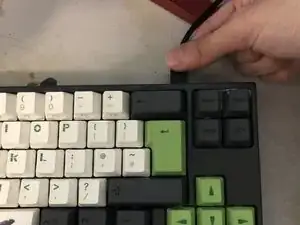
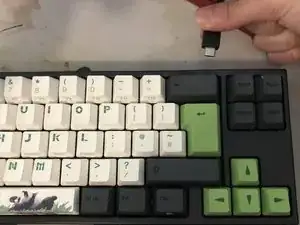
Be sure to perform this procedure only when your keyboard is unplugged (Turned Off).
Tools
-
-
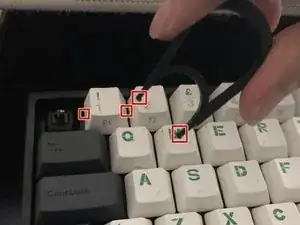
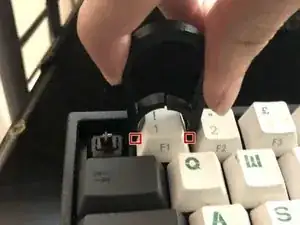
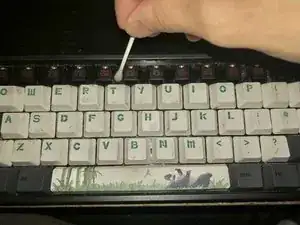
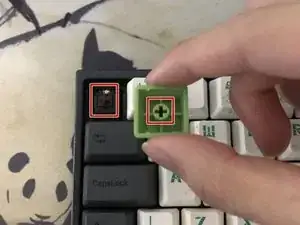
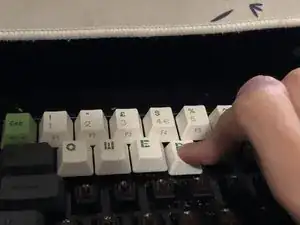
Place the two latches on the keycap puller under each side of the keycap.
-
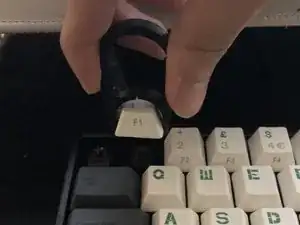
Pull vertically up to remove the keycap.
-
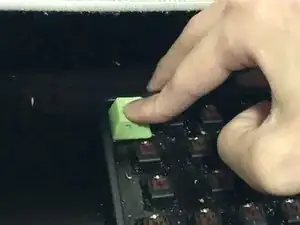
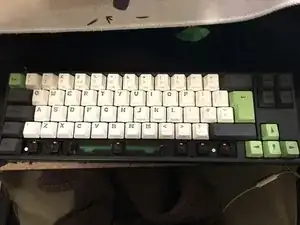
Continue to remove the rest of the keys on the top row of the keyboard.
-
-
-
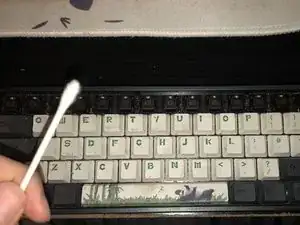
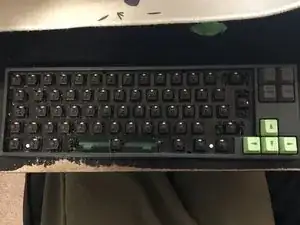
Repeat Steps 3 and 4 until all keycaps are removed and the debris in between the keys has been cleaned.
-
-
-
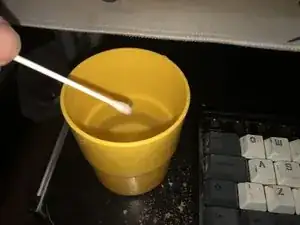
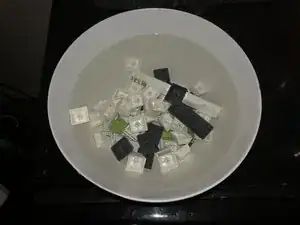
Submerge all the keycaps in a bowl of room temperature water.
-
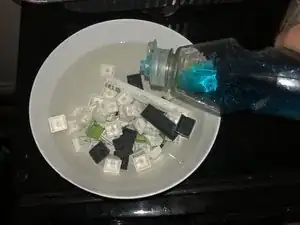
Add a few drops of dish detergent and mix the solution around.
-
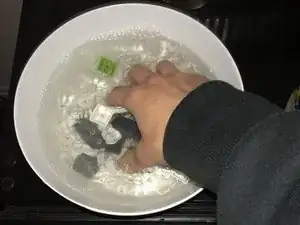
Let the keycaps soak in the water solution for 10-15 minutes.
-
-
-
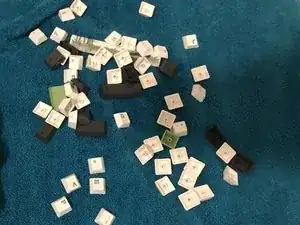
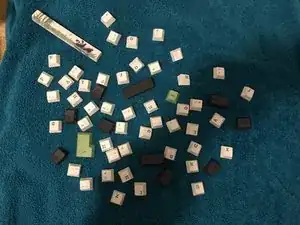
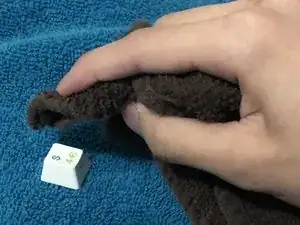
Remove the keycaps from the water solution and place them on a towel.
-
Scrub each keycap gently with a dry towel until each keycap is dry.
-
Air dry the keycaps for 30 minutes to dry up any excess moisture.
-
-
-
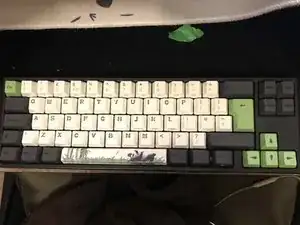
Place each keycap in its original position.
-
Push vertically down once the shape under the keycaps align with the placeholder.
-


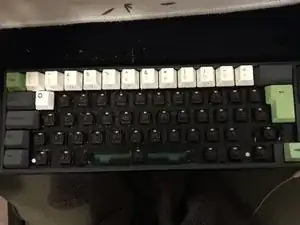
Refer to step 10 to reassemble your keyboard. After following all the steps in this repair guide your keyboard should feel brand new and the responsiveness of your keys should be faster than ever.