
Introduction
This guide will help you replace the switches on your Ducky One 3 RGB keyboard. Before you perform this replacement, make sure you have new switches ready to be swapped in. Any switches that are 3-pin should fit in the keyboard. In terms of the switch/keycap puller, any should work.
This guide also includes a cleaning process, which is completely optional, hence the massive difference in minimum and maximum time required.
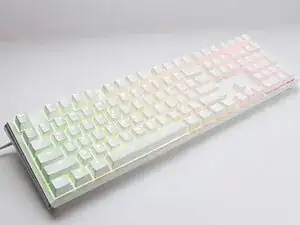
If you are like me and have the Ducky One 3 RGB keyboard, you might notice that after a few months of use, this keyboard starts to double-click keys. Basically, if you click the letter e on the keyboard, it will come out as "ee" instead of just "e". A lot of people who own this keyboard experience this issue, so don't be alarmed if it happens to you. The best way to fix this is to replace your switches altogether. This guide will help you do just that!
Tools
Parts
-
-
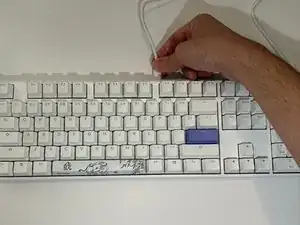
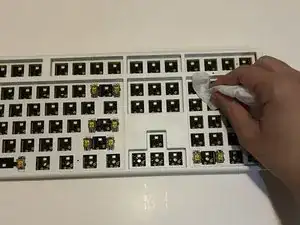
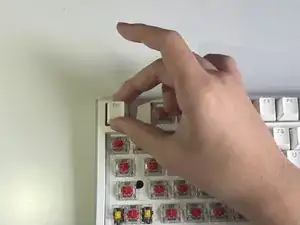
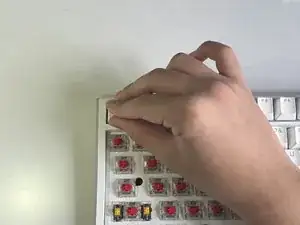
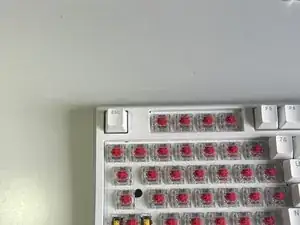
Use the keycap remover tool to pull off all of the keycaps.
-
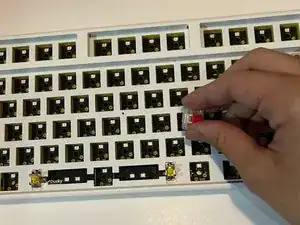
Push the keycap remover over the keycap until it goes underneath on both sides (see picture 2) and pull it up.
-
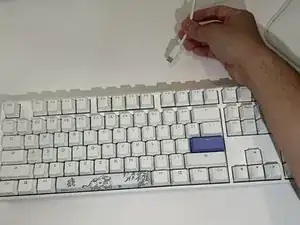
Optional: Take a photo of your keyboard before removing the keycaps to use for future reference when putting the keycaps back.
-
-
-
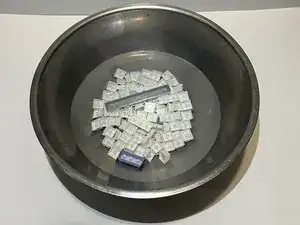
Place all of the keycaps into a large bowl.
-
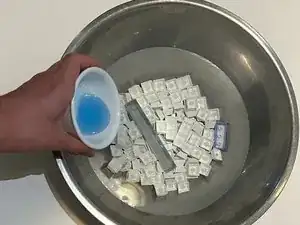
Add water until keycaps are all fully submerged.
-
Add dish soap.
-
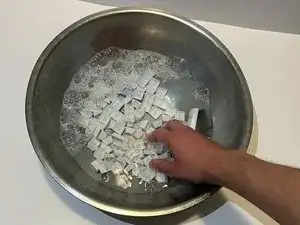
Use your hands and give the keycaps a wash.
-
Rinse the soap off the keycaps with water under the sink and set them aside on a towel to dry.
-
Face the keycaps upwards so that the characters/letters are towards the ground.
-
-
-
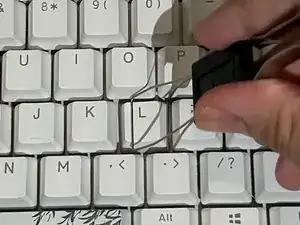
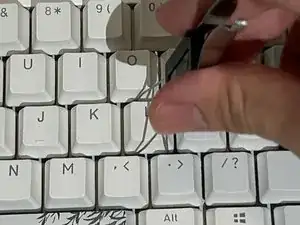
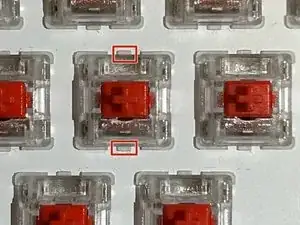
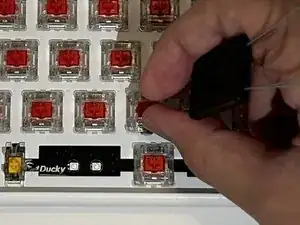
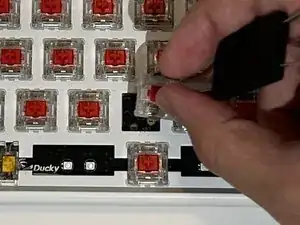
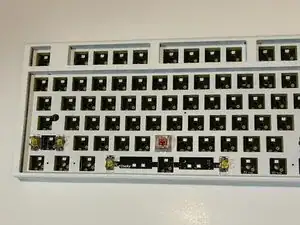
Use switch puller tool and pull out all the switches.
-
When pulling, clamp down on the buttons on the top and bottom of the switches.
-
-
-
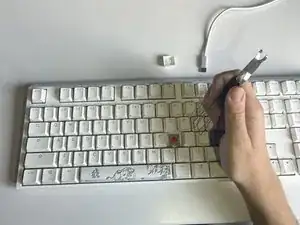
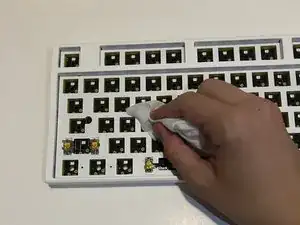
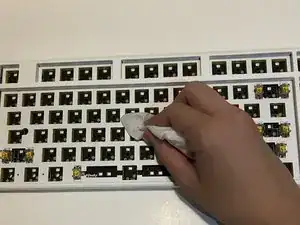
Take the new switches and push them into the empty slots.
-
Push the switches in so that the 2 pins are at the bottom. There are holes in the keyboard switch compartments to guide you.
-
-
-
Put all keycaps back onto keyboard. This can be done by aligning keycaps and pushing.
-
If you took a picture of your keyboard in step 2, refer to that image to put keycaps back. Otherwise, search up an image online to help.
-


Your keyboard is now complete. If you wish to switch back to your old switches, follow the guide again from the beginning.
