Introduction
In this guide I want to show you guys how to change the keyboard switches in your Ducky One 2 Mini. This is for those beginning to enter the PC world and want to customize your switches or replace them with different ones. Before you proceed, it is recommended that you have a little experience with repairs and disassembly. Although you don’t need to have prior experience with hardware repair, you should have the basic knowledge and understanding of soldering. If you would like to learn how to solder click here.
-
-
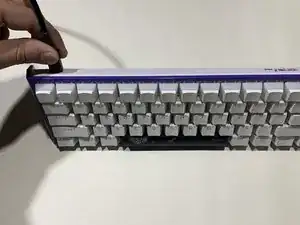
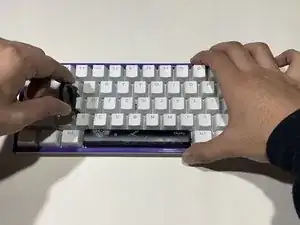
Place the keycap puller over the key you want to remove and push down until you hear a click from the key.
-
Use your opposite hand to hold the keyboard down and pull up with the key puller.
-
Pull the cap with a small amount of force until the keycap is removed. Do this until all keys are removed.
-
-
-
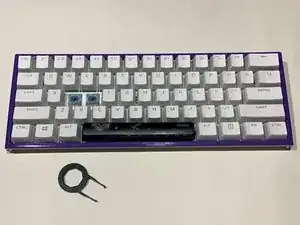
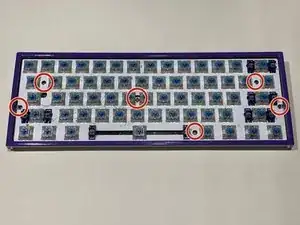
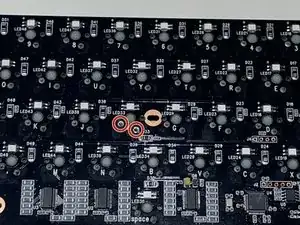
Once all caps are separated from the keyboard, you should find six Phillips #00 screws.
-
Use the Phillips #00 screwdriver to remove all six 2.00 mm screws from the board and place them somewhere safe.
-
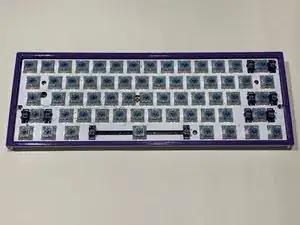
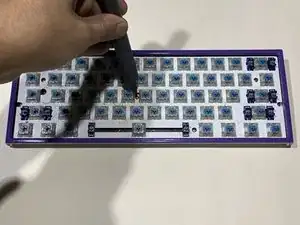
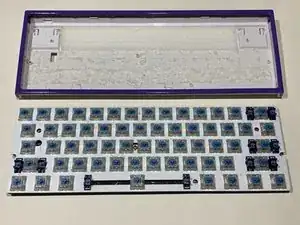
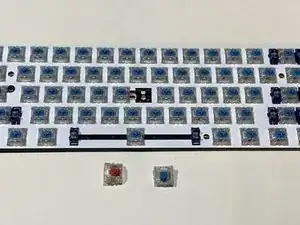
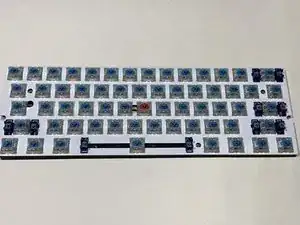
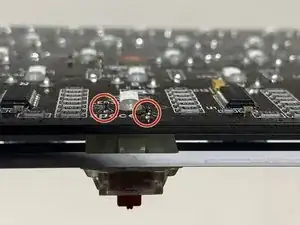
Separate the board from the base.
-
-
-
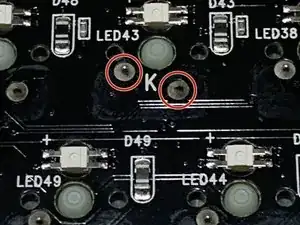
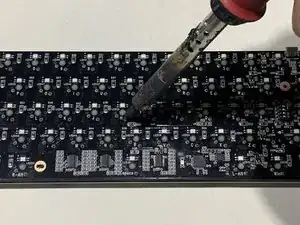
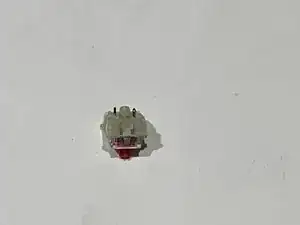
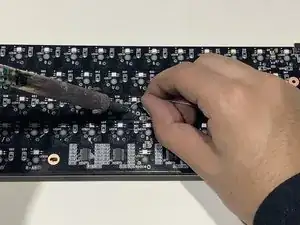
Flip the board over and you will notice two soldered pins near each letter on the keyboard.
-
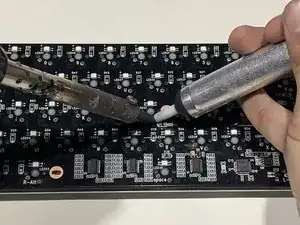
Hold the soldering iron on the pins for a few seconds and remove with the de-soldering pump.
-
-
-
Once both pins are removed, flip the board over again.
-
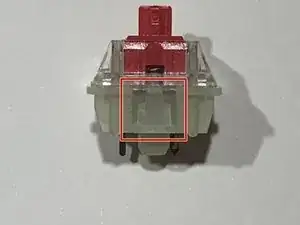
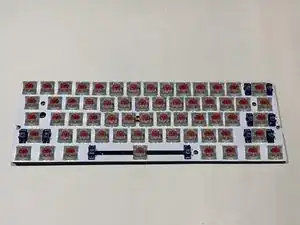
Use the switch puller, place the tool vertically over the switch. You will notice two tabs on the switches, push the tabs inwards.
-
With the tabs pushed in, pull the switch puller up and the switch should separate from the board.
-
-
-
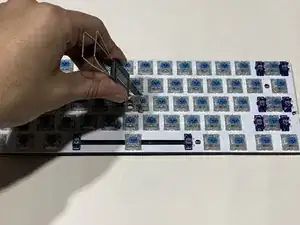
To place the new switch into the board, line up the two pins on the switch with the slots on the board and push down on it until you hear a "click" sound.
-
Repeat steps 4-6 until all switches are replaced.
-
-
-
Flip the board over and you will see the two pins inside the slots for the letters.
-
Use the soldering iron to solder the pins to the slots on the board until the pins are covered in solder.
-
You should now have the same keyboard you originally had but with new switches! Thank you for following my guide and I hope you are satisfied with your new keyboard.
3 comments
Can you add new switches and not solder them in ? to make them easily servicable...
Soldering is required. It acts as glue but also completes the electrical circuit between the switch and the rest of the board. Without soldering, no key presses from the switch will be detected
Hey, can you please confirm what type of switches are used, i am confused as there are many types of switches, eg. SMD, RGB, 5 pin, 3 pin, etc. Also, can i add any hot swap adapters to the board to make the kayboard hot swappable? I've seen a bunch of these pins online and was wondering if they could be used on this keyboard.
PS: I have a Ducky One 2 SF, and I'm assuming your guide on the Ducky One 2 Mini should work for my keyboard too.