Introduction

Prerequisite-only instructions for disconnecting the battery in the Samsung Galaxy S8+.

  1. OJ4EoNU6lvwmrn6C
    OJ4EoNU6lvwmrn6C
    To1LTjPvpNYBtFZS
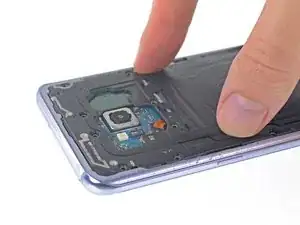
    • Remove the eleven 3.7 mm Phillips screws securing the wireless charging coil + antenna assembly.

    • If any screws are difficult to remove even when fully loosened, you can pull them out with tweezers.

  2. FJR1UamlLtD33TiP
    FJR1UamlLtD33TiP
    YmP6Jkay2FaRacuO
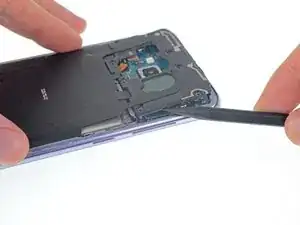
    • The wireless charging coil + antenna assembly is also secured with small plastic clips.

    • Use a spudger to gently pry up the plastic in the marked areas to pop the clips free.

    The spudger tool has a pointy end and a flat end, it’s not clear which end should be used. Furthermore, the flat end is too wide to insert into the area shown, so the pointy end would seem obvious, but there is no clear indication whether it should be used to push any tabs in the area referenced, which I couldn’t find any, or if you’re meant to just sort of pry it in there until the area pops up, which is what I had to do. Then use the flat end of the spudger to lift it up gently after releasing, or popping the opposite side up as well.

    Mark Velasco -

  3. nf1GEgcgcLaIkBMN
    nf1GEgcgcLaIkBMN
    h2Qa2QyaMIa42H46
    NeAUnJrySrOeycWx
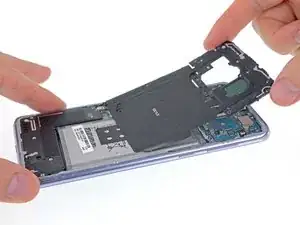
    • Remove the wireless charging coil + antenna assembly.

    • To reinstall, first insert the top edge of the assembly into the phone's frame, and then gently press down on the rest of the assembly to snap it into place.

  4. PGrD2RYGY2WXySuo
    PGrD2RYGY2WXySuo
    dZUELWBeMCugsJZR
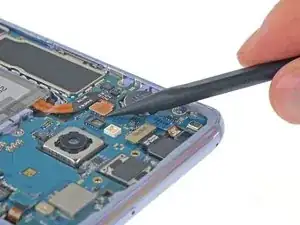
    • Use a spudger to disconnect the battery by prying the connector straight up from its socket.

Conclusion

To reassemble your device, follow these instructions in reverse order.
Jeff Suovanen

Member since: 06/08/13

427153 Reputation

0 comments