
Introduction
Tools
-
-
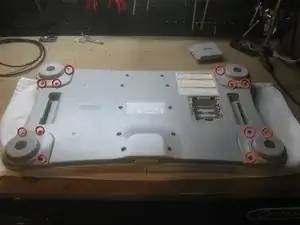
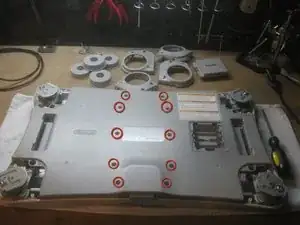
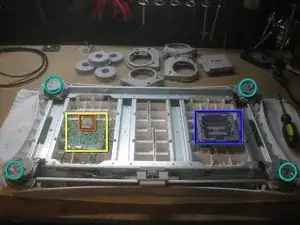
Lift grey shell off and place to the side to reveal:
-
ADC and Logic board
-
Bluetooth module
-
Strain gauges
-
Battery holder
-
-
-
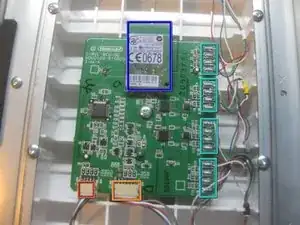
The ADC and Logic board contains:
-
Bluetooth module
-
Power button connector
-
Battery and sync button connector
-
Strain gauge wheatstone bridge connections
-
The topmost connection for each of the four bridge connections is the ground; relative to this, the two middle connections should be at 1.2 VDC, and the bottom should be at 2.7 VDC
-


To reassemble your device, follow these instructions in reverse order.
5 comments
Great stuff Pete, being able to fix the wifi board got me mucho street cred with " her indoors " and lots of other goodies that go along with that
HENRY -
Can I take out the battery box without removing the bottom?
No, you can't. You will have to follow this procedure completely.
Thank you! I was able to fix our 10 year old balance board.
the kids think I’m a roakstar, for now anyway.