Introduction
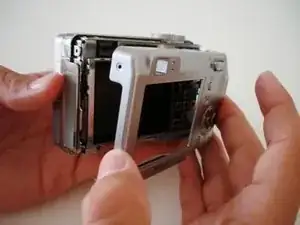
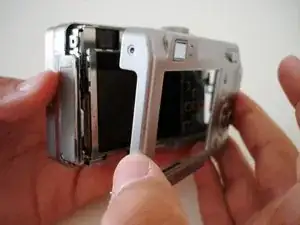
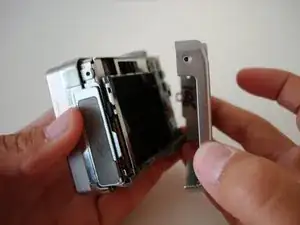
We will be taking off the back cover, or case, of the camera to gain access to the internal components including the speaker, LCD screen, lens, and motherboard.
Tools
-
-
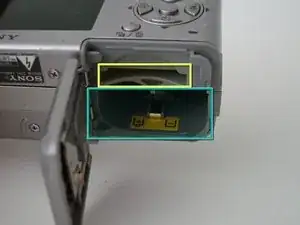
Remove Memory Stick Pro from the card reader slot on the bottom of the camera.
-
Remove both batteries.
-
-
-
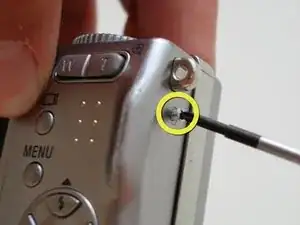
Remove the single visible screw from both sides of the camera.
-
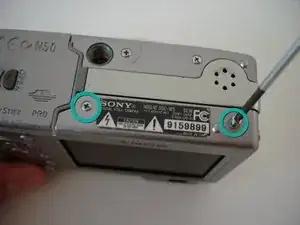
Remove the two screws that are adjacent to the warning label, which is on the underside of the camera.
-
Conclusion
To reassemble your device, follow these instructions in reverse order.