Introduction

This guide details the removal of the DVD-ROM from the disc drive tray.

  1. usapiMdDDBFeDDhd
    usapiMdDDBFeDDhd
    6j1Fmc6PY2u6c6GG
    • Pull on outer latch.

    • Lower door until it is level with your work surface.

    • Before working on the computer make sure it is not plugged into a power supply, then touch a metal object. This discharges static electricity, which could damage the computer.

    Fino a li lo intuisce anche un bambino. Io volevo sapere come levare l'altro sportello senza rompere niente. Ma una vodtra risposta non la vedo.

    giorgus -

  2. bYrBAoKQB2vIiDbJ
    bYrBAoKQB2vIiDbJ
    Hlx1ERZvtFTvpKWV
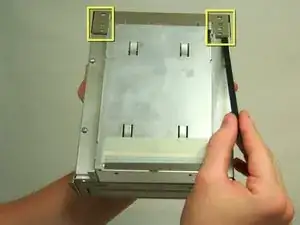
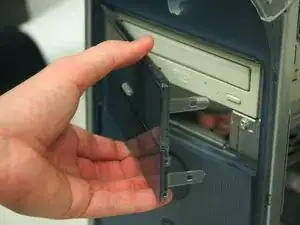
    • Removing the faceplate.

    • On the inside of the case, find the two plastic tabs.

    • While depressing the tabs, remove the faceplate by pulling and rotating outward.

  3. LKuPlSbOpAxtOQYr
    • Remove the two screws on the front of the drive with the Phillips #1 screwdriver.

  4. fQJI43Ygmsc5fUDn
    fQJI43Ygmsc5fUDn
    aMpsJsJOhMIFdtOW
    qVT6bQXwqfHkyMCq
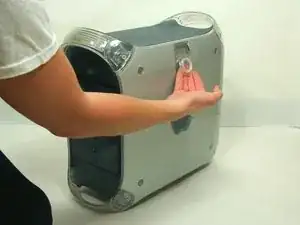
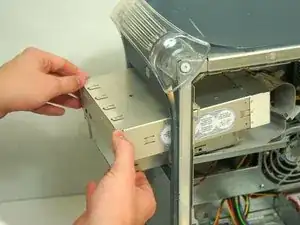
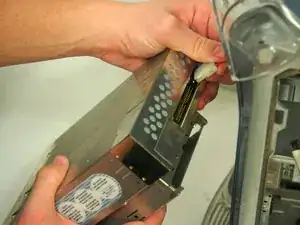
    • Pull the drive out to allow access to the power and ribbon cables. Do not fully remove.

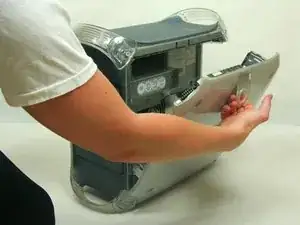
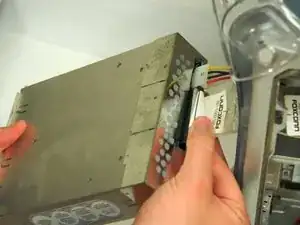
    • Remove both the power and ribbon cable.

    Just a Thank You note. What a great and absolutely clear guidance. Apart from a fairly current Windows/Linux set-up, I really like to work on my old Macintosh G4 running Mac OS 9.2.1 Your instructions just helped me to make that machine even more useful. And yes, I am using it for productive stuff. Thanks again and keep up the good work. Alex, Germany.

    Axel Stoecker -

  5. FAOIjVXpFfvtCvT4
    FAOIjVXpFfvtCvT4
    5pcsP5Ciibn3eYAd
    QUflZC4g6dCBLwVi
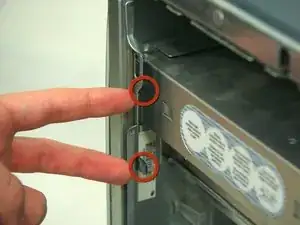
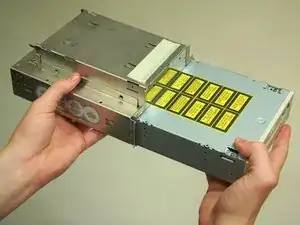
    • Remove DVD drive from the drive bay.

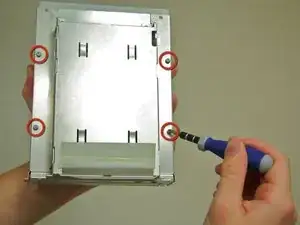
    • Lift the two metal tabs on the back of the shielding and remove.

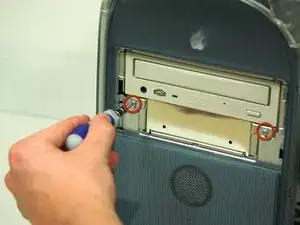
    • Remove the four screws on the bottom of the drive with the Phillips #1 screwdriver.

    • Slide out DVD drive.

Conclusion

To reassemble your device, follow these instructions in reverse order.

Stephen Scruggs

Member since: 20/01/10

2238 Reputation

0 comments