Introduction

  1. WYfIkmwZig5FRnNc
    WYfIkmwZig5FRnNc
    JNeEJKUcZRYypPgh
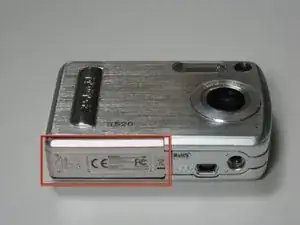
    • Place your thumb on the battery cover and push left towards the arrow.

    • The cover will release and pop open.

  2. DTcqwMe3NS6vRyS6
    • Remove the batteries from the camera.

  3. dyooU243Ipgvg1tY
    • Remove four 3 mm screws on the right side of the camera using a Phillips #1 screwdriver.

    • This will release the front and back casings.

  4. ulLGwnwPLXLgAGLR
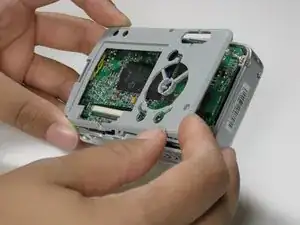
    • Use your nail or a flat object to pry up the edge of the front casing. Push the casing up and back.

    • Repeat this step for the back casing.

  5. Y1KvqUBR15mxIIyf
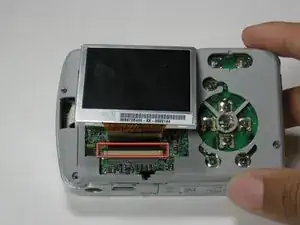
    • Under the screen, locate the black plastic strip that sits above the white plastic strip.

  6. iRcUrH5wTCnqJJnt
    • Pull both sides of the black piece upward-about a mm.

    • The black plastic piece is not meant to come all the way off, just enough to release the screen.

    • Once the piece is lifted carefully slide the screen out of the slot.

  7. OdJdZXK1wXHUGnEF
    • Unscrew and remove the four (6 mm) screws on the inside casing.

  8. l2eethfNpWYli5IA
    • Pull the inner casing off of the camera.

  9. BSOYV2J5XemPeoBx
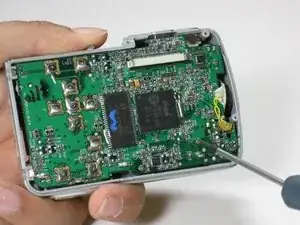
    • Unscrew and remove the four (4mm) screws from the logic board.

  10. nA3xt5E2xqZAOlUJ
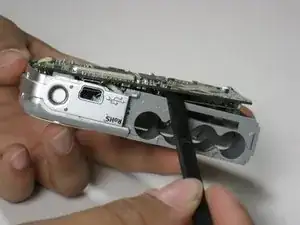
    • Use a spudger to pry up all four sides of the logic board and slide it out of the camera.

Conclusion

To reassemble your device, follow these instructions in reverse order.
Dani

Member since: 24/06/10

21 Reputation

0 comments