Introduction

The Polaroid a520 Camera cover may be removed/disassembled by the consumer at home, with no need for manufacturer involvement. This guide will assist users in the process by showing step-by-step which components should be removed for this purpose.

Note: this guide is only for the purpose of aiding in repairs to the Polaroid a520, and only for repairs that may be accessed through the battery cover.

  1. WYfIkmwZig5FRnNc
    WYfIkmwZig5FRnNc
    JNeEJKUcZRYypPgh
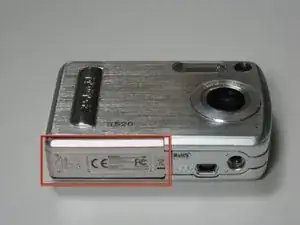
    • Place your thumb on the battery cover and push left towards the arrow.

    • The cover will release and pop open.

  2. DTcqwMe3NS6vRyS6
    • Remove the batteries from the camera.

  3. dyooU243Ipgvg1tY
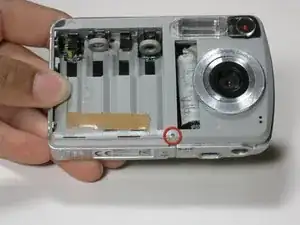
    • Remove four 3 mm screws on the right side of the camera using a Phillips #1 screwdriver.

    • This will release the front and back casings.

  4. ulLGwnwPLXLgAGLR
    • Use your nail or a flat object to pry up the edge of the front casing. Push the casing up and back.

    • Repeat this step for the back casing.

  5. Y1KvqUBR15mxIIyf
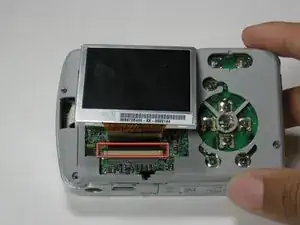
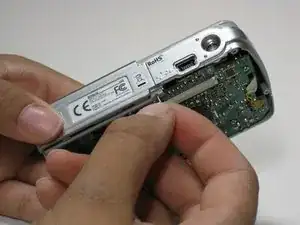
    • Under the screen, locate the black plastic strip that sits above the white plastic strip.

  6. iRcUrH5wTCnqJJnt
    • Pull both sides of the black piece upward-about a mm.

    • The black plastic piece is not meant to come all the way off, just enough to release the screen.

    • Once the piece is lifted carefully slide the screen out of the slot.

  7. 4OMSBd4VuMQZpndt
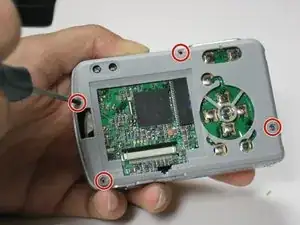
    • Remove the four 6mm screws from the inner casing using a Phillips #00 screwdriver.

  8. 3wNZZgxqsKscLQtU
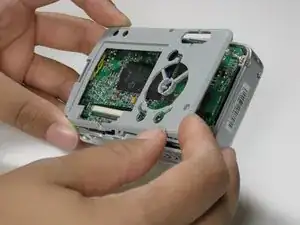
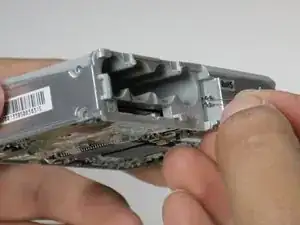
    • Pull the inner casing off. If all the screws are out, the casing will come off easily.

  9. K3MjLNJPFBcBKcKY
    K3MjLNJPFBcBKcKY
    Ek5IjMo3wiABB1p2
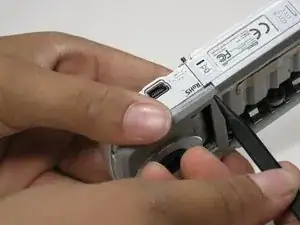
    • Use the pointed end of a spudger to push the push-pin partly through.

  10. bw2Wpi22EFRkMZqF
    • From the other side pull the pin all the way out. The battery cover will fall off.

  11. VtfIHVsMp5y66HKD
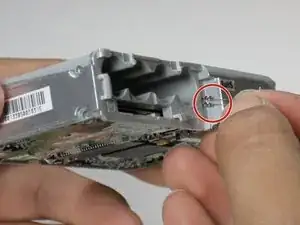
    • The spring can now be pulled out of its resting position/holes.

    • Once removed, be sure to set the spring somewhere you won't lose it.

Conclusion

To reassemble your device, follow these instructions in reverse order.
Dani

Member since: 24/06/10

21 Reputation

0 comments