Introduction
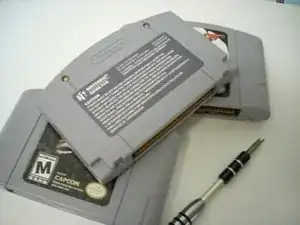
When games have been in storage or used for years on end, they need to get a good dose of TLC. In extreme cases you need to crack them open to get everything. It can be tense opening up a loved game in the fear that you'll destroy it.
Alternatively, you can open up a game no one liked and make it into an innocuous enclosure for something else.
Parts
-
-
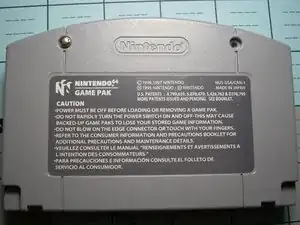
First flip your game over and you'll see two screws using the 3.8mm "Gamebit" screwdriver bit. A 3.0U Spanner bit can also get them out.
-
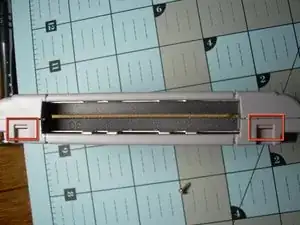
Take the screws out and peel the case off starting from the top taking care not to force it due to the tabs at the bottom of the cartridge. Outlined in Red
-
The two halves of the case should come apart easily.
-
-
-
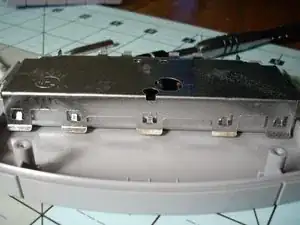
On the inside of the front plastic casing the game board and metal shielding are attached with two Phillips head screws. Unscrew them to remove the shielding and access the game board.
-
The top of the metal shielding held on with pressure tabs. Be sure to press down firmly when reassembling.
-
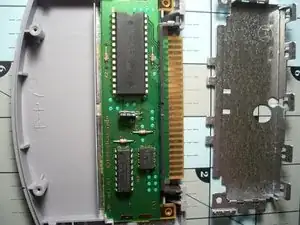
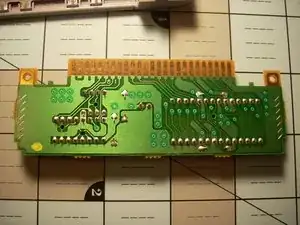
With the shielding off, the main circuit board and pins can be seen.
-
-
-
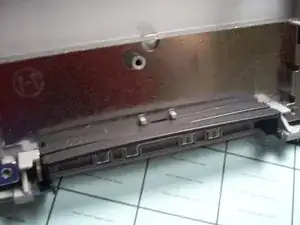
The only thing holding in the board is the plastic shield on the bottom of the cartridge. No screws are holding it in and is easily removed.
-
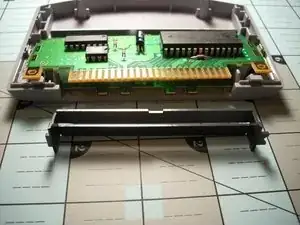
Now you can fully take out the cartridge board from the casing.
-
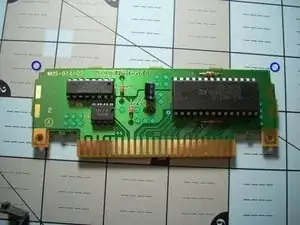
Here you can fully clean the pin set and inspect for damage to the circuit board.
-
-
-
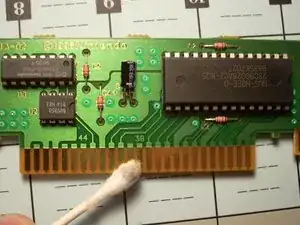
Cleaning the pins is the easiest part; use a cotton swab and either a rich mixture of isopropyl alcohol or Brasso. Other people swear by an eraser(the white kind).
-
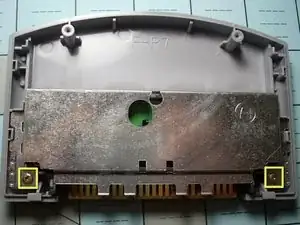
While reassembling the cartridge, remember to put the lower plastic shielding underneath the two pins on the outer casing. There are two like this on both sides.
-
To reassemble the cartridge, follow these instructions in reverse order.
One comment
Super surprised when I realized the ifixit kit has a gamebit.
Andrew -