Introduction
Tools
-
-
Start with chair in fully up right position. Might need to carefully reapply power to move chair for easier fastener access
-
-
-
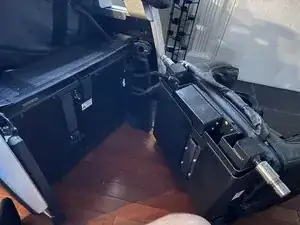
Surprisingly easy to remove the leg portion. This is very useful for decreasing the weight of the chair if you need to move it.
-
You might be able to get to the side securing fasteners with out removing the leg portion, but it is easy to do.
-
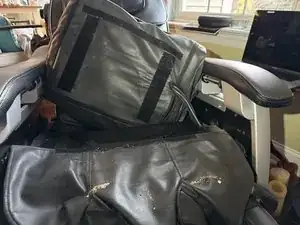
Carefully lift up on the main seat cushion. It is just velcro (ed) in place
-
then pull the top of the leg cushion portion forward
-
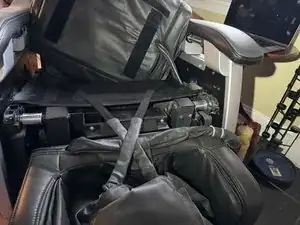
Next release the thin crossed velcro straps by pulling them forward as well
-
-
-
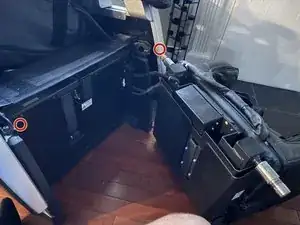
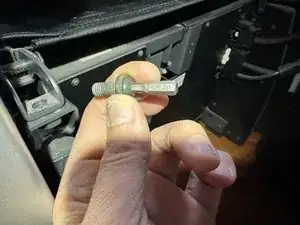
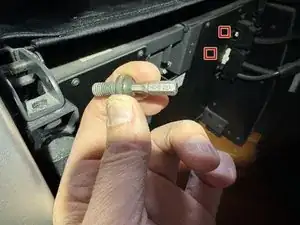
Use 5 mm hex to remove the two bolts to the left or the two circles in the drawing
-
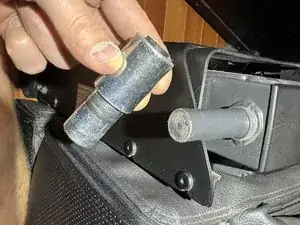
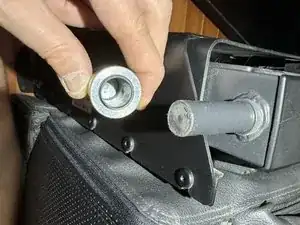
then lift up on the securing points latches
-
then you can lift up slightly on the leg portion to move it away from the chair
-
carefully as it is still attached electrically
-
the leg portion does had wheels on it so it moves easily after you lift it free (it is quite heavy)
-
-
-
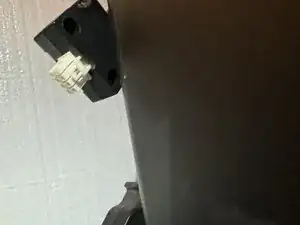
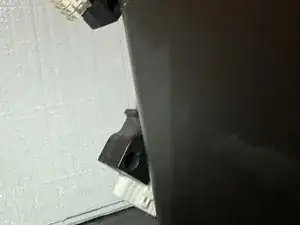
with a small flat head screw driver or similar, gently push the center of the connector toward the outside of the chair as you pull the entire connector forward.
-
There are two you need to disconnect to the right o the red squares.
-
2nd and 3rd photos shows them disconnected
-
that is it now the leg portion can be rolled away. There are wheels on the bottom of it.
-
To reassemble your device, follow these instructions in reverse order.
