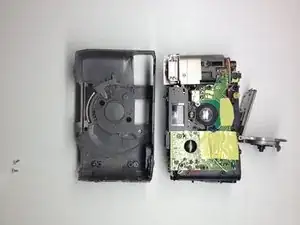
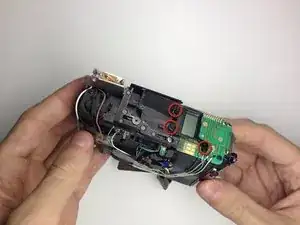
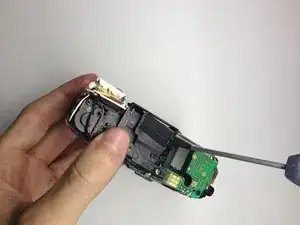
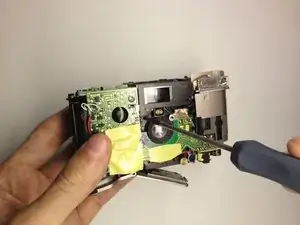
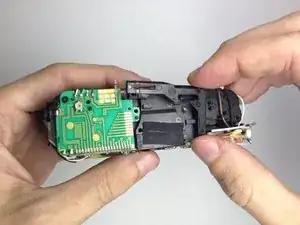
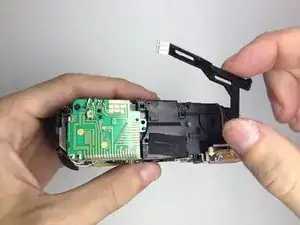
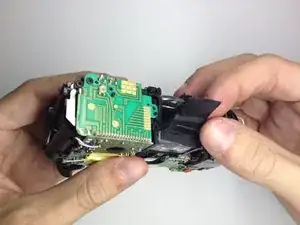
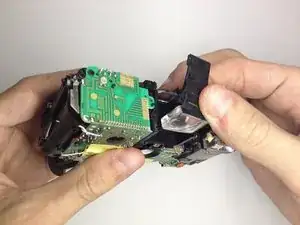
Introduction
Tools
-
-
Turn off the camera.
-
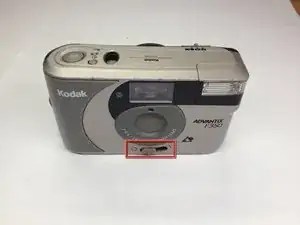
Locate the power switch on the front of the camera below the camera lens.
-
Slide the switch to the off position.
-
-
-
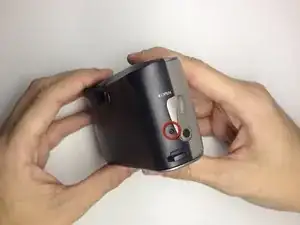
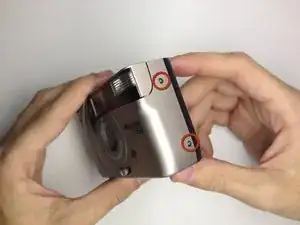
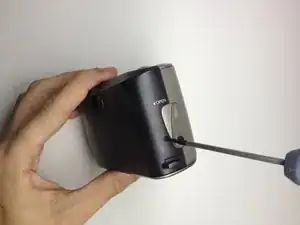
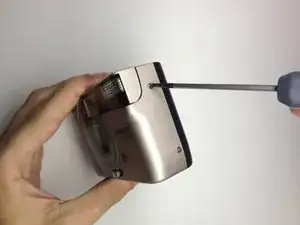
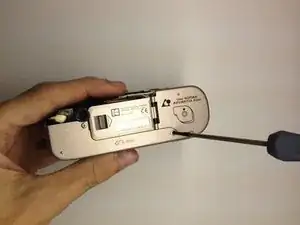
Locate the 3 screws that hold the back cover to the camera.
-
One screw is located on the film opener side of the camera.
-
The other screws are located on the opposite side of the camera.
-
-
-
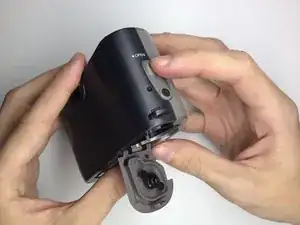
Open the film door to remove the back cover.
-
Slide the film door lever to the left until the film door opens.
-
-
-
Use a plastic opening tool to pry the case open until a small gap is present.
-
Repeat this process at the top and bottom of the film door to loosen it.
-
-
-
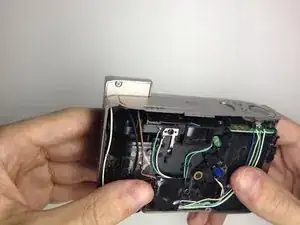
Grab the top and bottom of the case firmly as shown.
-
Gently remove the back of the camera case with a slight twisting motion.
-
-
-
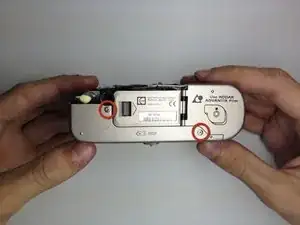
Locate the 3 screws on the camera that hold the front cover of the camera to the camera body.
-
The first 2 are located on the bottom of the camera.
-
The last screw is located behind the flash module.
-
Turn the camera on, and raise the flash module to locate the flash module screw.
-
-
-
Remove the 2 screws at the base of the camera housing.
-
Use the Phillips #00 Precision Screwdriver and remove the screws.
-
Repeat this process for the screw behind the flash module.
-
-
-
Remove the screw located under the flash module using the Phillips #00 Precision Screwdriver.
-
-
-
Remove the flash cover.
-
Remove the flash module by twisting it up and outward of the camera housing.
-
The cover can now be be removed.
-
-
-
Remove the film door lever.
-
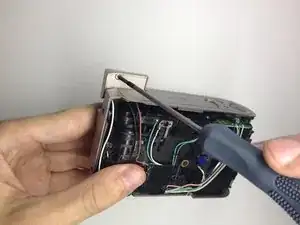
Remove the screw holding the film lever in place by using a Phillips #00 Precision Screwdriver.
-
Using a plastic opening tool, gently pry the switch upwards to remove it.
-
-
-
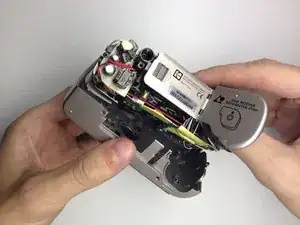
Remove the front cover.
-
Insert your thumb in the film hole and gently pry the bottom loose.
-
Once the front is loose, gently pull it out.
-
-
-
Remove the LCD.
-
Gently pry the LCD and plastic bezel upward with a plastic opening tool.
-
Remove LCD and replace as needed.
-
-
-
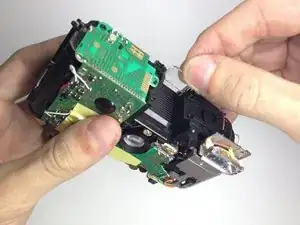
Remove the 3 view finder covers.
-
The first one is metal and comes off easily.
-
The last two are plastic and tend to fall off, so gently remove them.
-
-
-
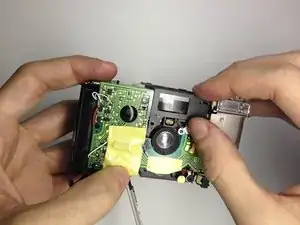
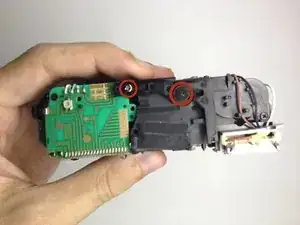
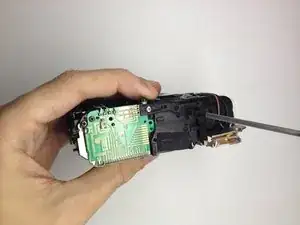
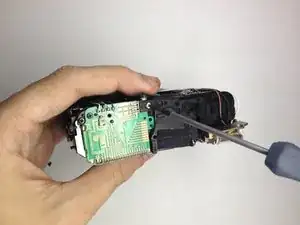
Locate the 2 screws on the top of the camera.
-
These are holding the view finder assembly in place.
-
-
-
Remove the front view finder.
-
Gently fold the plastic up from the back.
-
Pull up to remove the front view finder.
-
To reassemble your device, follow these instructions in reverse order.
