Introduction
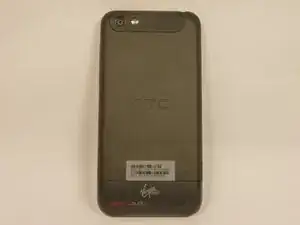
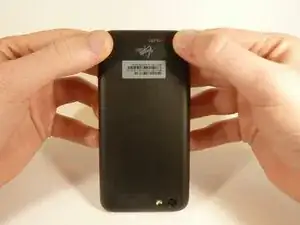
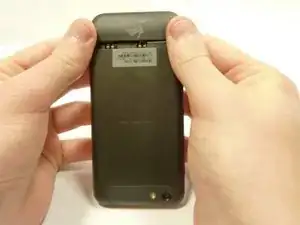
If your back case is scratched or cracked, replacing your back case might be your best option. A new one can be installed using this guide.
Tools
Parts
-
-
Remove the SIM card.
-
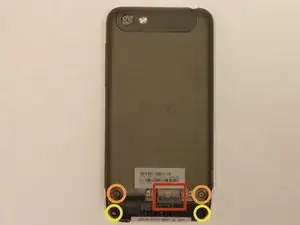
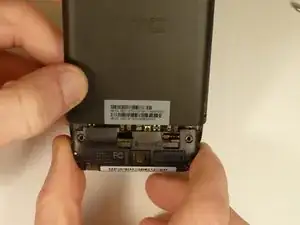
Remove the four screws securing the bottom casing.
-
Two 3.0 mm Phillips #0 screws in the top left and right corners.
-
Two 2.0 mm Phillips #0 screws in the bottom left and right corners.
-
-
-
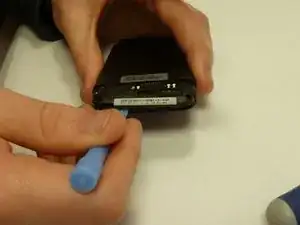
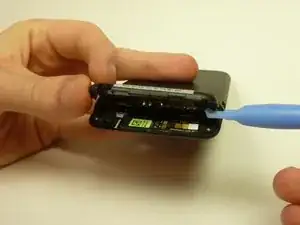
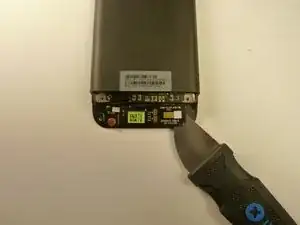
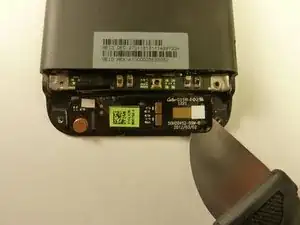
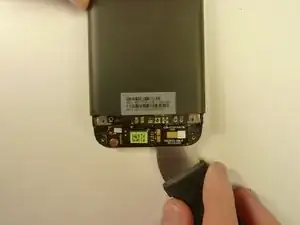
Use a plastic opening tool to pry open the bottom casing.
-
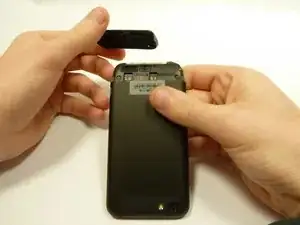
Remove the bottom casing by pulling it towards you.
-
-
-
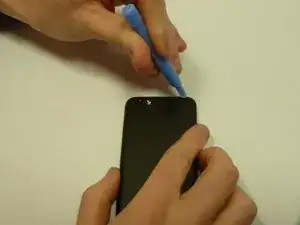
Use the plastic opening tool to pry open the rear camera panel.
-
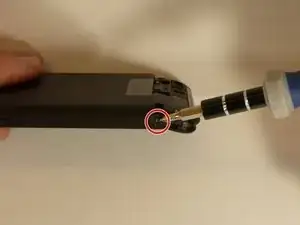
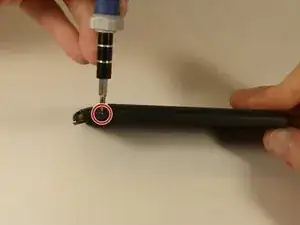
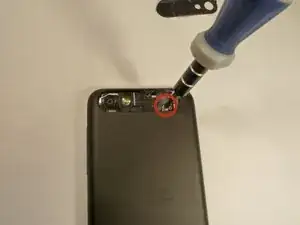
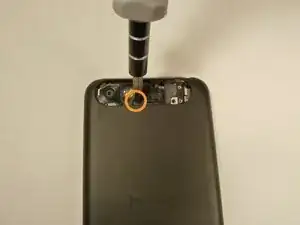
Remove both screws that are securing the back case.
-
One 4.0 mm Phillips #0 screw.
-
One 3.0 mm Phillips #0 screw.
-
-
-
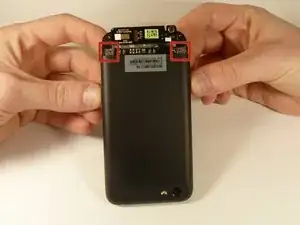
Using both thumbs, gently push on the two bottom rear corners of the motherboard.
-
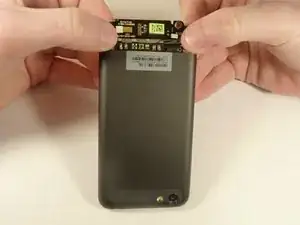
Gently and slowly pull the screen out from the front of the phone, while feeding the OEM reader contact through the opening.
-
To reassemble your device, follow these instructions in reverse order.
