Introduction

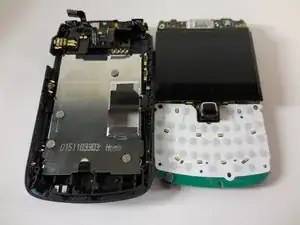
This guide is necessary for getting deeper into your BlackBerry Bold 9700. By following these steps, you will be able to separate your device into its two major components: the motherboard and the back housing.

  1. RAqt6aB2nRHNawIO
    RAqt6aB2nRHNawIO
    5IaUtcTwFR4OhDEn
    jFWChhUFjvEQvtoe
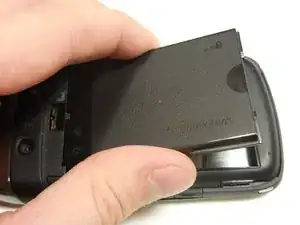
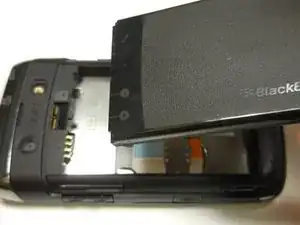
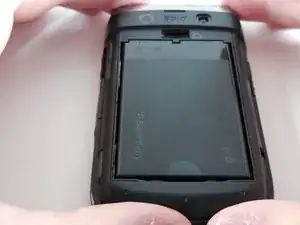
    • Remove the battery by prying the bottom of the battery upward.

    • Once the battery is angled up, pull it away from the top of the device.

    • Be sure to remove all power sources before working on electronic devices to avoid harming yourself or the device.

  2. IxCBEAEOx3JAPWYf
    IxCBEAEOx3JAPWYf
    5bt6D3HNKAToDvIM
    I4FDD2qL2A3BSeHC
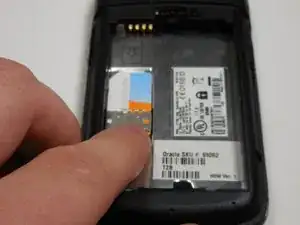
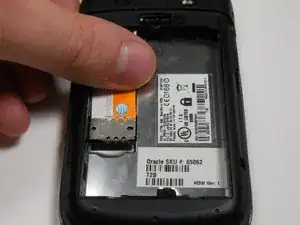
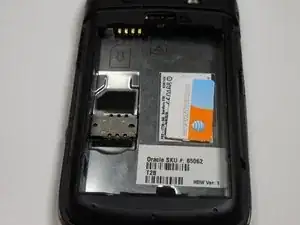
    • Slide the SIM card from underneath the holding bracket upward toward the battery connector pins.

    • You must remove the SIM card before you can fully disassemble the device. Failure to do so may cause damage to components later on in this process.

  3. CUFqUD3VF3PiPZp1
    CUFqUD3VF3PiPZp1
    ThNoyAsKvl1J3uVf
    f1jAFFOm3Q2IcVUI
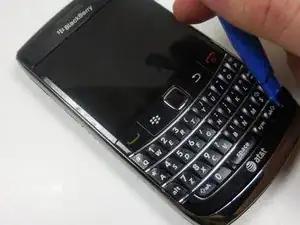
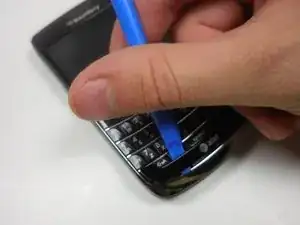
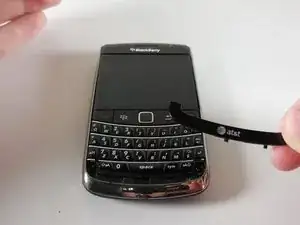
    • Pry off the AT&T logo panel with the plastic opening tool.

    • You will hear a snapping sound as the plastic tabs pop out.

  4. whExbCcYTwdhVSFI
    whExbCcYTwdhVSFI
    uyxHwnWU6Rr5u61M
    DSEIpvtKaIWBbGkw
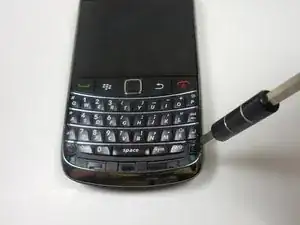
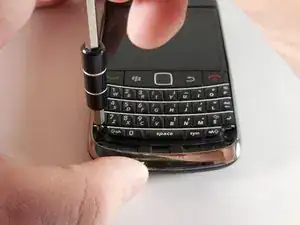
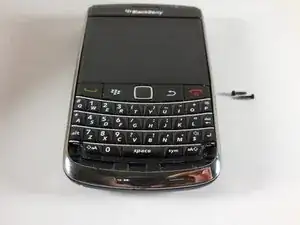
    • Use your T5 Torx screwdriver to remove the two black 5.57mm Torx head screws underneath the keyboard.

  5. lTVVbB5rP54E1MU5
    lTVVbB5rP54E1MU5
    EUWlfVZCVPfpbZcv
    NeGgGCsvAkB61mno
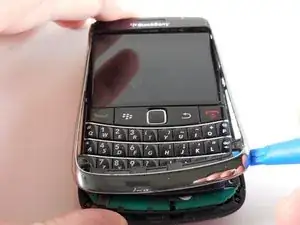
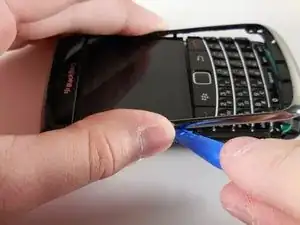
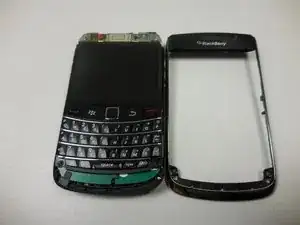
    • Use the plastic opening tool to remove the frame of your device.

    • You will hear a snapping sound as the tabs pop out.

    • Once the case is loosened from the device, slide the case away from the top of the phone.

  6. CDpoQS1PMRinlNT6
    CDpoQS1PMRinlNT6
    M33T1wyoD4AYQpSZ
    mSviyl1QNj6pGgHF
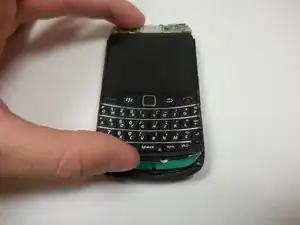
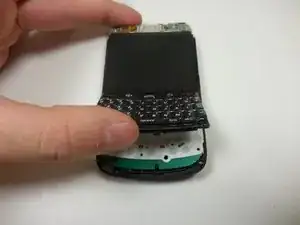
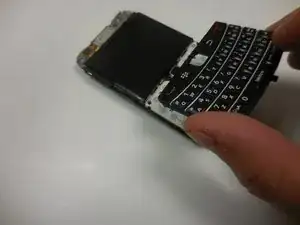
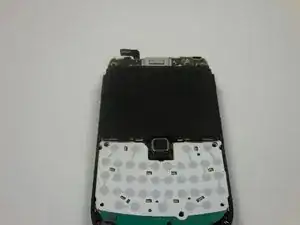
    • Gently lift the bottom of the keyboard upward.

    • Pull the keyboard away from the bottom of the LCD display and lift upward.

  7. GXIgvOE3SsTLvwJB
    GXIgvOE3SsTLvwJB
    jXeg3CNceQpSbLht
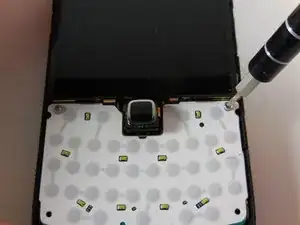
    • Remove the two Torx head 4.13mm steel screws with your T5 Torx screwdriver.

  8. ggUGSRVkivCtblSf
    ggUGSRVkivCtblSf
    nUbOcpTXhkawRvXE
    wyofNARfXqLM5rey
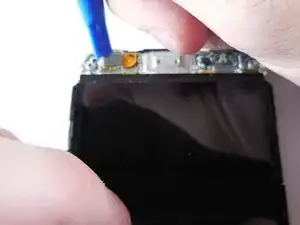
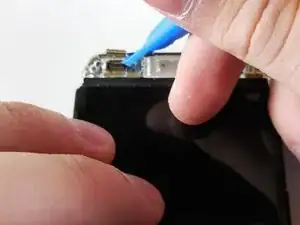
    • Gently pry up the ribbon connector at the top of the phone with a plastic opening tool.

    • Ribbon connectors are fragile. Too much force in the wrong place will damage the ribbon and may force you to replace an entire assembly.

  9. kRpIEcJnlxsquGmZ
    kRpIEcJnlxsquGmZ
    aONDjhVwnODSXFYc
    v2LupPJdesfEZdJM
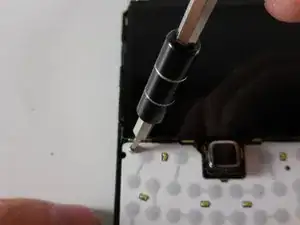
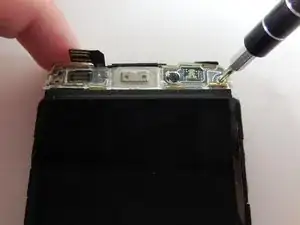
    • Remove the top two Torx head 4.13mm steel screws with your T5 Torx screwdriver.

    • You should now have two 5.57mm black torx head screws and four 4.13mm steel Torx head screws off to the side. Do not lose them.

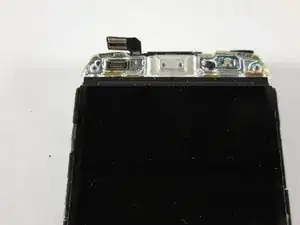
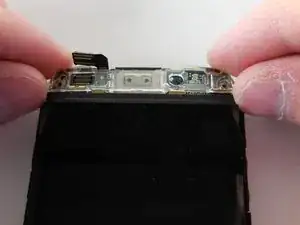
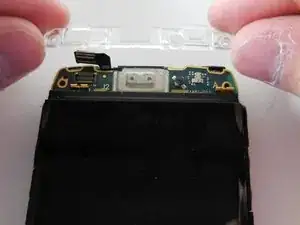
    • Lift the clear plastic cover directly upward.

  10. JSMMuIx3aDwWpRxf
    JSMMuIx3aDwWpRxf
    1jDnGsfQhNJHTDT6
    cqsCoVgpWgACqOTI
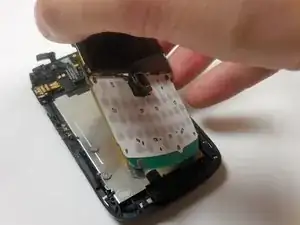
    • Grip the motherboard by the screen

    • Lift the board away from the base of the housing and vertically up.

Conclusion

To reassemble your device, follow these instructions in reverse order.
Patrick

Member since: 11/03/15

622 Reputation

0 comments