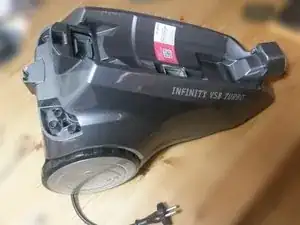
Introduction

  1. lMeoA6FVAPOqLXF3
    • Remove 4 screws on the bottom side using Philips screwdriver

  2. EZgy2CiKtZXUOTaK
    EZgy2CiKtZXUOTaK
    NmTYWKBkAfle1EeB
    • Remove 2 buttons by levering them using slot screwdriver.

    • Remove 2 screws.

  3. bwNcoScPS1pQHBJB
    bwNcoScPS1pQHBJB
    fR6GOsiRtGklgZDk
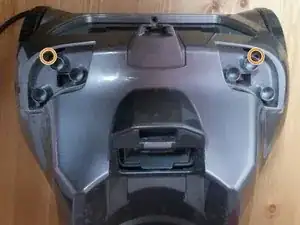
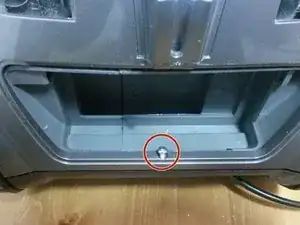
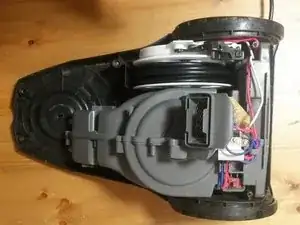
    • Remove last spanner screw, maybe you can do it using spanner head (pig nose) screwdriver.

    • I have made special key to turn it using piece of 1mm wire and screw.

    That's a spanner screw. Mostly used to avoid, uh, tampering.

    Wouter van Os -

  4. BoACX3njCXIbLP1I
    BoACX3njCXIbLP1I
    Kwb1EAVONjhZkUYJ
    YudPRVtrdtW35L2V
    • Now you can see how it looks inside, get access to engine or cable roller.

    Nach Schritt 3 geht es nicht weiter. Wie bekomme ich das Gehäuseoberteil ab?

    Felix Holzhausen -

Conclusion

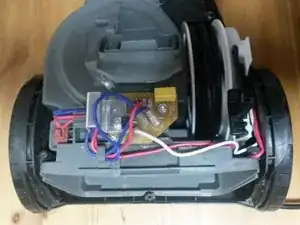
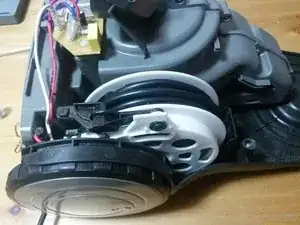
To reassemble your device, follow these instructions in reverse order.

MarW

Member since: 16/01/17

317 Reputation

11 comments

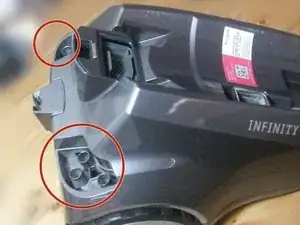
Thanks for the photos, came really handy… for those 2 screws hidden under those buttons. It seems that the brushes were faulty and flaming after many years of usage… now again works almost like new…

James Brown -

Thanks for the photos! Those 2 screws hidden under those buttons were undiscoverable.

Miroslav

Miroslav Kocmaruk -

anybody can suggest how to do same for Dirt Devil twinfinity model? No spanner screw. Thanks

zvi borowitsh -

Hallo, bis Schritt 3 alles okay, dann kann ich aber nicht das Oberteil abnehmen. Da bewegt sich nichts. Muß man da noch was beachten?

Felix Holzhausen -

I do not remember any addition steps, if you remove all screws seen on all pictures maybe you have to use more force to take off the case? Try to use slot screwdriver to create gap between top and down case.

MarW -

Really helpfull, thanks!

Jillis van Meeteren -

Hi. Can you also help with guidance regarding how to dissemble the engine? I think it got burned

Danny S -

Much thanks for the opening guide ! Our model the Infinity vs8 loop 5020-2 is fitted with a normal crosshead screw in Step 3, so to my luck no extra toolmaking necessity.

In a grey past the engine suddenly gave up the ghost (just outside the warranty period... of course !!), But still we got the machine returned with a MUCH stronger -thick carpet lifting- engine for the mere sum of converted $22 US here in Taiwan, as said, years ago !

The problem now is with the cable roller having an issue with the (apparently) sliding contacts inside, consequently sparking/turning of the engine at certain positions and also auto winding the cable back up, which also is no good esp with this stronger engine producing lots of heat.

So i have probably just one but if I'm lucky maybe two options now:

1) Find a - new old stock - cable roller. Certainly not going with a second hand one.

2) Just take out the whole cable rolling contraption and connect/solder/secure both side of the machine and AC cable together and fix it somehow.

R o x -

Anyone able to advice on a new cable roller perhaps ?

thanks in advance for any reply !

R o x -

The roller looks as follows and the cable is still perfect so i'm just in need of a new plastic roller mechanism !

right side

left side

R o x -