Introduction
This guide will walk you through the process of replacing your DigiLand Dl801W microphone. Be careful as you complete the steps listed in this guide. If a component is not coming out smoothly, make sure that all screws that need to be removed were removed.
Note: Light soldering is required for successful repair of the microphone of the DigiLand Dl801W.
Tools
-
-
Hold the tablet in one hand (not your primary hand) so that the bottom edge of the tablet is facing you and the back of the tablet is facing up.
-
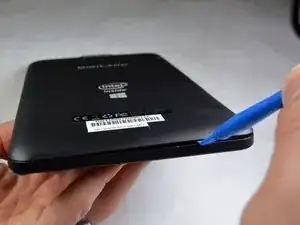
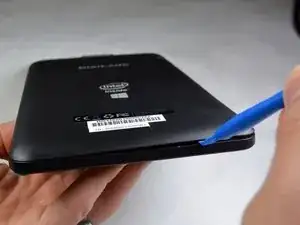
Using a blue plastic opening tool, gently insert the tool between the back panel and the main body.
-
Going around the edge of the tablet, gently pry open the back panel. As you go around, you will hear a click.
-
-
-
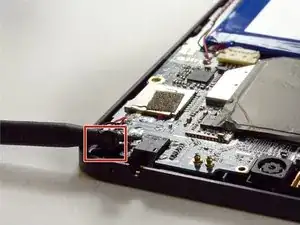
Using the black spudger, insert the point underneath the red and black wires. Gently lift the microphone out of its socket.
-
Where the red and black wires connect to the motherboard, use a soldering iron to remove the defective microphone.
-
To reassemble your device, follow these instructions in reverse order.


