Introduction
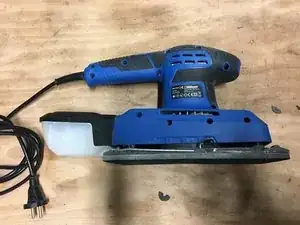
Tools
-
-
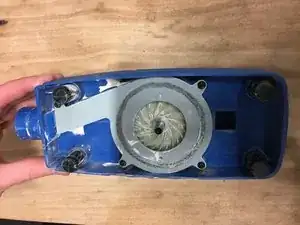
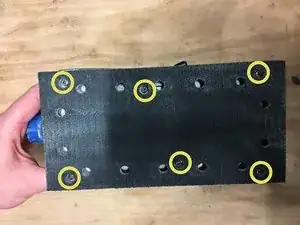
Unscrew the six screws of the pad.
-
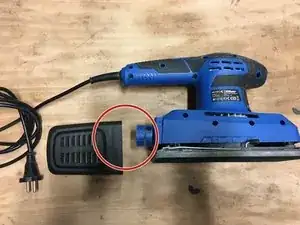
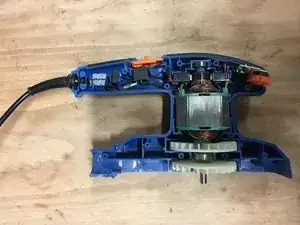
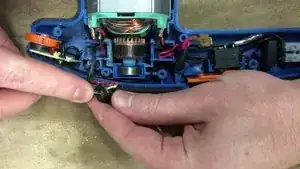
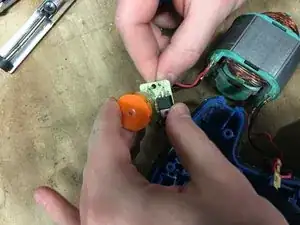
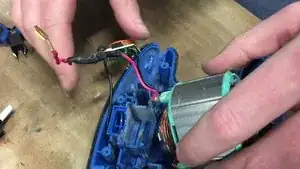
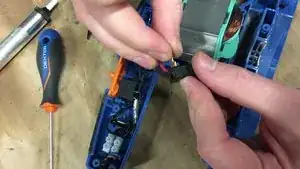
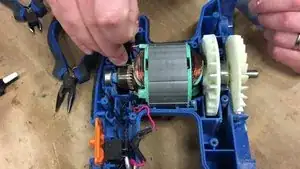
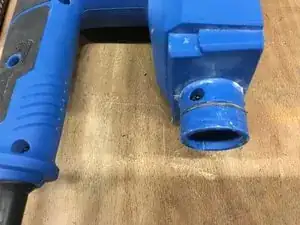
Lock the motor with a screwdriver to be able to unscrew the centre screw, you will not be able to get there without blocking the gear.
-
-
-
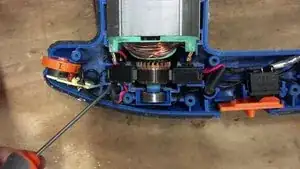
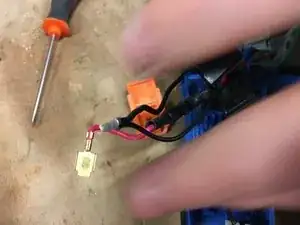
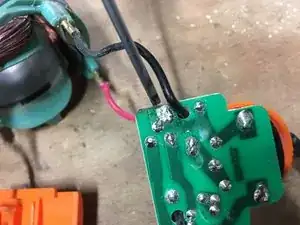
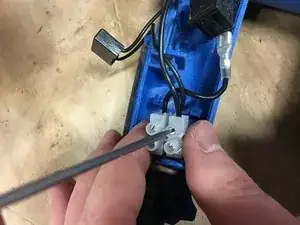
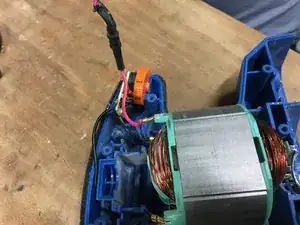
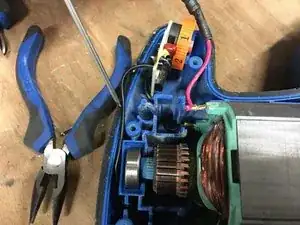
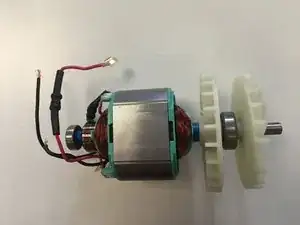
Approach the soldering iron to heat the tin and make it soft. Using the pump, remove the residues.
-
-
-
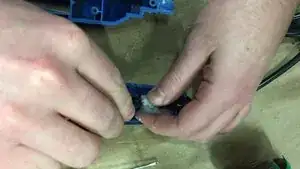
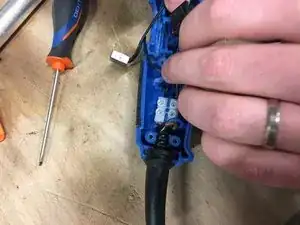
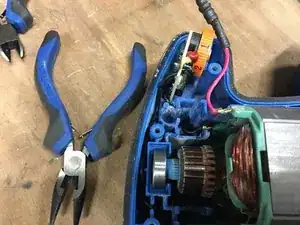
Be careful to put the black cable back into its housing so as not to block during the reassembly of the machine.
-
-
-
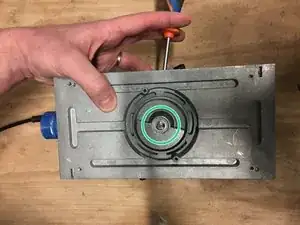
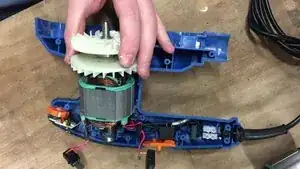
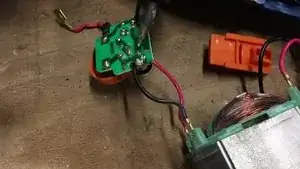
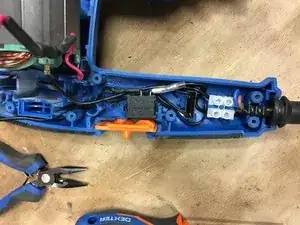
Reposition the part, then lock the engine with a screwdriver to screw.
-
Put the tray back on and screw the screws.
-