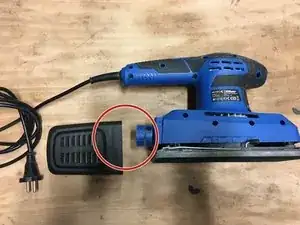
Introduction

  1. eMclylBFDaAQDbWX
    • Before starting, remember to disconnect the outlet from the mains.

  2. nW4NR1fsTOBZCKsr
    nW4NR1fsTOBZCKsr
    FUXihTCINHPmqFEg
    • Remove the dust case on the back of the device.

  3. bDIvSM1PCRLbYRNO
    bDIvSM1PCRLbYRNO
    BKVFjMQyOSIMGWmU
    Eg4D65OMbFcyys6r
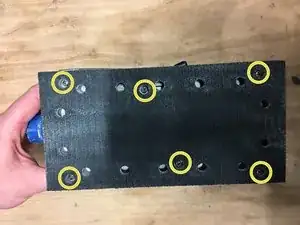
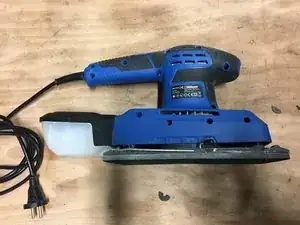
    • Unscrew the six screws from the pad.

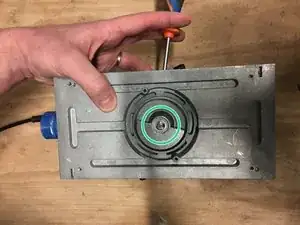
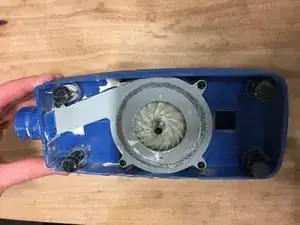
    • Lock the motor with a screwdriver to be able to unscrew the centre screw, you will not be able to get there without blocking the gear.

  4. MNyPIjdkXDM4nmAK
    MNyPIjdkXDM4nmAK
    3OCL1bA1KVV3Jbwq
    • Remove the four stabilisers by hand.

  5. CKKTv4MFiLgH1aOG
    CKKTv4MFiLgH1aOG
    3HvyUCXQXNIcJKEV
    • The stabilisers make sense, so be careful when replacing them.

    • Replace them directly on the pad for ease.

  6. gg3QLoEZ1PAecQQv
    gg3QLoEZ1PAecQQv
    ttEjG5EOgVHYeEjq
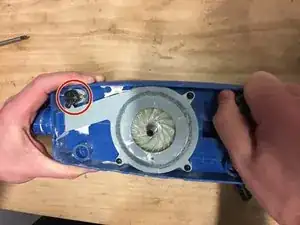
    • Reposition the part, then lock the engine with a screwdriver to screw.

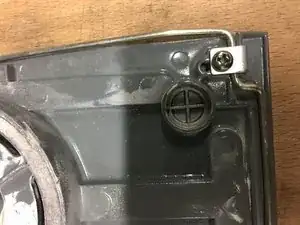
    • Put the tray back on and screw the screws.

  7. AcUjGS5Q1MKXUcj2
    • Finally, reposition the vacuum bag.

Céline Chemineau

Member since: 29/01/20

16581 Reputation

0 comments