Introduction

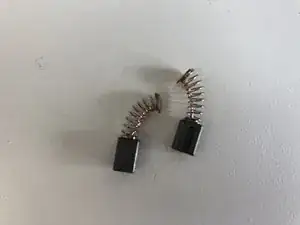
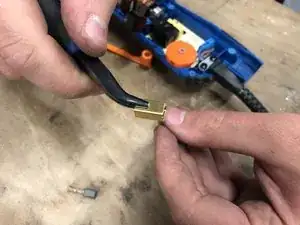
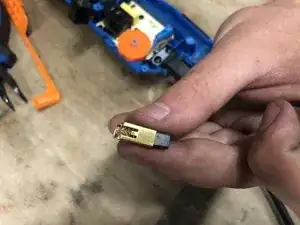
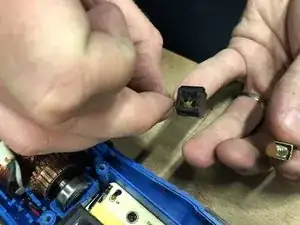
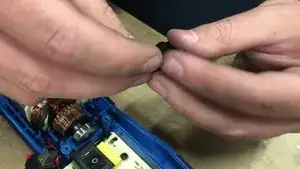
This tutorial shows you the change of only one carbon, to change the second you just have to follow the same method.

  1. ClFWLRjIkYTPVrjY
    • Before you begin, remember to disconnect the mains plug.

  2. RWaXLXGGOyk4H6l3
    RWaXLXGGOyk4H6l3
    gHfyNgO5dQr3NIkV
    • Remove the three screws from the pad.

  3. DLWhhWY6sDPqaJCK
    DLWhhWY6sDPqaJCK
    TDoZNyArKahKLVEU
    sFDUqHXQoCTQ2gtD
    • Be careful to keep the three small marbles.

  4. UQeQu1Kdw6Ziuoh5
    UQeQu1Kdw6Ziuoh5
    VRBVGMGM1ycD2WVA
    • Unscrew the screws to open the shell.

  5. m5LpP6rLwagAeeTi
    • Remove the orange cap.

  6. Using a screwdriver lift the brushes.
    • Using a screwdriver lift the brushes.

  7. ckpWWBTXKAnYPj22
    ckpWWBTXKAnYPj22
    O415YYAGHKD6VFuE
    vlXSugUNFMQMQgQ4
    • Remove the carbon from its housing then take it out.

    • Using pliers, fold down the small tab.

  8. GTocQOAUehAXLoHR
    • Replace the new carbon in its carbon holder.

  9. Reconnect the carbon, test if the carbon slides well inside.
    • Reconnect the carbon, test if the carbon slides well inside.

  10. SbKHiR2fVFEoTPPH
    • Replace the coals in their housing.

  11. cOYmyFHGiAUMrS2L
    • Before closing, check that no cable is blocked and that each part is in its place.

    • Replace the screws on the hull.

  12. 3WYyEHfkrDnJf41d
    3WYyEHfkrDnJf41d
    D1EqcS2A1V6LHvAW
    ZT1cckP6MxSvb2oM
    • Replace the retaining flange, be careful to have the three small balls.

  13. 62MUU4jSOXXMxPJi
    62MUU4jSOXXMxPJi
    CUIunF2gWZW2OK6E
    • Tighten the three screws of the retaining plate then that of the pad.

Conclusion

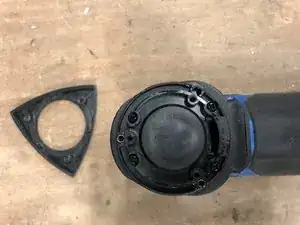
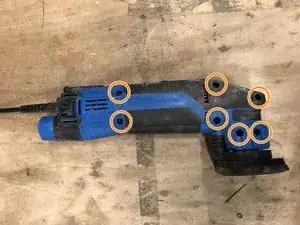
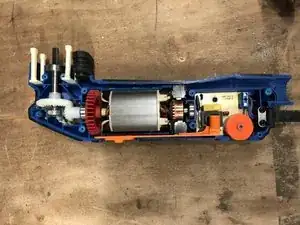
To reassemble follow guide through or in reverse

Céline Chemineau

Member since: 29/01/20

16581 Reputation

0 comments