Introduction

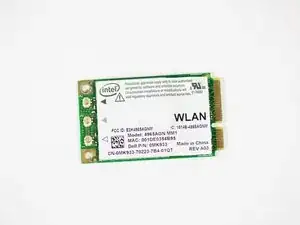
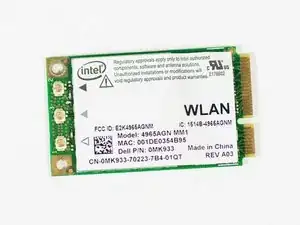
This guide helps you to upgrade or replace your wireless card to a new Wi-Fi standard if you have determined that the reason your wireless internet is not working is because of a hardware issue with the card.

  1. wJatXlL6lrCdmwuW
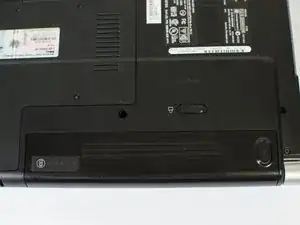
    • Turn the computer upside down with the battery facing you.

    • Turn the computer off and disconnect the charging cable from the computer.

    • Failure to unplug the charging cable may result in electric shock.

  2. IhXR2NZjDY36TLsM
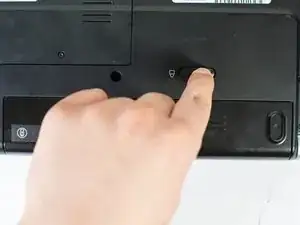
    • Push the switch as far to the right as possible to unlock the battery.

  3. k2jFPu3PqITRYlKx
    k2jFPu3PqITRYlKx
    ENTx41oNDixCGAvy
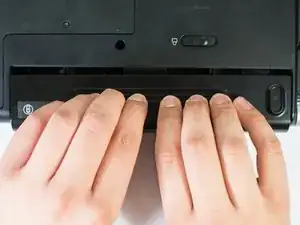
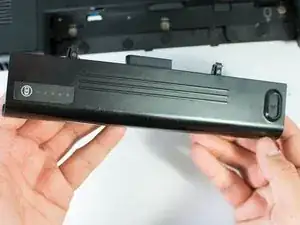
    • Remove the battery using two hands and pull it away from the computer.

  4. AkRnZSDvJYaOnrGg
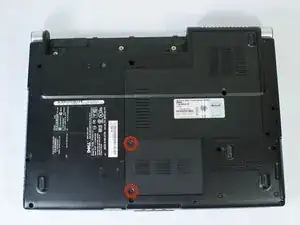
    • Unscrew the two 4.7mm Phillips #1 screws on the bottom panel of the laptop.

    • Two 4.7mm Philips #1 screws

  5. IXnD5pUT42sSwhTW
    IXnD5pUT42sSwhTW
    tSjLZVQFZaFWQUSX
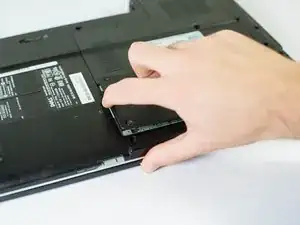
    • Lift the panel up from the indented area.

    • This indent should provide enough grip to remove the panel with ease.

  6. x6IW4RhbBRVLERSu
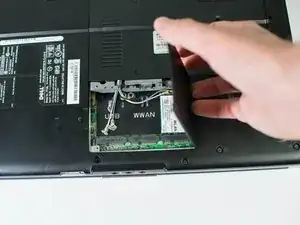
    • Remove the single 3.9mm Phillips #1 screw in the upper right corner of the wireless card.

    • One 3.9mm Phillips #1 screw

  7. gWYl5XIDlWBLojS1
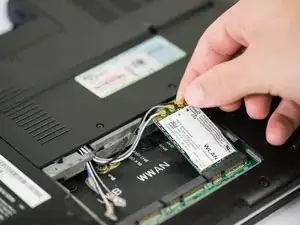
    • Lift the card out at an angle and carefully remove it.

  8. EBCTdkh3YgQbg4GJ
    EBCTdkh3YgQbg4GJ
    UW6fHUWTYvMSffQG
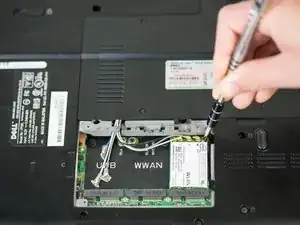
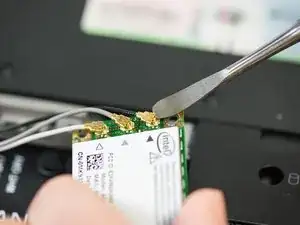
    • Use a spudger to carefully disconnect the antenna cables from the card by prying them straight up off the board.

    • It's best to use an ESD-safe tool, such as a nylon spudger, rather than the metal spudger shown in the photo.

    • Note the order of colors for the antenna cables indicated on the card.

Conclusion

To reassemble your device, follow these instructions in reverse order.
Jase Sasaki

Member since: 22/01/15

721 Reputation

0 comments