Introduction

In this Guide, a user will be able to safely access/replace the Random Access Memory (RAM) Card in their Dell XPS M140 labtop, if needed. This Step-wise guide provides detailed imaging of disassembly, cautioning of notable components, and exact notations for accessing Dell XPS M140 RAM Card.

  1. JseRQpLGvxijFHtL
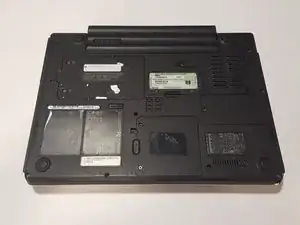
    • The first step is to turn over the laptop

  2. WfoWmEXQ5RTec3CF
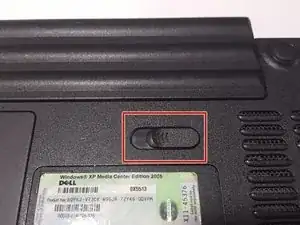
    • Locate the slide lock for the battery.

  3. vohcjN632n2Cq5SY
    vohcjN632n2Cq5SY
    C5uhENbn4nILTUwQ
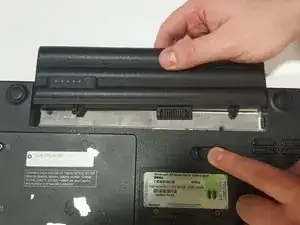
    • Slide the lock and pull out the battery.

  4. WwH3QDJ2mh3aVYJc
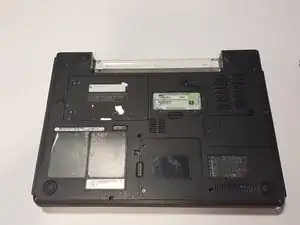
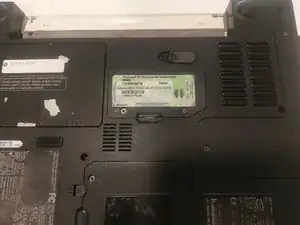
    • Locate RAM carriage on the bottom of the laptop

  5. M4xdGYTls4TFf3Xv
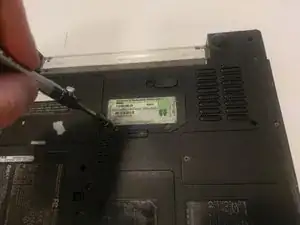
    • Unscrew both screws holding the cover in place

  6. FAuFUTGgFX6n6rHx
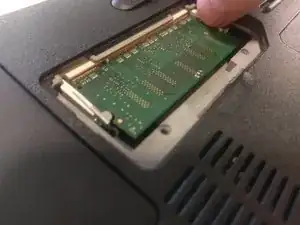
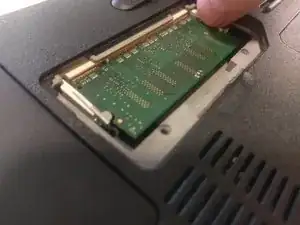
    • Squeeze clips that hold the RAM card in place

  7. kSSgLBZMTIjZNxmE
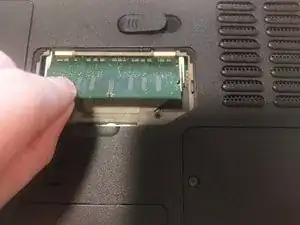
    • Remove card from holder with care

    • If it is not coming out easily, make sure you have the metal clips fully expanded

    That is ram slot B. In the typical laptop location for RAM modules. To upgrade to max RAM capacity requires accessing RAM slot A also. Where IS RAM slot A?

    Mark Ducey -

Conclusion

To reassemble your device, follow these instructions in reverse order.
Brian Dougenik

Member since: 20/03/17

322 Reputation

0 comments