Introduction

In this guide, a user will be able to safely and correctly remove/replace the Microprocessor Thermal-Cooling Assembly (also known as CPU heatsink) on their Dell XPS M140 labtop, if needed. This Step-wise guide provides detailed imaging of disassembly, cautioning of notable components, and exact notations for accessing Dell XPS M140 Microprocessor Thermal-Cooling Assembly. .

  1. JseRQpLGvxijFHtL
    • The first step is to turn over the laptop

  2. WfoWmEXQ5RTec3CF
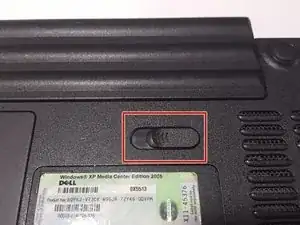
    • Locate the slide lock for the battery.

  3. vohcjN632n2Cq5SY
    vohcjN632n2Cq5SY
    C5uhENbn4nILTUwQ
    • Slide the lock and pull out the battery.

  4. xnmXOfubBOUCqAAU
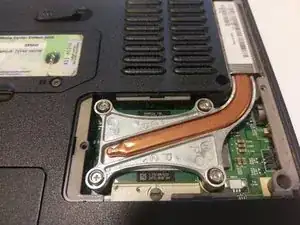
    • Locate cooling module cover on the underside of the laptop

  5. ew3KWYhaZPyXd2qQ
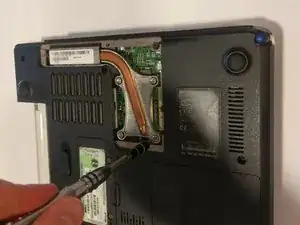
    • Unscrew all screws that hold the cooling module cover in place

  6. KjC4CY4o51IUJUBQ
    KjC4CY4o51IUJUBQ
    6NsWMxvDvOp2JEOo
    • Unscrew the screws holding the metal bracket in place

  7. xUXdtOJPUUCWDeek
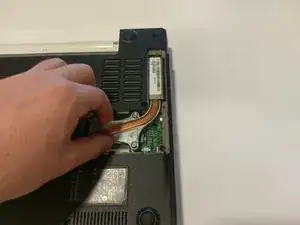
    • Carefully remove the bracket and the module it is attached to.

  8. talqQhWnj2tujHgh
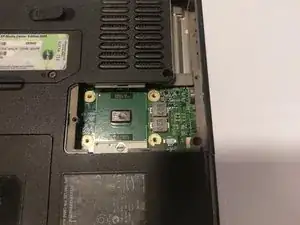
    • The inside should like this after it is removed

Conclusion

To reassemble your device, follow these instructions in reverse order.

Brian Dougenik

Member since: 20/03/17

322 Reputation

0 comments