Introduction
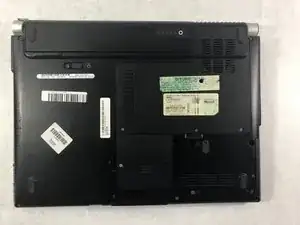
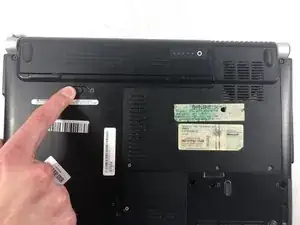
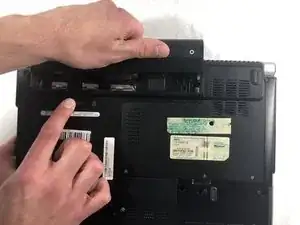
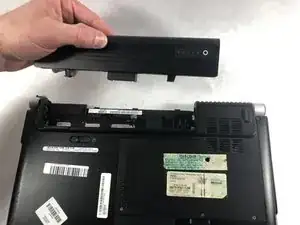
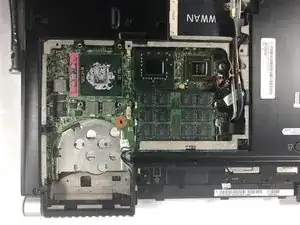
If your fan needs to be replaced, remove the back panel using this guide. For this guide, you will need a Phillips screwdriver with a PH01 head and tweezers. This process will be relatively easy to follow along, with only a couple steps needing careful focus to prevent damage to the laptop itself.
Tools
Parts
-
-
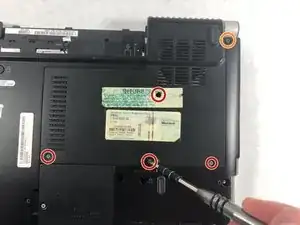
Remove the four 5.0mm screws with a Phillips #1 screwdriver.
-
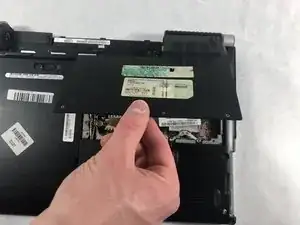
Remove the one external 5.0mm screw with a Phillips #1 screwdriver.
-
Remove the fan cover.
-
-
-
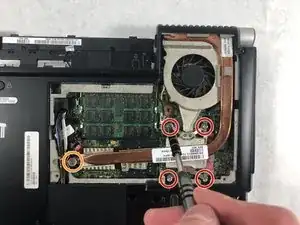
Remove the four 0.1mm screws using the Phillips #1 screwdriver.
-
Remove the one thicker 0.1 mm screw using the Phillips #1 screwdriver.
-
-
-
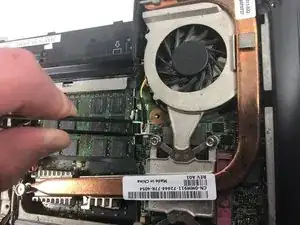
Remove the wire bay near the fan.
-
Use the long nosed tweezers to carefully handle the white plastic piece that holds the wires together.
-
Gently pull upward while moving your hand side to side so the plastic holder will detach.
-
To reassemble your device, follow these instructions in reverse order.
