Introduction
This guide will show you how to replace the battery for your Dell XPS 18 if it has failed.
Tools
-
-
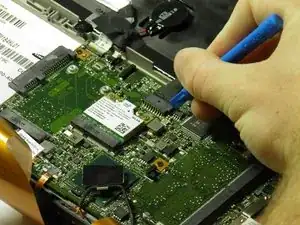
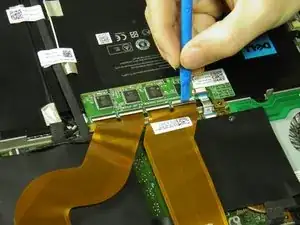
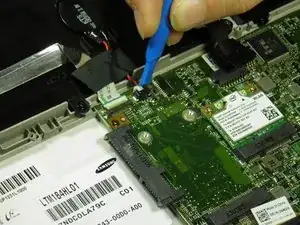
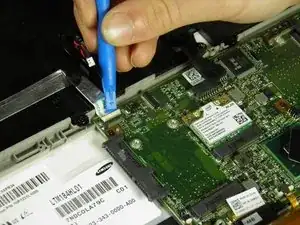
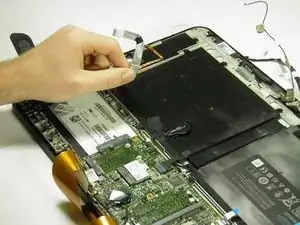
Use the opening tool's angled edge to lift the clasps securing the screen and motherboard cables.
-
-
-
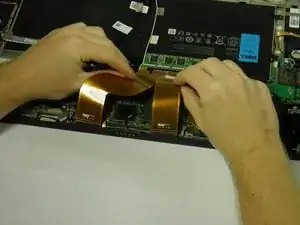
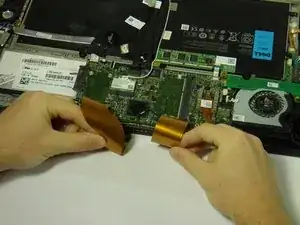
Disconnect the screen and copper colored motherboard cables and tuck them under the device to prevent future hassle.
-
-
-
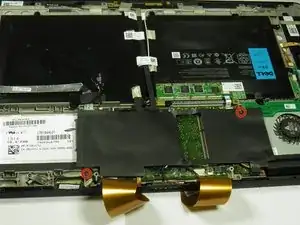
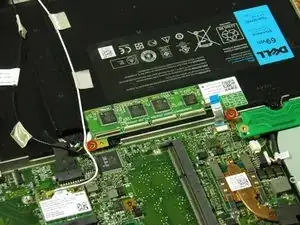
Remove the two black 3mm screws from the internal cover with a Phillips 00 screwdriver.
-
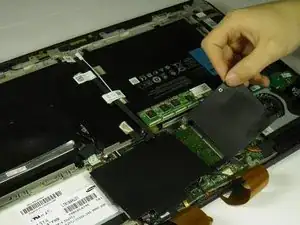
Remove the internal cover.
-
-
-
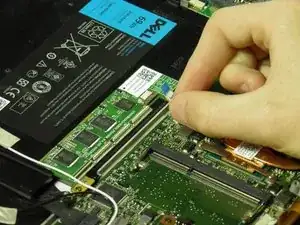
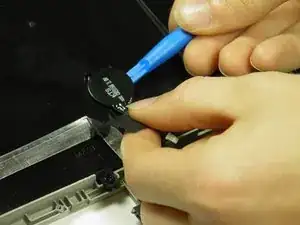
Use the angled edge of the plastic opening tool to lift the clasp securing the touch control board cable.
-
Disconnect the silver and blue touch control board cable.
-
-
-
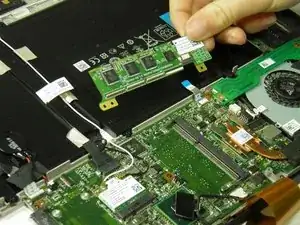
Remove the two silver 3mm screws holding the touch control board in place with a Phillips 00 screwdriver.
-
Remove the touch control board.
-
-
-
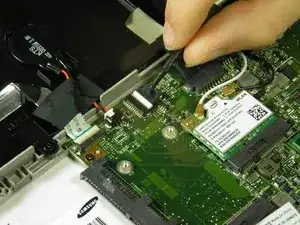
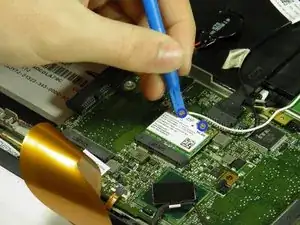
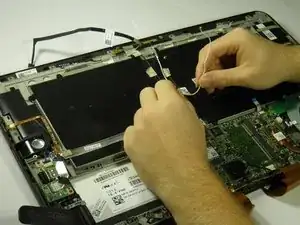
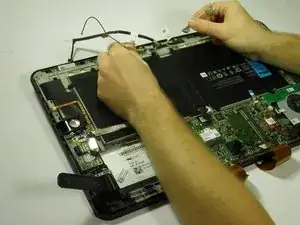
Use the plastic opening tool's angled edge to remove the black and white wires connected to the wireless WLAN card.
-
-
-
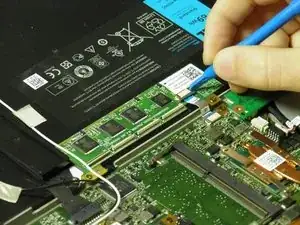
Use the plastic opening tool's angled edge to lift the clasp securing the silver circuit board cable.
-
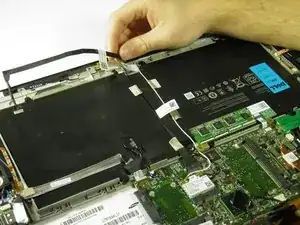
Pull back the circuit board cable to prevent future hassle.
-
-
-
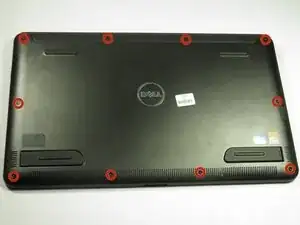
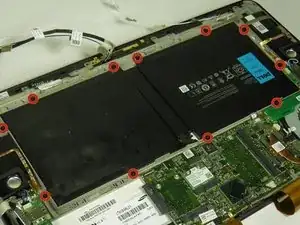
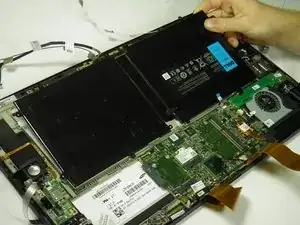
Remove the eleven black 4mm screws holding the battery in place with a Phillips 00 screwdriver.
-
To reassemble your device, follow these instructions in reverse order.
9 comments
needs the help to repair the Dell XPS18
This is an excellent doc! Pictures are really clear and accurate, steps are concise and best of all they are correct. I was able to solve my issue the first go round with these instructions. Kudos to the author and thanks a million for the assistance!
stacysaw -
It all worked good. Thanks.
