Introduction

In the case of a broken touch pad or Palm Rest, this guide will demonstrate how to replace the Palm Rest of the Dell XPS 17 L702X.

  1. jfPT1Cf6JsaHUHaL
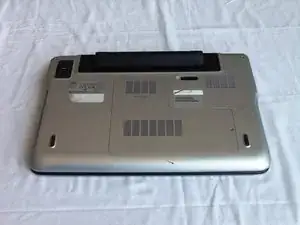
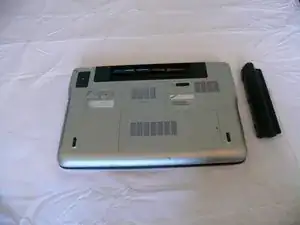
    • Before you begin, be sure to turn off your laptop and unplug it from the outlet.

    • Flip over the laptop so that the bottom battery compartment faces upwards.

  2. YBZNKNVPovKGFDWT
    YBZNKNVPovKGFDWT
    bR4QfReUIfnn3HgE
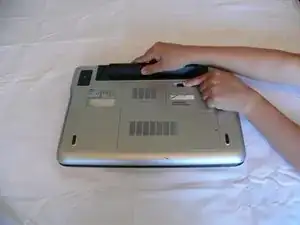
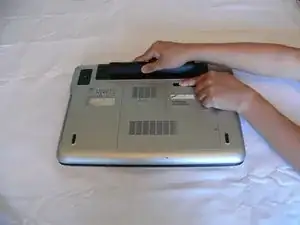
    • Slide the tab below the battery to the left and hold the tab in place.

  3. udfnn152x2N3aHtP
    udfnn152x2N3aHtP
    IAK3liKpDeZn4SeR
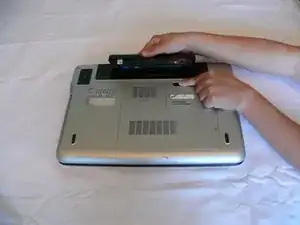
    • While holding the tab, lift the battery out of its compartment.

    • Release the tab after removing the battery.

  4. mWo4xHFn5APmfu6J
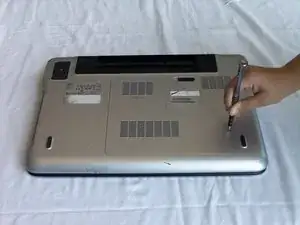
    • Loosen the module cover screw with a Phillips screwdriver.

    • The screw is attached to the cover; do not force it out.

  5. krAm1Cl243POo1qq
    krAm1Cl243POo1qq
    jhxmydrXB6eHHZtg
    eQutG5RyWfxZ1uhF
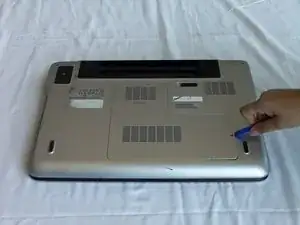
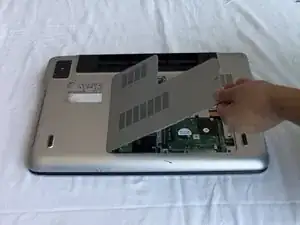
    • Lift the module cover by inserting a plastic opening tool into the crevice near the screw and lift upwards.

  6. rMnbBfcSoofLSrLf
    rMnbBfcSoofLSrLf
    nujXxgeZupcfEYFR
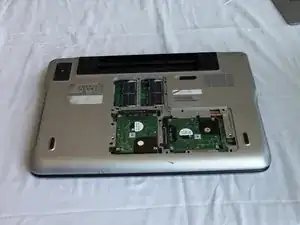
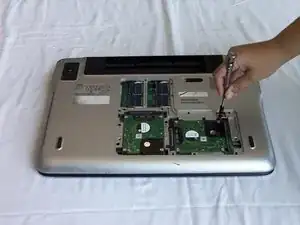
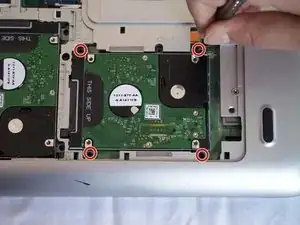
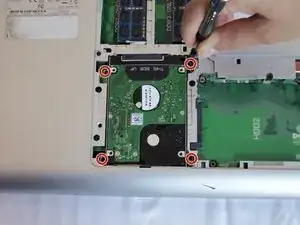
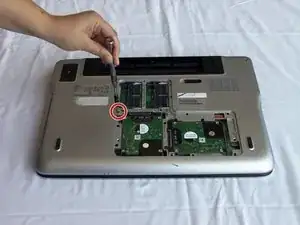
    • Remove the four 4mm Phillips screws fastening the first hard drive.

  7. JaBAlYnSoplpybIf
    JaBAlYnSoplpybIf
    ceqIFalBwFQttAUi
    VKYExHVUtOKZCUcb
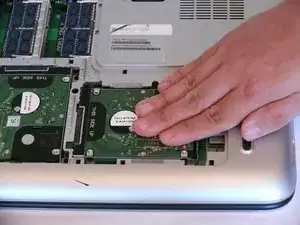
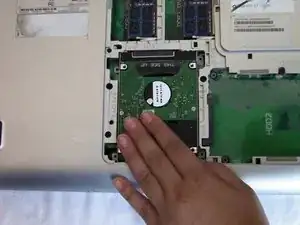
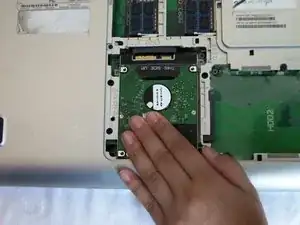
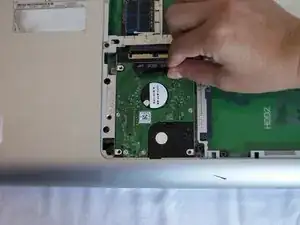
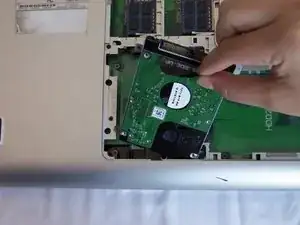
    • Slide the hard drive with your hand towards the hole where the back panel assembly screw was located (in step 5) to disconnect it.

    • Lift the hard drive up to remove it from the case.

  8. L5RrlVGQAwKcxr3o
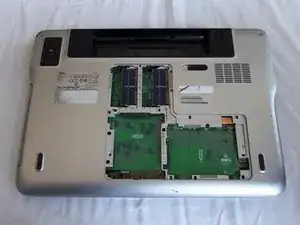
    • Remove the four 4mm Phillips screws on the second hard drive.

  9. q4aakHJyXRDvXVYF
    q4aakHJyXRDvXVYF
    GXwDxFFAXFOGQY62
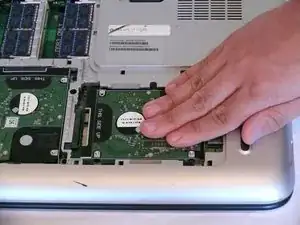
    • Slide the hard drive towards the edge nearest you to disconnect it.

  10. 1UZws2NgsULRfN4j
    1UZws2NgsULRfN4j
    M2WYYDXHcymFY1uD
    PNZAKfCfjcZg1Aam
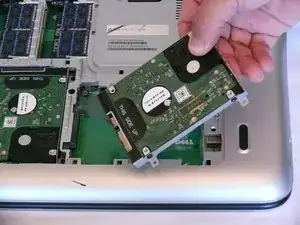
    • Using the tab that says "THIS SIDE UP," pull away from the laptop to remove the hard drive.

  11. 5MvidoXXORrTMGWv
    5MvidoXXORrTMGWv
    FsxxDJuVdCeViduU
    • Repeat this step for each hard drive.

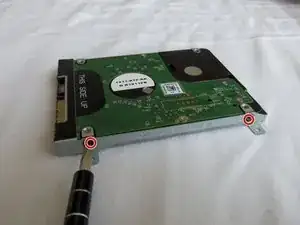
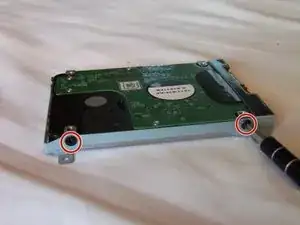
    • Unscrew the two 4mm screws from each side of the hard drive casing with a Phillips screwdriver.

  12. kQosSfHAHfcdIkbx
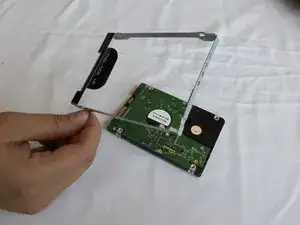
    • Remove the hard drive casing.

  13. UeDdDPhLnZwAtYwL
    • Unscrew the screw holding the optical drive with a Phillips screwdriver.

  14. kyxGWi4gWqKgy6GJ
    kyxGWi4gWqKgy6GJ
    3wQhwfilCxMLXUmX
    hHNcah1VL5iABWRr
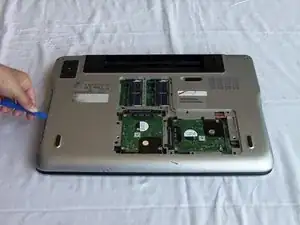
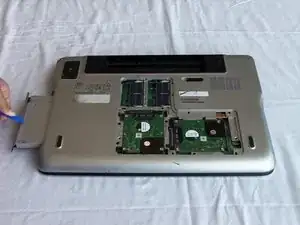
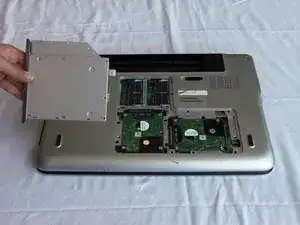
    • Using a plastic opening tool, pull out the optical drive.

  15. XPMoktEL6mucXv5c
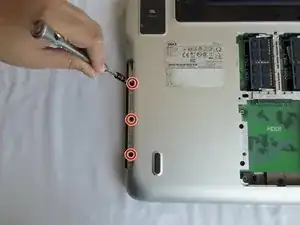
    • Unscrew three 4mm screws near the edge of the optical drive compartment with a Phillips screwdriver.

  16. ZvQkyn3ELIhKIJAW
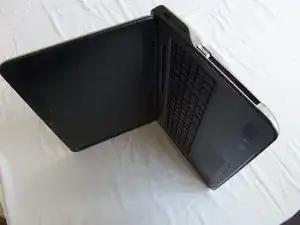
    • Open the laptop to about a 90 degree angle and place it on its side with the empty optical drive slot pointing upwards.

  17. opMBYICo3OiggSYY
    opMBYICo3OiggSYY
    hPqR4UV5QGRfgLON
    4FZGZfunKTEaMUe1
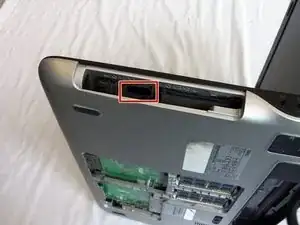
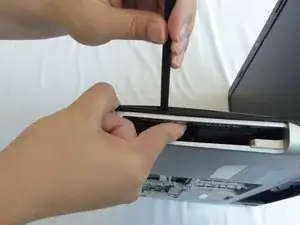
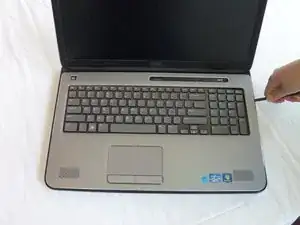
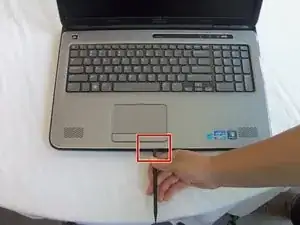
    • Push and hold the tab inside the optical drive's opening with your index finger.

    • Insert a spudger between the black and silver plastic pieces that are above the tab and pry apart the two pieces.

  18. abwC3MFh3MErhGjY
    abwC3MFh3MErhGjY
    2uRNq6f23YdOXfrK
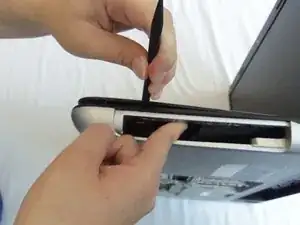
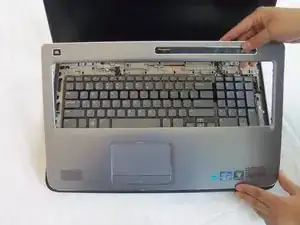
    • Slide the spudger around the palm rest to release the clips.

    • You may hear a crackling noise; this is normal.

    • Use caution when sliding below the mouse pad, as there are wires we must detach in the next steps.

  19. JwGlRqpgcgDgiTKK
    JwGlRqpgcgDgiTKK
    2ljRWm3rKmtuma5s
    • Gently lift and rotate the palm rest panel until it's upside down as it is still connected by the mouse pad wires.

    • The mouse pad wires are still connected to the palm rest panel.

  20. BO4L1RBHAFYM34eu
    BO4L1RBHAFYM34eu
    CovkQsKFX1ErrDYA
    jlEOewP3EZXKTIJD
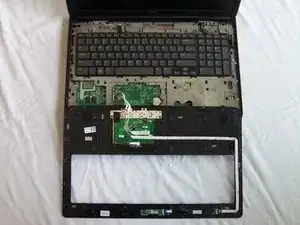
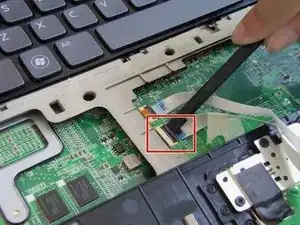
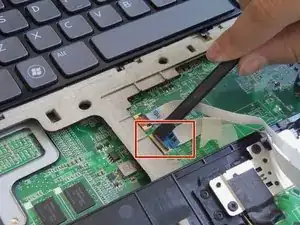
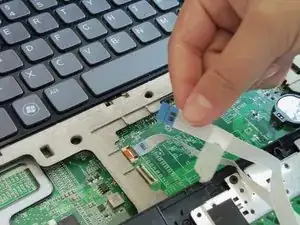
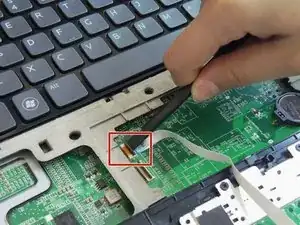
    • Put the spudger below the black tab of the wider cable and push up to release.

    • Gently pull out the cable.

  21. TjZBanAQXExIbPir
    TjZBanAQXExIbPir
    wLO5aGUUV2iK4KU6
    6lAmll2cBXUxJZpT
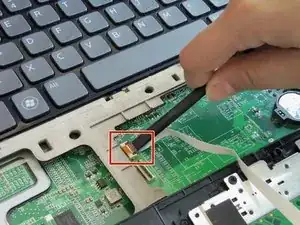
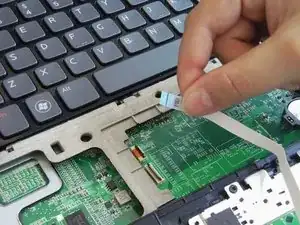
    • Insert the spudger below the black tab of the remaining cable and push up to release.

    • Gently pull out the cable.

  22. hgYrMIRuBDGbZSJQ
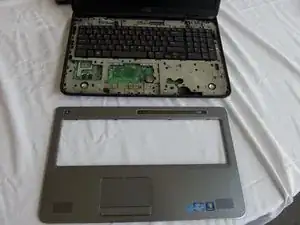
    • Remove the palm rest from the laptop.

Conclusion

To reassemble your device, follow these instructions in reverse order.
Shin Sul

Member since: 02/10/15

544 Reputation

0 comments