Introduction
This guide will provide instructions on how to remove and replace the Trackpad for the Dell XPS 15 9575. The trackpad is responsible for controlling the cursor on screen and is a major form of input for the laptop. Issues with the trackpad include erroneous click input, unresponsive clicks, cursor drift, and any other input that doesn’t match what’s intended by the user.
Though issues with the trackpad can be fairly obvious, check out the Dell XPS 9575 Troubleshooting Page for some additional information on potential issues pertaining to this component.
Tools
Parts
-
-
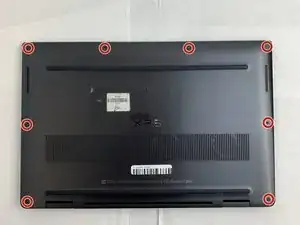
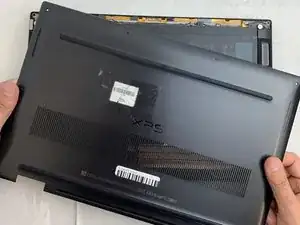
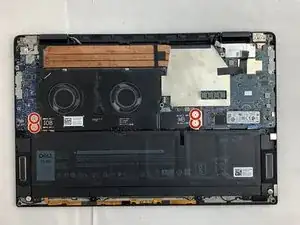
Use your T5 Torx driver to remove all eight 3.2mm hex screws holding down the back panel.
-
Wedge an opening pick between the back cover and the base of the board, then slightly lift the tool to pop the clips on the back cover off.
-
-
-
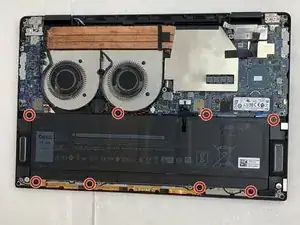
Use the Phillips #0 screwdriver to remove all four silver 3.2mm screws fastening the interconnect cable.
-
-
-
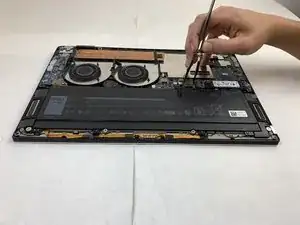
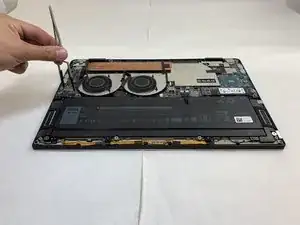
Carefully wedge the plastic opening pick between the fan and the interconnect cable.
-
Remove the interconnect cable.
-
-
-
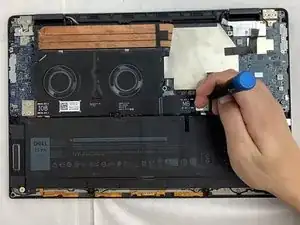
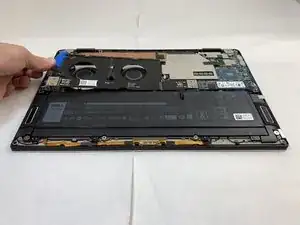
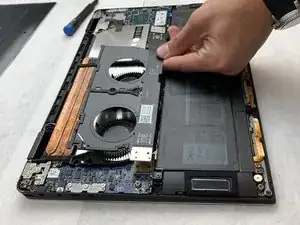
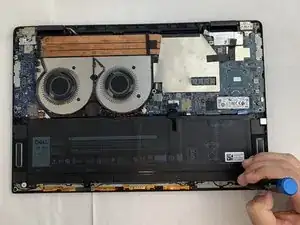
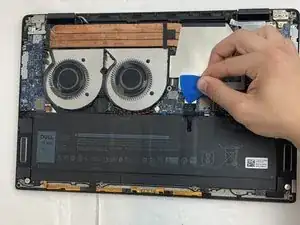
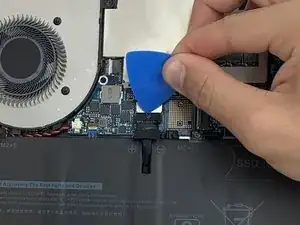
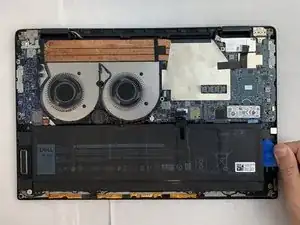
Use a plastic opening pick to separate the battery from the device.
-
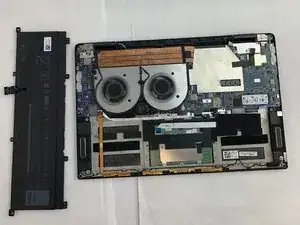
Lift the battery straight up and remove it when it is completely separated.
-
-
-
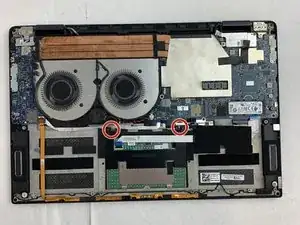
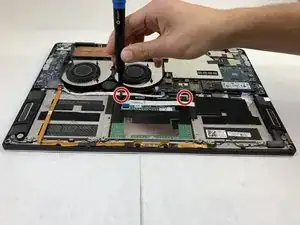
Use the Phillips #0 screwdriver to remove the two silver 3.2mm screws located in the two top corners of the trackpad.
-
-
-
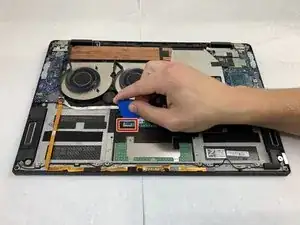
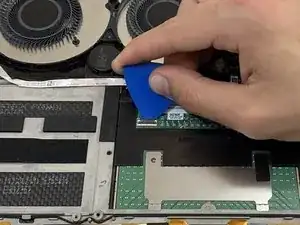
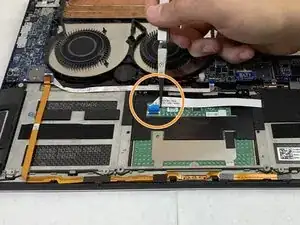
Flip the locking tab of the trackpad ZIF connector upwards with an opening pick, allowing the ribbon strip to be pulled forward.
-
Gently remove the ribbon cable with a set of tweezers.
-
-
-
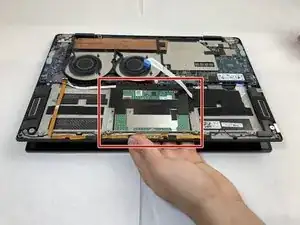
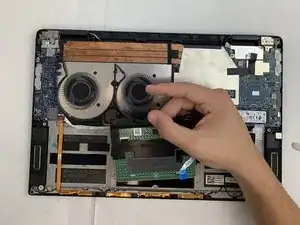
Open the laptop slightly and place your hand underneath the trackpad, gently popping the trackpad up from the case.
-
Once the trackpad is popped up, slide it outwards in order to remove it from the holder.
-
To reassemble your device, follow these instructions in reverse order.
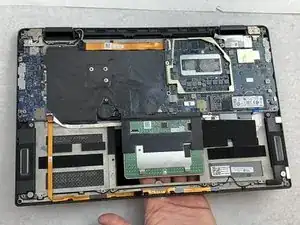
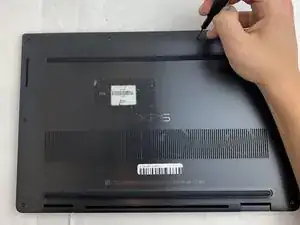
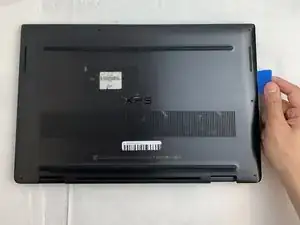
I found it quite tough to make the initial pick insertion. The easiest point for me was on the rear edge of the laptop just to the outside of the hinge.
The screws were all same size so no need to remember which came from where.
Mr Mac -