Introduction
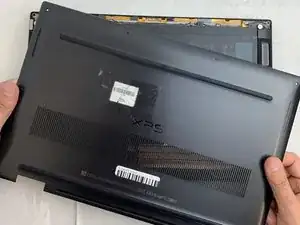
This guide instructs you on how to replace/remove the back cover of the Dell XPS 15 9575 in order to access the internal components.
Use caution when undoing the clips that hold the cover to the case so that the laptop is secure after reassembly.
Tools
-
-
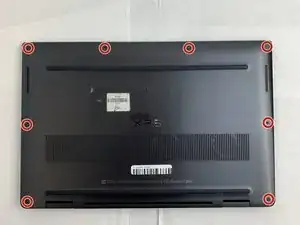
Use your T5 Torx driver to remove all eight 3.2mm hex screws holding down the back panel.
-
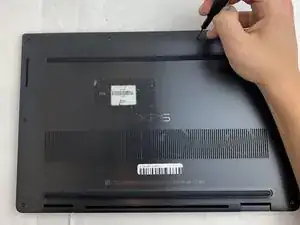
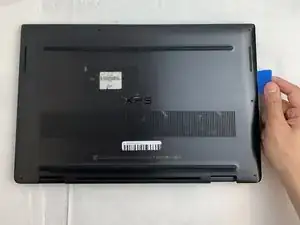
Wedge an opening pick between the back cover and the base of the board, then slightly lift the tool to pop the clips on the back cover off.
-
Conclusion
To reassemble your device, follow these instructions in reverse order.


I found it quite tough to make the initial pick insertion. The easiest point for me was on the rear edge of the laptop just to the outside of the hinge.
The screws were all same size so no need to remember which came from where.
Mr Mac -