Introduction

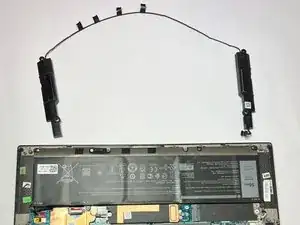
Audio issues or sound failure in the Dell XPS 15 9510 indicates that the speakers located on either side of the laptop may need replacement. There are no special skills involved in the removal of the speakers.

Before using this guide, make sure to review the troubleshooting page to ensure that the speaker doesn't have any driver or any other issues.

Make sure to power off your laptop completely and disconnect from any external power source before beginning the process.

  1. YY1uMIXAKpsoTi6r
    • Make sure the laptop is powered off and unplug all cables before beginning any repair.

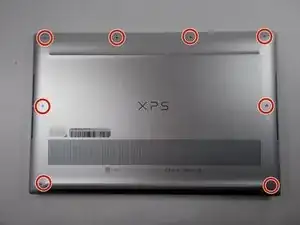
    • Remove eight 3 mm screws from the underside of the case using a T5 Torx screwdriver.

  2. CsyiMEh56dOAySMo
    • The metal case of the XPS 15 9510 is extremely sharp, so be careful not to run your fingers along the edge when disassembling the laptop.

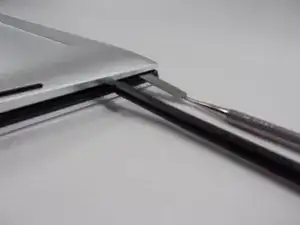
    • Wedge the case apart with a nylon spudger.

    • If the plastic one isn't possible to insert, use the metal spudger to carefully create a small gap first.

    • Slide spudger along each side of the laptop

  3. UCdtoFAuEYa1ZWTT
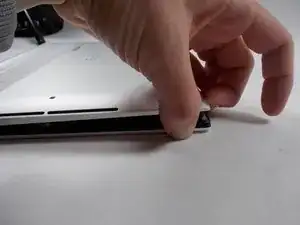
    • The metal case of the XPS 15 9510 is extremely sharp, so be careful not to run your fingers along the edge when disassembling the laptop.

    • Lift the back panel of the laptop off and set it aside.

    Please do not miss this warning of it being sharp...
    After opening a few laptops for my office, I have generally been fine. But after opening my own XPS... I had sliced my finger badly.

    Alipoodle M -

  4. mBRxwCheG4JScoZM
    mBRxwCheG4JScoZM
    BCIOPGDJgIHjjlRQ
    UYTMqAOjpL3xHsHA
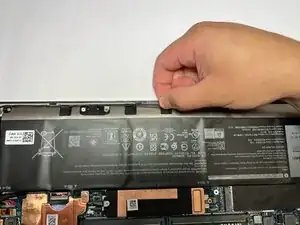
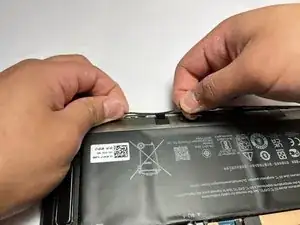
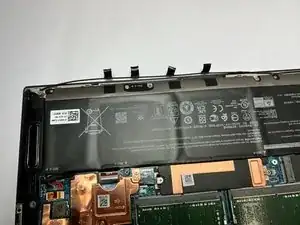
    • Remove the 4 pieces of black tape holding the speaker wire in place.

  5. DECCgkSRU1jeIsaG
    DECCgkSRU1jeIsaG
    x3faqCVHMUV5q2vf
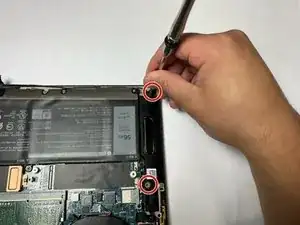
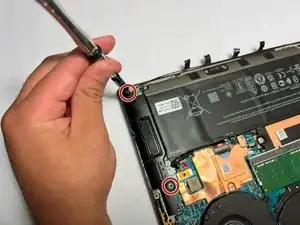
    • Remove the four 2.5 mm screws holding the speakers in place using a Phillips #0 screwdriver.

  6. WWlfNIBZYjBRAMTi
    WWlfNIBZYjBRAMTi
    etHvCquIqPkqq1kt
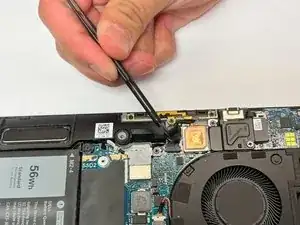
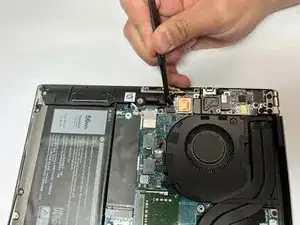
    • Lift the black tape that covers the power supply pin plug.

    • Remove the plug using a small pair of tweezers. Be sure to not damage any wiring.

  7. IGvZOqPS5N3qujXv
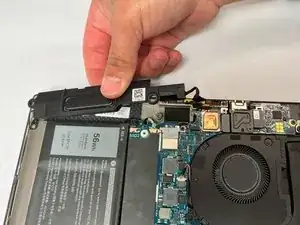
    • Lift the speakers up from the securing pins.

  8. ft4cG6UbBUxpAwD1
    ft4cG6UbBUxpAwD1
    dwyF2kEu3jCogAuM
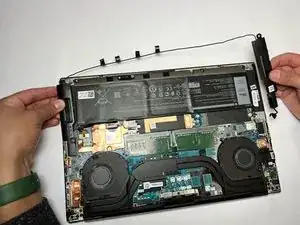
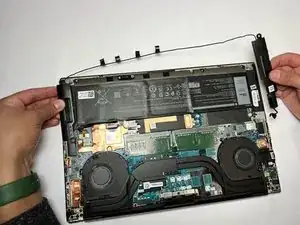
    • Begin removing the wire from the track on the computer body.

    • Now the speakers will be fully disconnected from the computer.

Conclusion

To reassemble your device, follow these instructions in reverse order.
Bethany Wright

Member since: 13/07/23

385 Reputation

0 comments