Introduction
This guide will show the steps required to replace the M.2 SSD on a Dell XPS 15 9500. The M.2 SSD is used to store data and the operating system on this laptop. You may want to follow this guide if you are having trouble with running out of storage space on your laptop, or if you noticed the storage speeds are getting slow and want to replace it. You may want to wear an anti-static strap but that is optional as it should be fine to do this process without one.
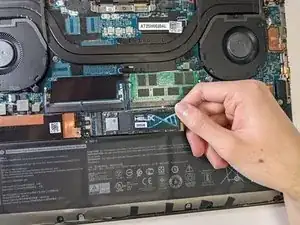
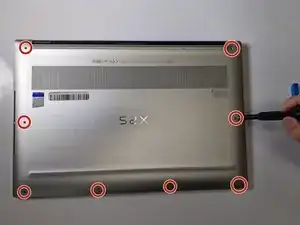
Before you begin this process make sure to completely shut down the laptop. It will require that you take off the bottom panel on the laptop, remove the screw holding the SSD in place, and lift the SSD out of its slot.
Tools
Parts
-
-
Gently wedge an opening tool in the gap between the base panel and chassis, and pry vertically around the perimeter until it releases from the chassis.
-
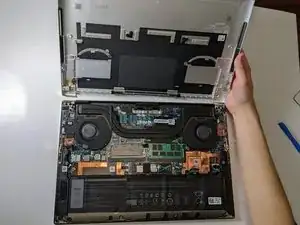
Lift the base panel up and away from the chassis.
-
-
-
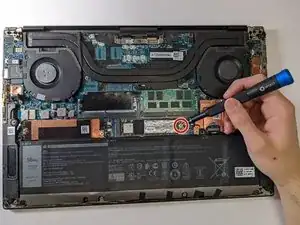
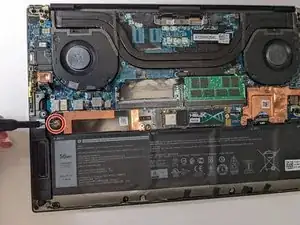
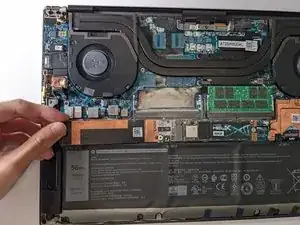
Use a Phillips #000 screwdriver to remove the single 3.0 mm screw on the right side of the SSD.
-
-
-
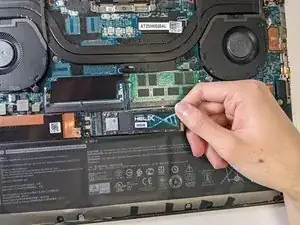
Use a Phillips #000 screwdriver to remove the one 3.0 mm screw on the left side of the SSD slot.
-
Pull the cover out directly toward the left.
-
To reassemble your device, follow these instructions in reverse order.


According to Dell Service Manual and my own laptop it is T5 screws. So you need to Torx T5 screwdriver.
Serge Fedorow -