Introduction
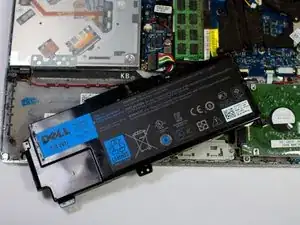
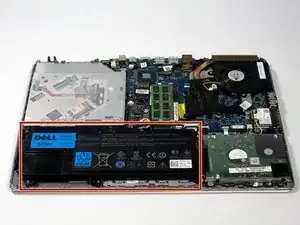
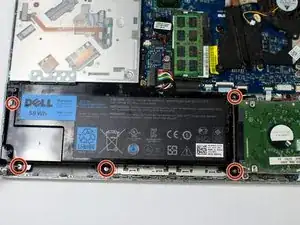
The battery is the main power supply to the laptop. Keeping a healthy battery is good for your device's health. A worn out battery can cause overheating of the device and it will have a shorter battery life. The removal of the battery is fairly simple and this guide will show you how to remove it. You will need a plastic opening tool and a Phillips #0 screwdriver.
Tools
-
-
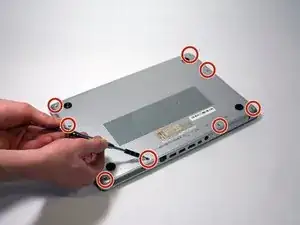
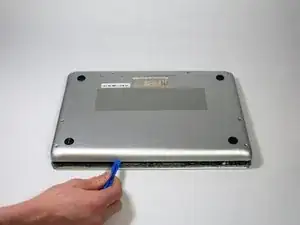
Remove the back cover of the laptop by unscrewing eight 3.5mm screws using a Phillips #0 screwdriver.
-
-
-
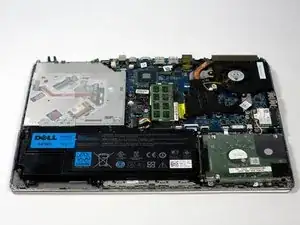
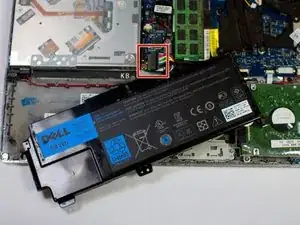
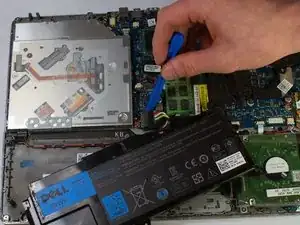
Using the plastic opening tools, carefully unplug the battery connection.
-
Then, plug your replacement battery into the new connection.
-
To reassemble your device, follow these instructions in reverse order.
One comment
It worked smoothly! Less than 15 minutes. I used a OEM-battery, instead of an original one.
