Introduction
This guide show the procedure for replacing the display of the Dell XPS 13. It requires opening the back case and removing the battery and speakers. The display is hooked up to the motherboard by six separate connectors, and cannot be removed unless the laptop is open. Use this guide if have a cracked or malfunctioning Dell XPS 13 display.
Tools
-
-
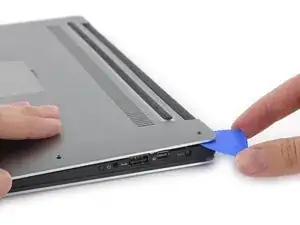
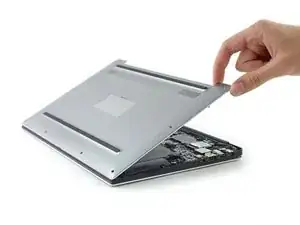
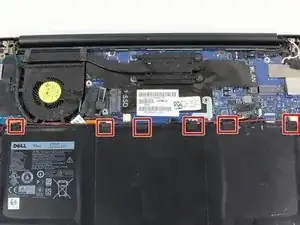
Use opening picks or a plastic pry tool to pry open the case clips, beginning from the back edge.
-
-
-
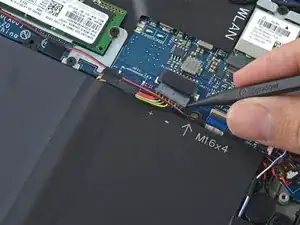
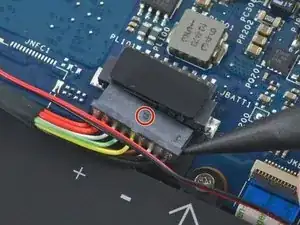
Pull the battery cable connector towards the battery to disconnect it from its socket.
-
If the connector is stubborn, push a little at one side, then the other, to "walk" it out of its socket.
-
If you have trouble walking the connector out of the socket, use the point of a spudger to gently push on the connector indent to slide the connector out.
-
Open the display and press the power button for five seconds to drain any remaining charge from the system.
-
-
-
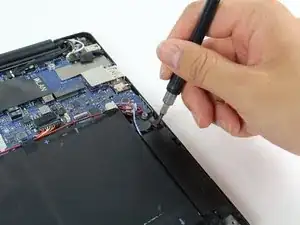
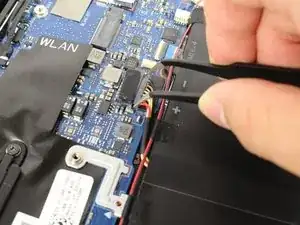
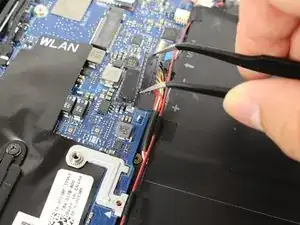
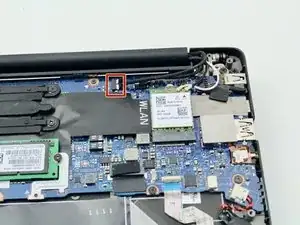
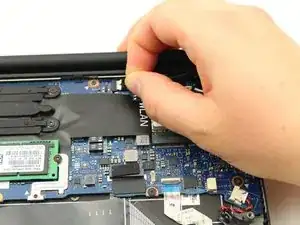
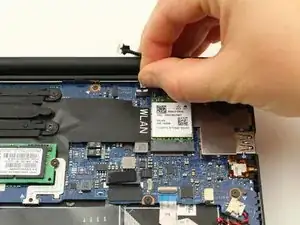
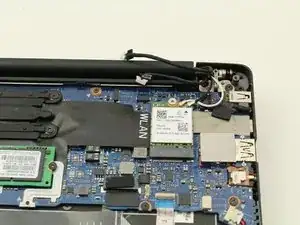
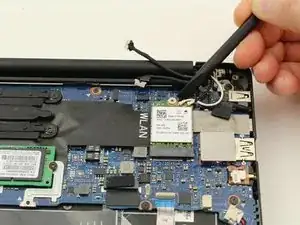
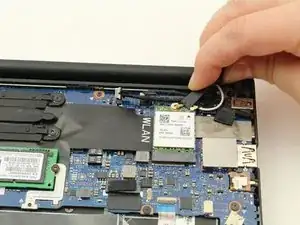
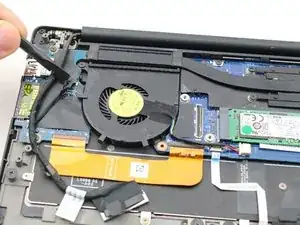
Using a spudger, pry up the press fit connector on the end of the left cable bundle.
-
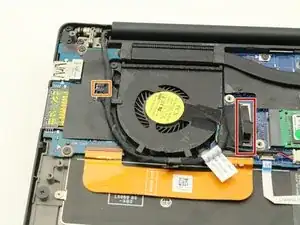
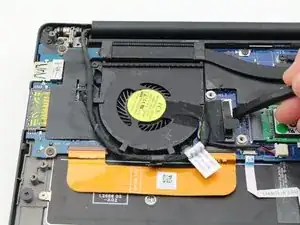
Gently remove the sliding cable connector from its port to the left of the fan.
-
-
-
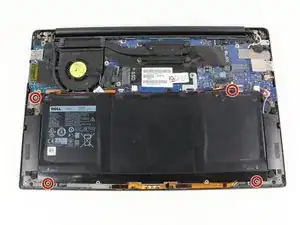
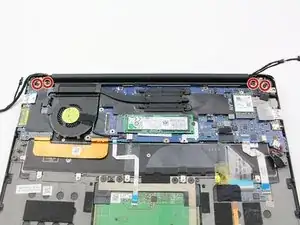
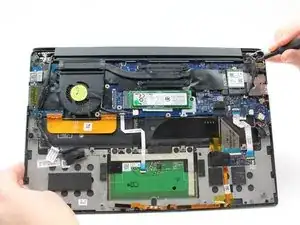
Remove the four, black 4.6 mm screws from the display mounts using a Phillips #0 screwdriver.
-
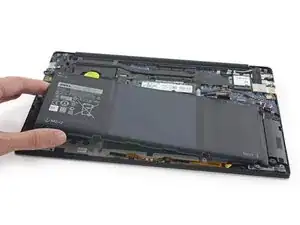
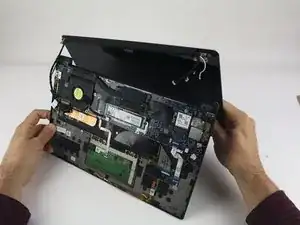
Remove the display assembly.
-
To reassemble your device, follow these instructions in reverse order.
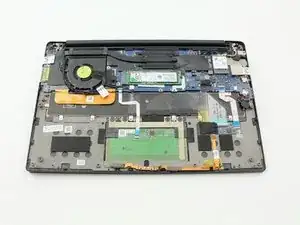
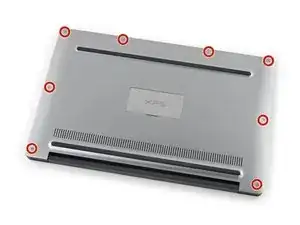
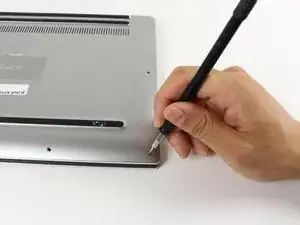
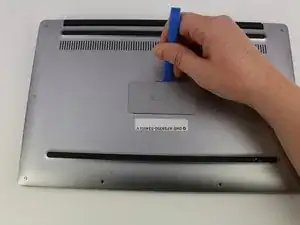
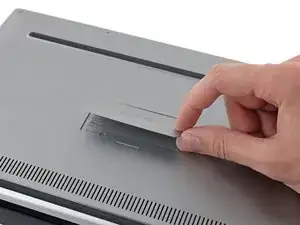
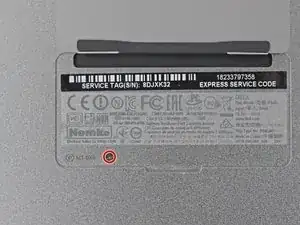

Missing a step about removing the tiny Phillips head screw under the XPS flip up cover in the middle. Also, there are hooks all the way around the cover so it doesn’t simply lift off.
curtis_p_brown -
What about step 3???
Peter Hecht -
Please dont hurry , take your Time to follow this procedure. It takes 20 min (not 5) and step 4 requires half of this Time. Good luck.
Peter Hecht -
+1 Peter Hecht is right - getting the little clips the back is snapped on with is time consuming and a bit fiddly for people not used to “spudging” off covers. Starting from the back is the key those come loose much easier and help with the rest
Doug Steinschneider -