Introduction

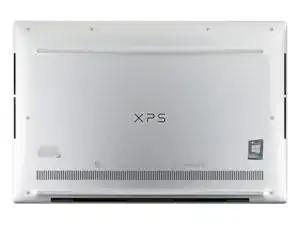
Use this guide to replace the battery in your Dell XPS 13 9310 Laptop.

For your safety, discharge the battery below 25% before disassembling your device. This reduces the risk of fire if the battery is accidentally damaged during the repair. If your battery is swollen, take appropriate precautions.

  1. OxLDeiFsjBFbBKoH
    OxLDeiFsjBFbBKoH
    jdwmycAJutB4T63W
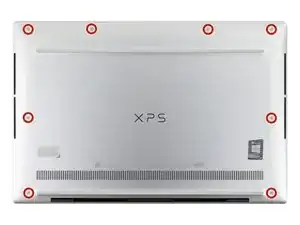
    • Use a T5 Torx screwdriver to remove the eight 3.3 mm screws securing the case.

  2. 2mxcXRONVqj1obFw
    2mxcXRONVqj1obFw
    OtfbFOXTWjlkayvf
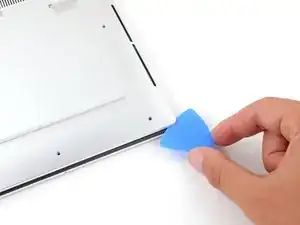
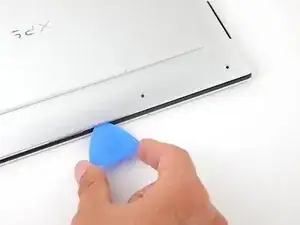
    • Insert an opening pick between the lower case and the chassis on the front right edge.

  3. DhyS4TSRF2n6fqCM
    DhyS4TSRF2n6fqCM
    T1oY25jIUOnMemGq
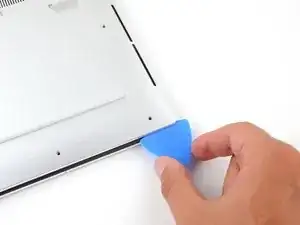
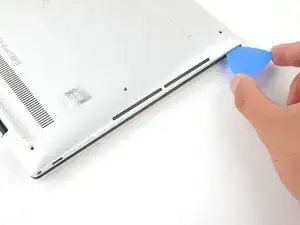
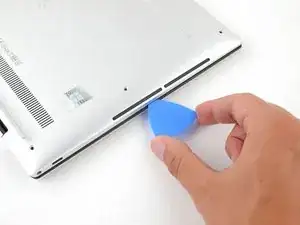
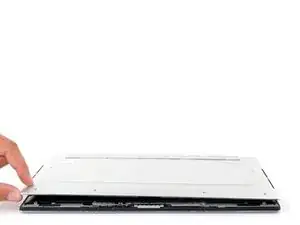
    • Slide the pick along the front edge to release the clips securing the lower case.

  4. jpLhHKjul5FnFWN3
    jpLhHKjul5FnFWN3
    rf6CFtmALfjIL5JQ
    HPLXSdfps6Olodks
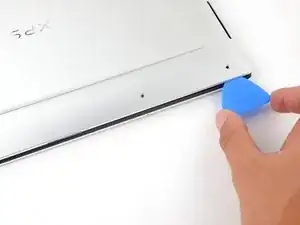
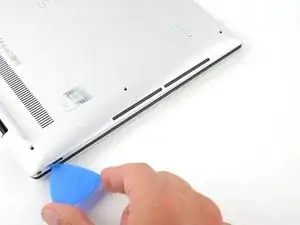
    • Continue sliding the opening pick along the perimeter of the lower case to release the remaining clips.

  5. UHNMXy31aWKlafXY
    UHNMXy31aWKlafXY
    IwU1YLUKe3KNBUDq
    cWDNn1XlE3Bts1Xd
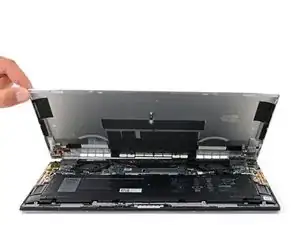
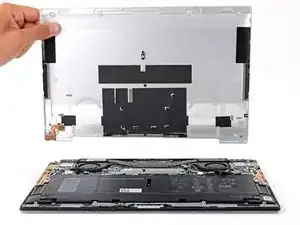
    • Lift the lower case from the chassis and remove it.

    • During reassembly, this is a good point to power on your laptop and test all functions before sealing it up. Be sure to power your laptop back down before you continue working.

  6. A2l3QaUT3CHB3XoF
    A2l3QaUT3CHB3XoF
    wNHFiQ5eNLm2uDHo
    yHReyLN2J6PUFNGh
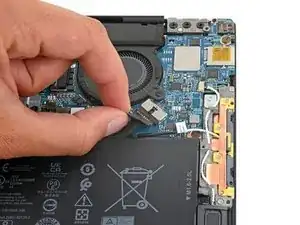
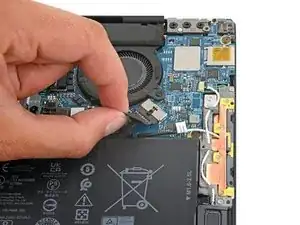
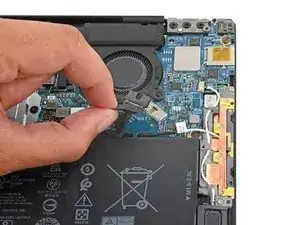
    • Grip the pull tab on the battery connector with your fingers and gently pull away from the socket to disconnect it.

    • After you disconnect the battery, some of your laptop's startup (BIOS) settings will revert to their defaults.

    • You may need to run BIOS setup to reset the system clock as well as any specialized disk settings before you can boot up your XPS.

  7. aupgRbLgNUNT5fdT
    aupgRbLgNUNT5fdT
    xBfOTgRY54XhBGYI
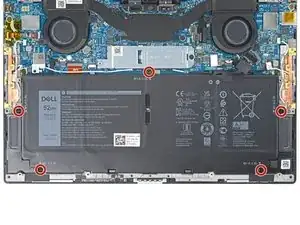
    • Use a Phillips screwdriver to remove the five 2.8 mm-long screws securing the battery.

  8. RvDZHXDNHDYORWbw
    RvDZHXDNHDYORWbw
    n1WrvIvBMnSWRxSw
    typYlrISuWk3IKfH
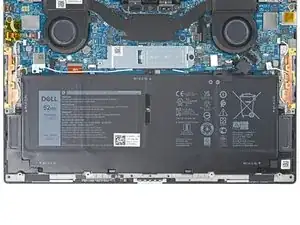
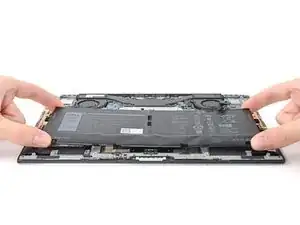
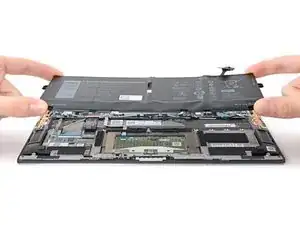
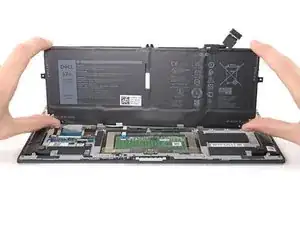
    • Lift the battery straight out of its recess and remove it.

Conclusion

To reassemble your device, follow these instructions in reverse order.

For optimal performance, calibrate your newly installed battery after completing this guide.

Take your e-waste to an R2 or e-Stewards certified recycler.

Repair didn’t go as planned? Try some basic troubleshooting, or ask our Answers community for help.
Alex Diaz-Kokaisl

Member since: 16/01/22

117875 Reputation

0 comments