
Introduction
The first step in replacing the internal components of the Dell Vostro 15 5510 is to remove its back cover. To complete this guide, you will need a Phillips #0 screwdriver head and a plastic opening tool.
-
-
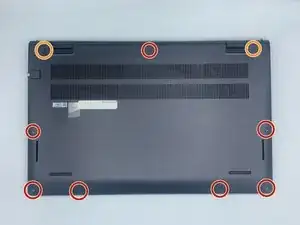
Remove the remaining (M2x4mm) screws with the screwdriver.
-
Loosen the two captive (M2x7.5mm) corner screws with the screwdriver.
-
-
-
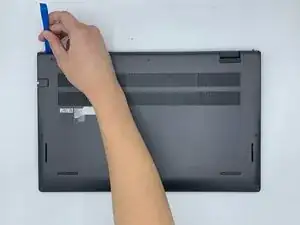
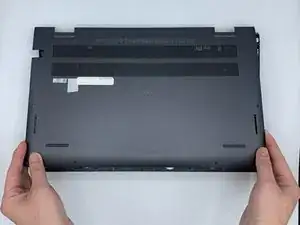
Pry open the top left corner of the cover with the opening tool.
-
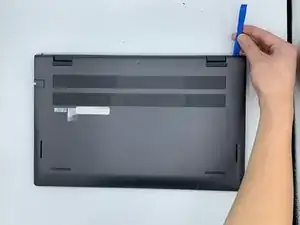
Pry open the top right corner of the cover with the opening tool.
-
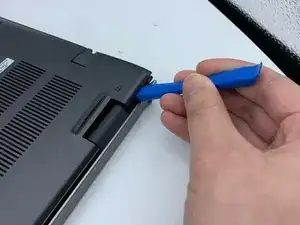
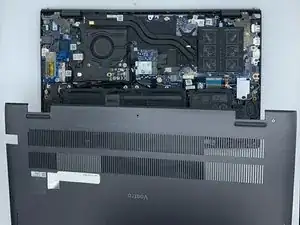
Pry the rest of the cover with the opening tool, working in a clockwise motion until it is completely loosened.
-
-
-
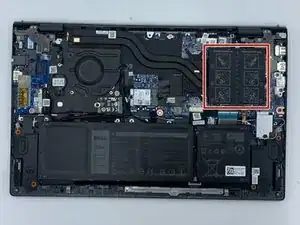
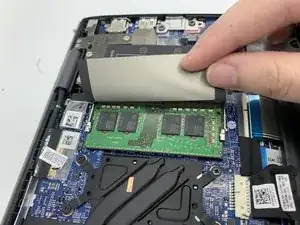
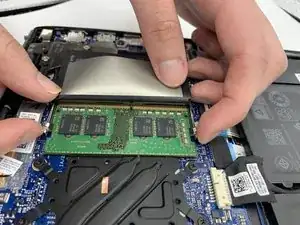
Pull the securing clips from both sides of the memory module outwards until the memory board pops up.
-
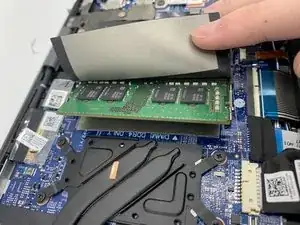
Remove the memory board from the memory-module slot.
-

To reassemble your device, follow these instructions in reverse order.