Introduction

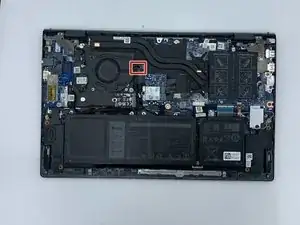
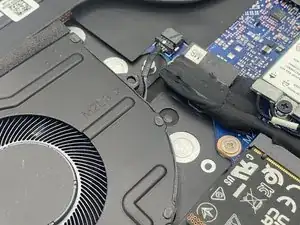
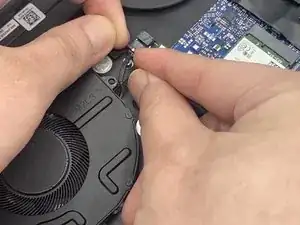
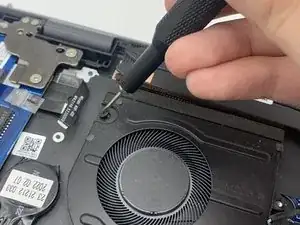
Once you have removed the back cover and gain access to the internal components of the Dell Vostro 15 5510, once of the components you will be able to replace is the fan. To complete this guide, you will need a Phillips #0 screwdriver head and a plastic opening tool. You will not need to do any difficult steps, but be sure to remove the fan cable carefully.

  1. wKltUIPVbCptL5kk
    • Power off your laptop before beginning disassembly.

    • Place the laptop so the bottom cover is facing upwards.

  2. veDjOW2tomEsjkQS
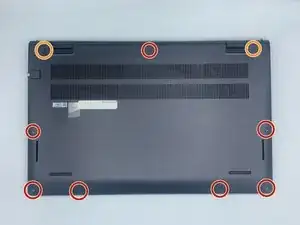
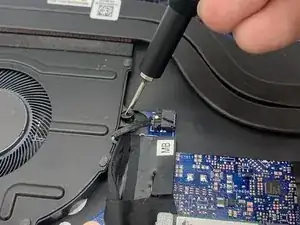
    • Remove the remaining (M2x4mm) screws with the screwdriver.

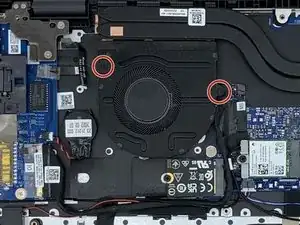
    • Loosen the two captive (M2x7.5mm) corner screws with the screwdriver.

  3. s6sSXXdLmaKdAMOa
    s6sSXXdLmaKdAMOa
    3BEBPPXvmAAgoR5B
    fFDBPIIjamnfxFWE
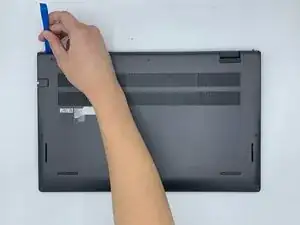
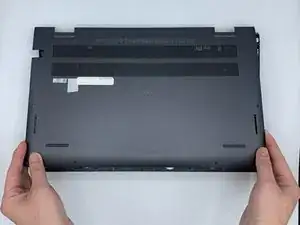
    • Pry open the top left corner of the cover with the opening tool.

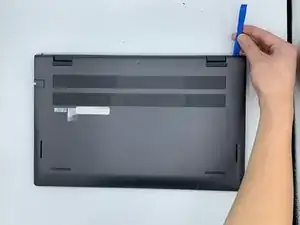
    • Pry open the top right corner of the cover with the opening tool.

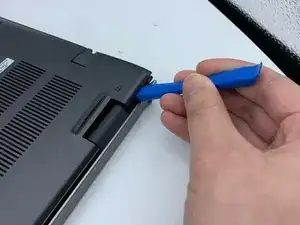
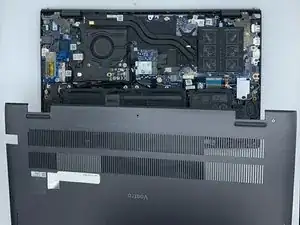
    • Pry the rest of the cover with the opening tool, working in a clockwise motion until it is completely loosened.

  4. 3ewmOHADINKeeZxR
    3ewmOHADINKeeZxR
    NYoScuGZfPgCmaYW
    rS1HLRgIAwPDYP1Y
    • Lift the cover to remove it from the rest of the laptop.

  5. rSsoBuZbbXEWs2Pv
    rSsoBuZbbXEWs2Pv
    MehxKHahWGqGZE25
    U2YvIDvUbG2IyjFO
    • Disconnect the fan cable from the system board.

  6. 1afgxBIem1oSHprl
    1afgxBIem1oSHprl
    fQijMJychjUGpDMU
    WOA4kvDDHfYBNVDy
    • Remove the two (M2x3mm) screws from the fan using the screwdriver.

  7. hIvdKyugEUMHtCaU
    hIvdKyugEUMHtCaU
    6GskX6HL1nFYZMWp
    • Lift the fan to remove it.

Conclusion

To reassemble your device, follow these instructions in reverse order.

Ky Vang

Member since: 28/09/21

378 Reputation

0 comments