Introduction

This guide will explain in detail how to replace the CMOS battery in the Dell Vostro 3550. An easy way to tell whether the CMOS battery on your device needs to be changed is if your computer suddenly forgets the current day and time.

  1. XJFTki1QKER1pSfr
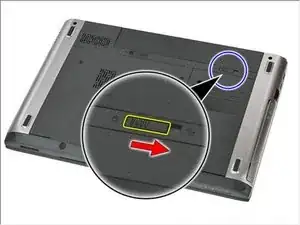
    • Slide the release latches to unlock the battery.

    What size is the battery? Does it have a pigtail?

    R. Castano -

  2. jnWm5I41ILAK2KsA
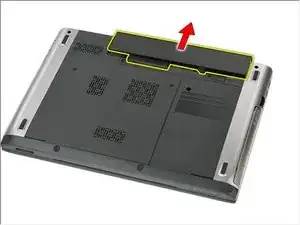
    • Slide the battery and remove it from the computer.

  3. pPCCNp1kRLcrHe6S
    pPCCNp1kRLcrHe6S
    5fKgZSaGiQ5gWbb2
    uGnPqMCUPK1ACZDQ
    • Turn the laptop right side up. Open the display to reveal the keyboard.

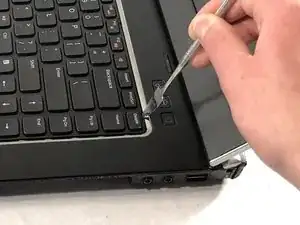
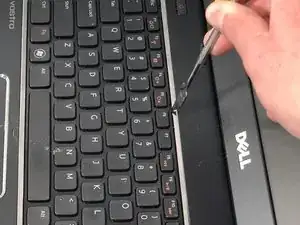
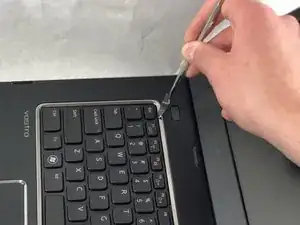
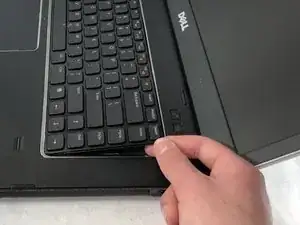
    • Use the metal spudger to pry the keyboard upward from the base. Make sure to pop each of the three clips keeping the keyboard in place.

  4. MiCUf5ROYFwHgcwE
    MiCUf5ROYFwHgcwE
    hqk4d3wKn2luWBOA
    uVJvcPP5ALjMYE1X
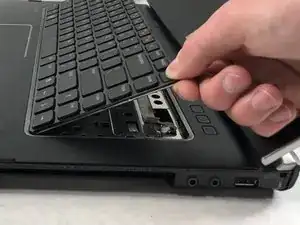
    • Carefully lift the keyboard upward to reveal the keyboard ribbon cable.

  5. xTYgNIgCIJYITSbS
    xTYgNIgCIJYITSbS
    qR23jlmvmfV6SUm2
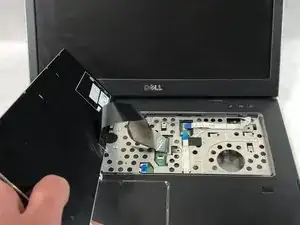
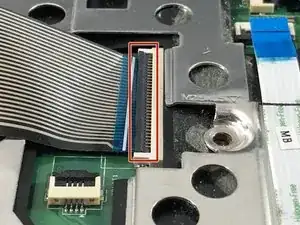
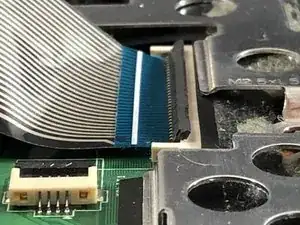
    • Lift the black tab on the keyboard cable connector upwards to release the cable.

  6. TmqpYgvDObyw2SFi
    TmqpYgvDObyw2SFi
    sa4cVXJaFHxAQvPK
    NXmP2FkUnSFcPlpb
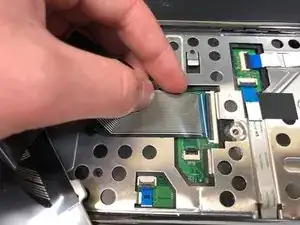
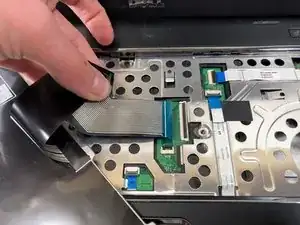
    • Pull the ribbon cable away from the connector.

    • Remove the keyboard.

    Do not pry the base. This will deform the aluminium keyboard base.

    Release the clips at the top of the keyboard, 4 of them, not 3. Gently pry the top as you release each clip. The keyboard will lift towards you from the top.

    Do you even do this or do you just offer an opinion?

    FFS.

    J S -

    I followed the steps outlined in this repair guide and I had no issues at all. Do you think the issue is that you are not mechanically inclined? If you deformed your keyboard base that is a shame. FFS

    Mike Hock -

  7. yJh6Io1plQOVk3ay
    yJh6Io1plQOVk3ay
    uKgilHgyt1Ar6pB3
    vIuyKUoeOUayYiAX
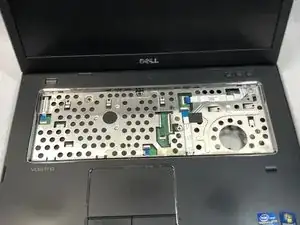
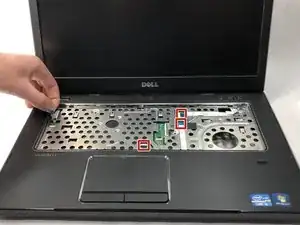
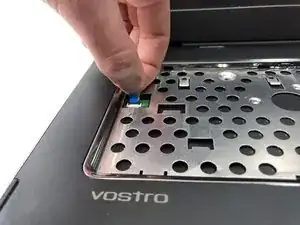
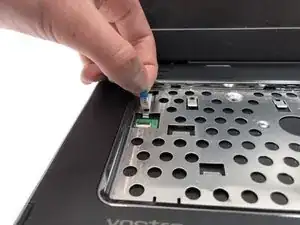
    • Remove the small cable connected to the left side of the casing.

    • Repeat this step for the three remaining cables on the casing.

  8. 4NEKDihmOj1jU5IA
    4NEKDihmOj1jU5IA
    JAvUNs3XKRYYWpFa
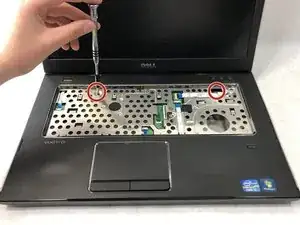
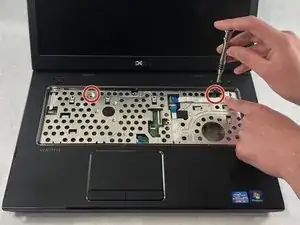
    • Remove the two 5mm Phillips #0 screws to the far right and far left of the motherboard casing.

  9. 3XllgLL2MWYD1ZSS
    3XllgLL2MWYD1ZSS
    XvQDiNMxRUIhItox
    RlnLqjtHuwreUWsR
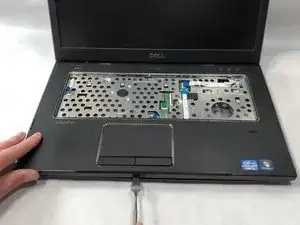
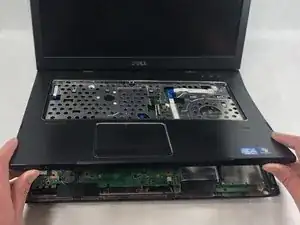
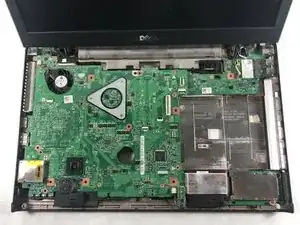
    • Using the metal spudger, pry the palmrest assembly from the lower case.

    • Lift off the palmrest assembly to reveal the motherboard.

    It took me a good 20 minutes to figure this out but there’s a screw that has been skipped over here in the bottom left corner. Underneath one of the rubber bits.

    Daniel Carroll -

    Sorry! It took us a very long time to figure this out too. Not sure if we had a screw there or was missing.

    Dylan J. Souza -

    This wasn’t easy. I had to unscrew most of the screws from the bottom of the laptop to get this piece off. After this, Finding the battery and replacing it was the easy part

    Robin Jackim -

    Well I also managed to do it and it worked. Must say, I had to unscrew ALL the screws on the back of the laptop to be able to get to the CR2032 battery.

    Yvonne van Duyker -

  10. U3BDTpkdDXiARlLO
    U3BDTpkdDXiARlLO
    oeNTLCJThfs3le3P
    L6T4gOQZaaff32uB
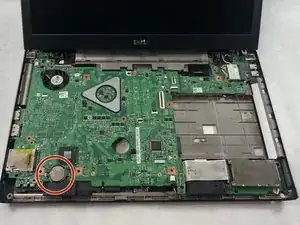
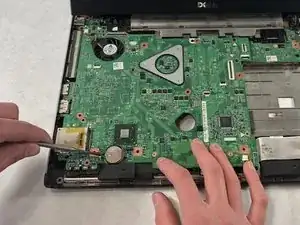
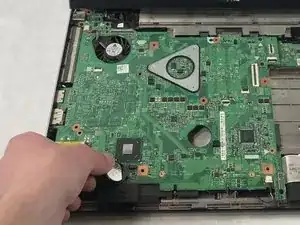
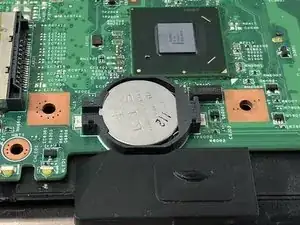
    • Use a nylon spudger to pry the CMOS battery from the motherboard.

    • Remove the CMOS battery.

Conclusion

To reassemble your device, follow these instructions in reverse order.

Dylan J. Souza

Member since: 22/03/19

781 Reputation

3 comments

Thank you, this saved my day.

Two small things:

- In step 7 I needed to remove four screws (visible in the picture).

- In order to perform step 9, I needed to remove seven screws from the bottom case.

Serge Helfrich -

Glad you found it helpful!

Dylan J. Souza -

Note: before step 9, we need to remove all the screws from bottom before open the cover!

Thanks for all, it´s helped me A LOT!!!!!
Rodrigo Tognin -