Introduction

The Wi-Fi card connects your computer to the internet wirelessy. If you are having trouble connecting to your router or your internet is slow, it might be caused by the Wi-Fi card. This guide will show you step by step on how to replace the Wi-Fi card.

  1. HJSe4nLCeEcGuOmP
    HJSe4nLCeEcGuOmP
    BYIepnxTBWdpYgL6
    • Make certain that the power to your laptop is off.

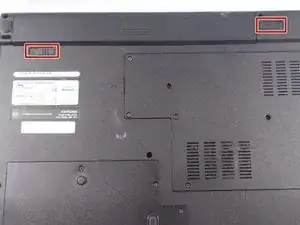
    • Press and slide the two buttons outwards and away from the battery.

  2. tcKlJi3AtuyJOwOA
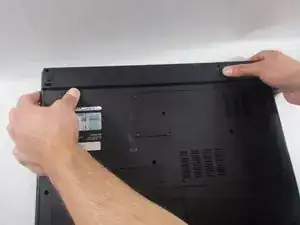
    • Slide the battery away and parallel from the laptop.

  3. jZs1qKsbE6ooIVHT
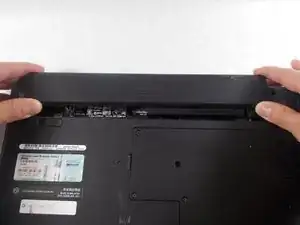
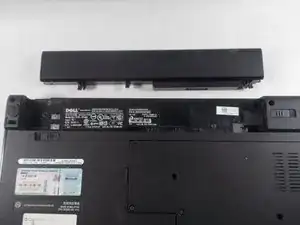
    • Remove the battery from the slot.

  4. CqvHqnU3x5UVUftc
    CqvHqnU3x5UVUftc
    V3OINWWcLGByNkND
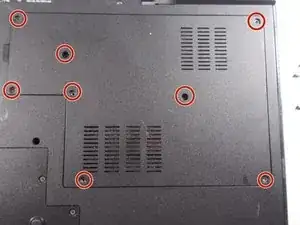
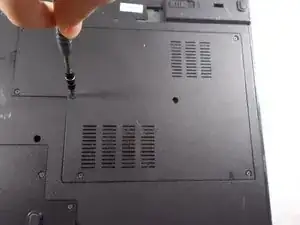
    • Unscrew the eight 6mm screws with a Philips #1 screw driver.

  5. qNjJvmgdBWmmTuhk
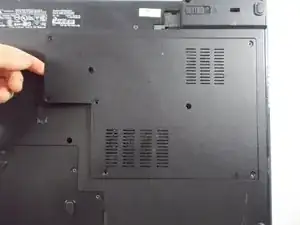
    • Lift back cover from the groove on the left side of the cover next to the symbol.

  6. 4dYtGLMfEWNQ4Dw2
    4dYtGLMfEWNQ4Dw2
    nby6BYZaunUN6bwV
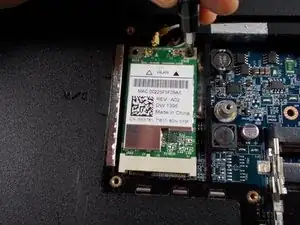
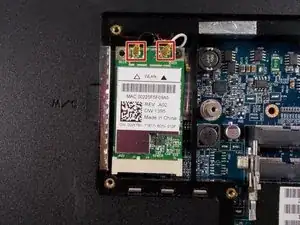
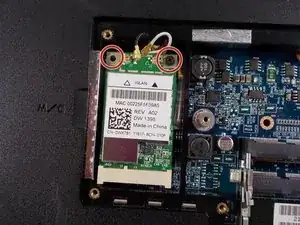
    • Remove the two 3mm Philips #1 screws from the top of the Wi-Fi card.

  7. h5OLcPKRHMOPJlcL
    h5OLcPKRHMOPJlcL
    x2ENgvAC6gNMcWVM
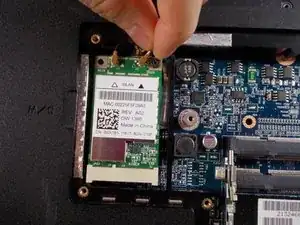
    • Unclip both black and white wires from the Wi-Fi card.

  8. oaDqZZIfgKFmIGtA
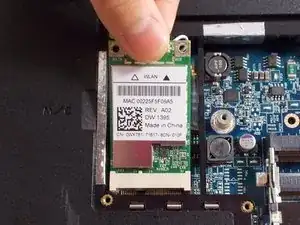
    • Gently pull Wi-Fi card out of its position at its angle.

Conclusion

To reassemble your device, follow these instructions in reverse order.
Jeremy Campeau

Member since: 20/03/18

347 Reputation

0 comments