Introduction

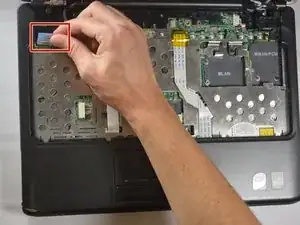
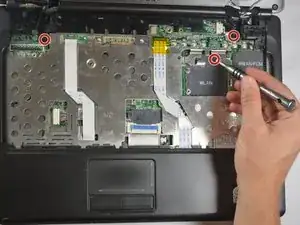
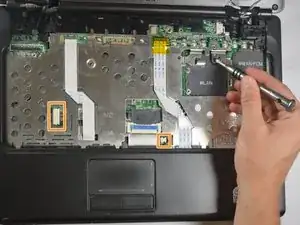
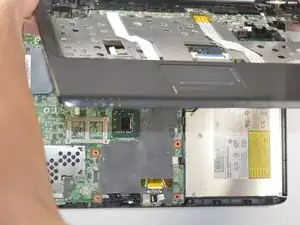
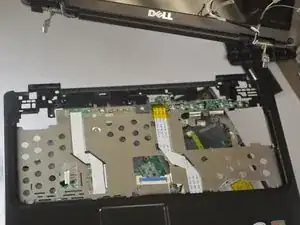
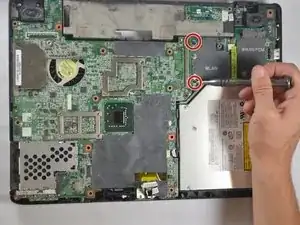
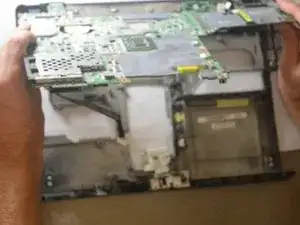
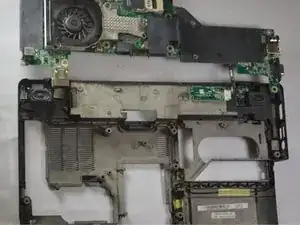
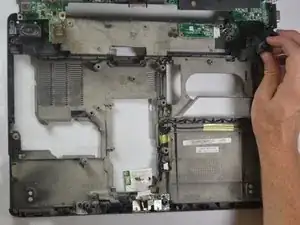
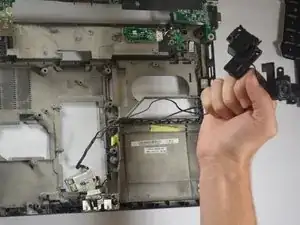
This guide will show you the proper steps to replace your speakers in your Dell Vostro 1400 Laptop.

Computer speakers allow any audio played to be transmitted out loud without the use of headphones. Speakers that are not functional will produce either distorted sound or no sound at all.

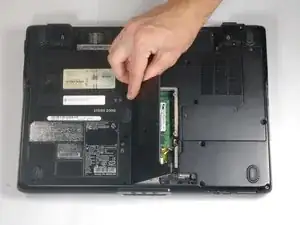
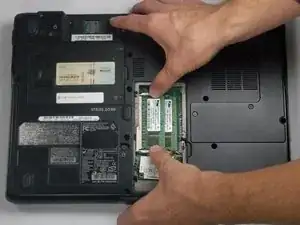
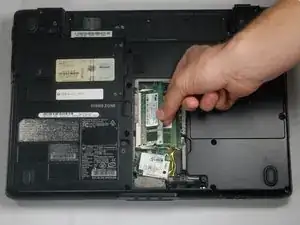
Before using this guide, make sure to remove the hard drive, the battery, and the RAM.

Before beginning, make sure the device is powered off and disconnected from any power source.

  1. UMeyFlOhijgFIcPG
    • Be sure the power is off and all cables are unplugged from the device before starting.

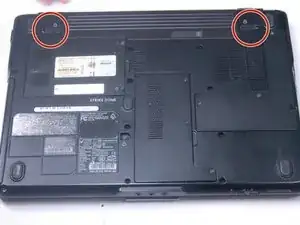
    • After flipping over the laptop, the battery is on the bottom side of the laptop.

    • Find the tabs on both the left and right side of the battery.

  2. Dh4fcBCh1rDnw2EA
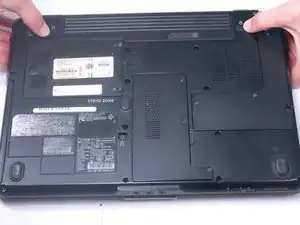
    • Push tabs toward the outside of the laptop until they lock in place.

  3. 4AsEnMSiIp4iak2s
    4AsEnMSiIp4iak2s
    cnFLkWrdcFOAmQWf
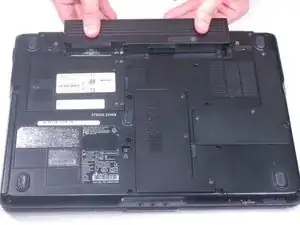
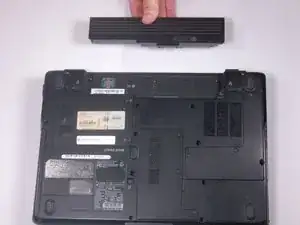
    • Push the battery forward to eject it from the laptop.

  4. EpYnk5HcmhLaGAZV
    EpYnk5HcmhLaGAZV
    oSkNcWCdRgaLIIwQ
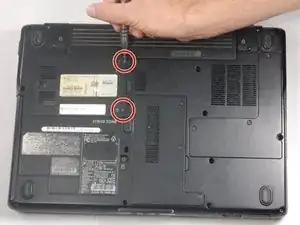
    • Please ensure that your device is turned off and everything is unplugged before working on it.

    • Unscrew both screws on the hard drive panel until the panel is able to be removed.

    • The screws will not come off of the panel.

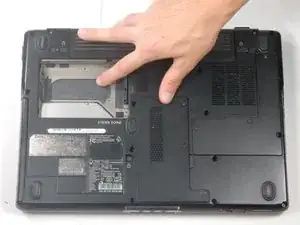
    • Once screws have been loosened, remove the panel from the laptop.

  5. 4tCFKEpwFafZ4DqJ
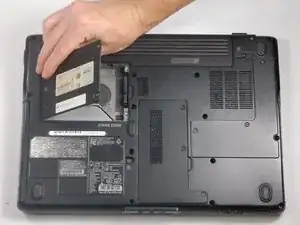
    • Remove the hard drive by pulling up on the black tab on the right side of the hard drive.

  6. x5Z6GaVIWc46qnOQ
    x5Z6GaVIWc46qnOQ
    t1BRXxyJhEsLCWNt
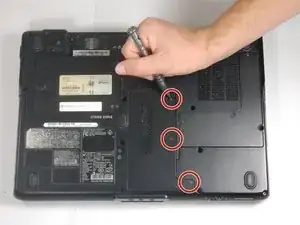
    • Make sure the laptop is turned off and all cables are unplugged.

    • Loosen the three 3 mm screws on the RAM cover.

    • Screws will not completely come out.

    • Lift the cover and remove it from the laptop.

  7. TcaIB2FJWZ2BD2U4
    TcaIB2FJWZ2BD2U4
    Hnc2XwI3DSSfRU4v
    • Pull tabs apart on both the top and bottom of the memory card.

    • Lift memory card and remove it from the laptop.

    • Repeat the process for the second memory card.

  8. CfZx5GeTrWGLCwbM
    CfZx5GeTrWGLCwbM
    YEfHjFHpgUJTunqE
    VRsmEpMPrsPDEgSa
    • Make sure device is turned off

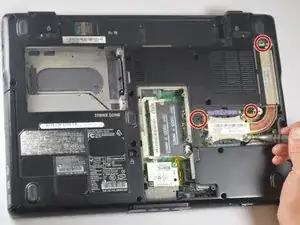
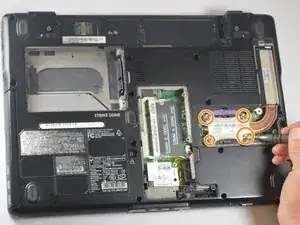
    • Loosen the 3 screws holding down the panel for the CPU processor door.

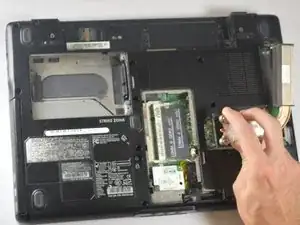
    • Loosen the 4 heat sink screws and lift the heat sink away from the motherboard.

  9. vfiPlZVu1foTS22F
    vfiPlZVu1foTS22F
    kGLrYWWmfbLICZyx
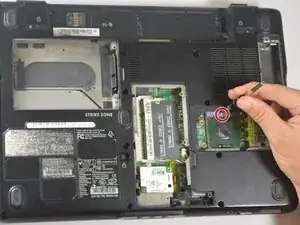
    • Use a flat head screw driver to turn the CPU locking screw counter clockwise to 180 degrees.

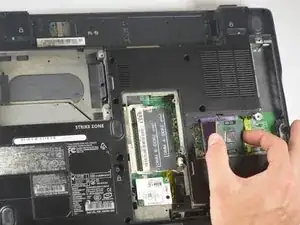
    • Lift CPU processor away from the motherboard

  10. onmmLPPVGa24NOjL
    onmmLPPVGa24NOjL
    BariCMCo6pdlZvpG
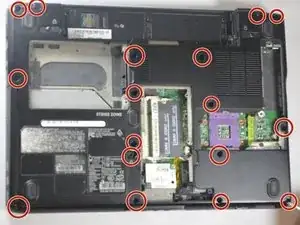
    • Remove the seventeen 8mm bottom base screws.

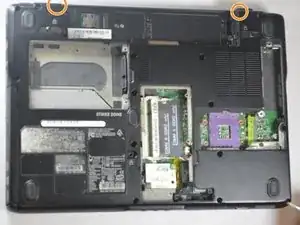
    • Remove the two 8mm screws from the back.

  11. Cs5PDPuuGSH43yFe
    Cs5PDPuuGSH43yFe
    xDniUJPFgWVawnBG
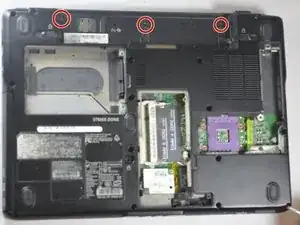
    • Remove the three 3mm bottom base screws.

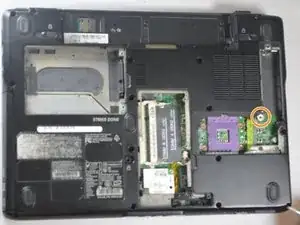
    • Remove the 5mm bottom base screw.

  12. Fl1aG2MOg2D1tlTX
    Fl1aG2MOg2D1tlTX
    JQUy3bw2Dfv2tQcQ
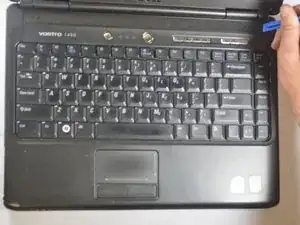
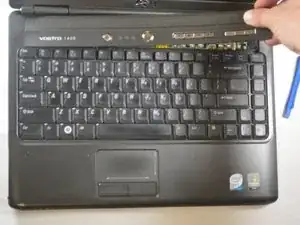
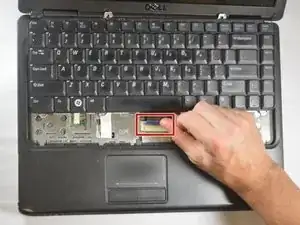
    • Turn over the laptop and open it.

    • Using a flat head screw driver, pry up the power button cover starting right to left.

  13. uV6MdJ2CUiHNJhmZ
    uV6MdJ2CUiHNJhmZ
    UYC5gM53lpu5FqKD
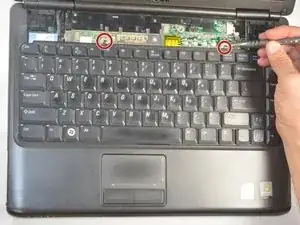
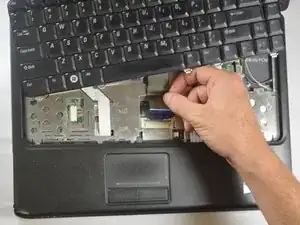
    • Unscrew the (2) 2mm x 3mm screws.

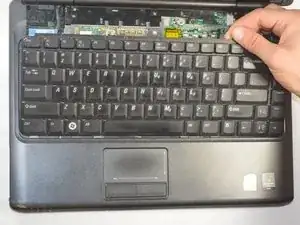
    • Carefully lift the keyboard and hold it over the power button.

  14. PPQBvGMQuUPjJkum
    PPQBvGMQuUPjJkum
    C5fXZtUDJvUZRAYa
    iHjpQWbb5MXgYGHK
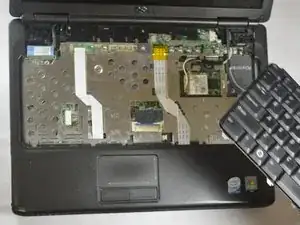
    • Carefully lift up the blue latch on the keyboard cable connector and slide the cable out.

  15. WeLO5uEKtIfy2HQM
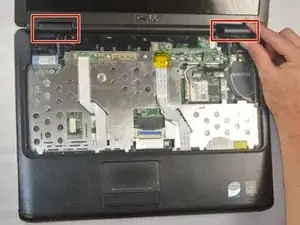
    • Remove the left and the right hinge covers.

  16. UtYVGgrgfPDiB55e
    UtYVGgrgfPDiB55e
    DgJTPTTIAE25UE4I
    tb6BshBIysNcDxEH
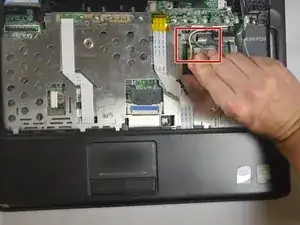
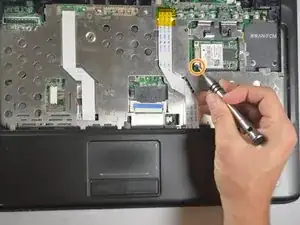
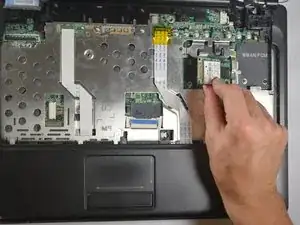
    • Unplug the WLAN antenna cables.

    • Unscrew the 2mm x 3mm screw.

    • Remove the WLAN card from the motherboard.

  17. 4agT46AOJWVip1qK
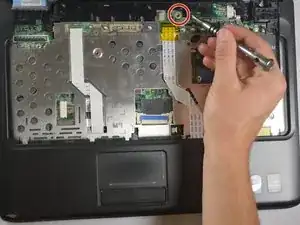
    • Remove the 2mm x 3mm screw on the media button circuit board.

    • Loosen the media button circuit board and take the antenna cables from under it.

  18. 1M3FiRQQfnyuJ5Ka
    • Unplug LCD cable

    • Lift LCD assembly away from the laptop

  19. ITsNMDDlvuZGTb3t
    ITsNMDDlvuZGTb3t
    Wk2fUGZtwiIhb3uH
    • Remove the (3) 2.5mm x 5mm top palmrest screws

    • Unplug palm rest cables

  20. XIZeypgfEWKVaBR2
    XIZeypgfEWKVaBR2
    svSCgRUJPlgElYUI
    • Remove the palm rest from the base of the laptop

  21. BuM6Laa1CTTE2223
    BuM6Laa1CTTE2223
    rm1vYVi5S1EcY2BY
    6rPoCnrCpM5WFefM
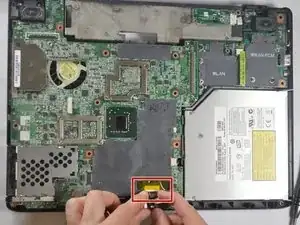
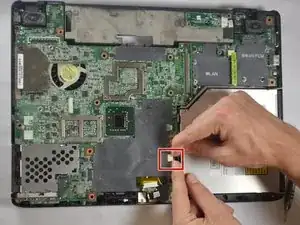
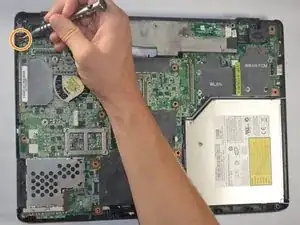
    • Unplug the audio board cable and the speakers.

    • Remove the 2.5mm x 5mm screw.

  22. CuKGySsMsO4XP5XK
    CuKGySsMsO4XP5XK
    fo5O1MmEXrWyLE2h
    fNT2GbCavyAnvhhN
    • Remove the (2) 2mm x 3mm screws.

    • Lift the motherboard out of the base and flip it over.

  23. XHCcwRAZOBnMcRN6
    XHCcwRAZOBnMcRN6
    CwERFYELwO6IUSmA
    SIohdPq1FxLeJt3F
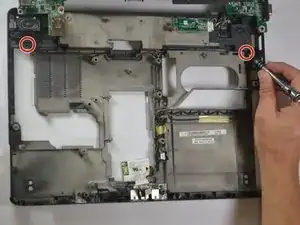
    • Remove the two 2.5mm x 5mm Right and Left speaker screws

    • Lift the speakers away from the base of the laptop.

Conclusion

To reassemble your device, follow these instructions in reverse order.
David Hogg

Member since: 20/03/17

727 Reputation

0 comments