Introduction
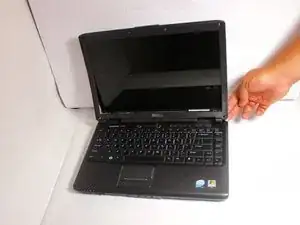
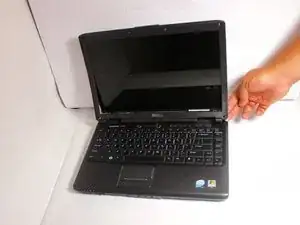
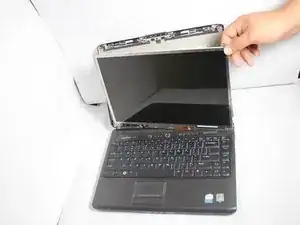
This guide will show you the proper steps to replace your screen on your Dell Vostro 1400
Tools
-
-
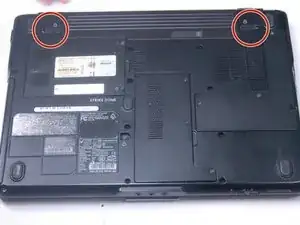
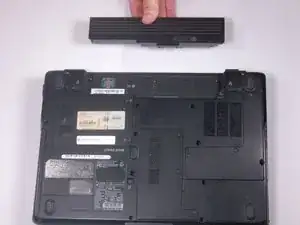
After flipping over the laptop, the battery is on the bottom side of the laptop.
-
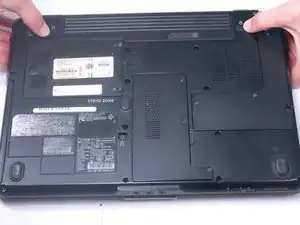
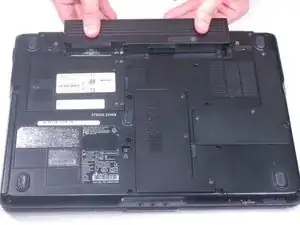
Find the tabs on both the left and right side of the battery.
-
-
-
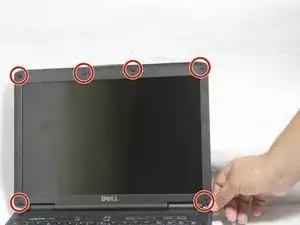
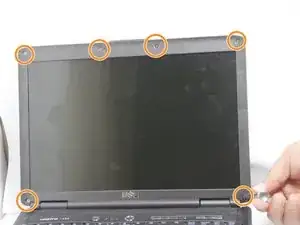
Remove the 6 screw hole covers surrounding the screen.
-
Remove the 6 screws that were underneath the screw covers.
-
-
-
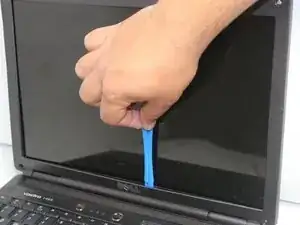
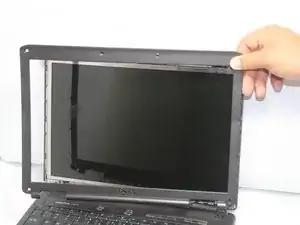
Carefully remove the plastic surrounding the screen by pulling off, starting at the bottom.
-
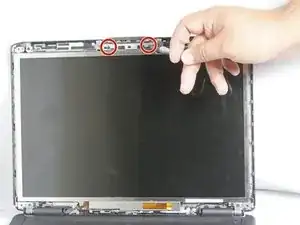
Remove the two (2.5mm x 5mm) screws at the top, by the camera.
-
-
-
Remove the two 5mm screws from the camera above the screen.
-
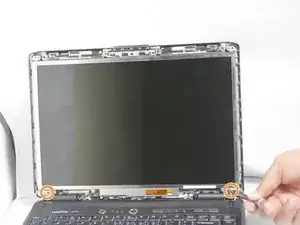
Remove the two 5mm screws from the bottom of the screen.
-
-
-
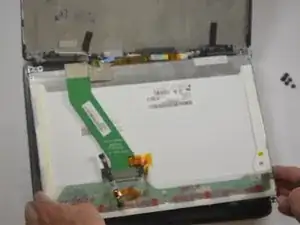
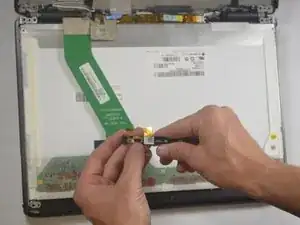
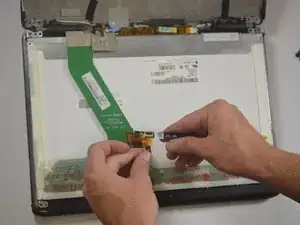
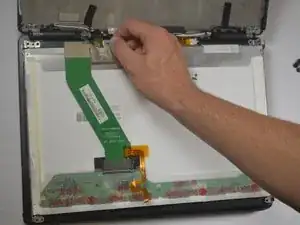
Lift up the black tag holding the camera and cable together.
-
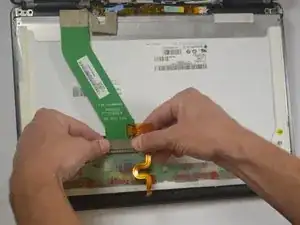
Unplug the camera from the cable.
-
-
-
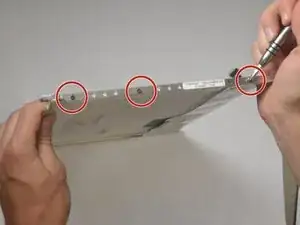
Remove the six 3mm screws on each side of the screen.
-
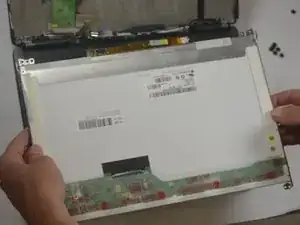
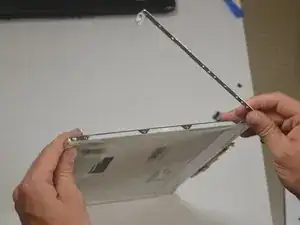
Remove the railing on each side of the screen.
-
To reassemble your device, follow these instructions in reverse order.
