Introduction

The Wi-Fi card on a computer is the key component when it comes to connecting to the internet. Most Wi-Fi cards are easy to remove or replace if needed, and the Dell Studio 1558's Wi-Fi card is no different. Care has to be taken in order to avoid damaging the connectors.

  1. ZNVf6R4TXx4GMp4m
    ZNVf6R4TXx4GMp4m
    6NdhXXFtwtWJcptx
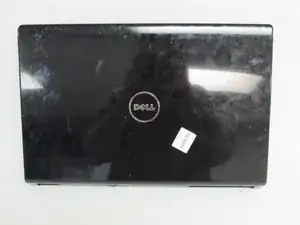
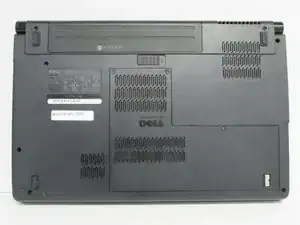
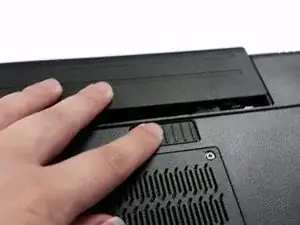
    • To begin, flip over the laptop.

  2. wCtQm4lAx1ylhKZr
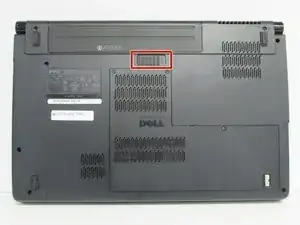
    • Next, slide the slider to the right and hold it in place.

  3. pQcXHIEVtltNglVn
    pQcXHIEVtltNglVn
    TyHETZgHkLVSdrNq
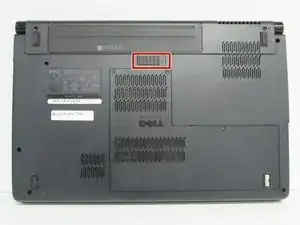
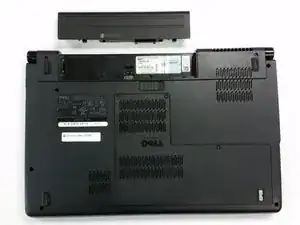
    • While holding down the slider, gently remove the battery.

  4. bH1eKCv3vZSp4FGJ
    • The battery has been successfully removed.

  5. YqxcZFZShMbROy2b
    YqxcZFZShMbROy2b
    p3QKxfgOmOAV5uOf
    QId4OpRYBZTqFDry
    • Make sure the battery is properly removed. If not, you could experience shocks.

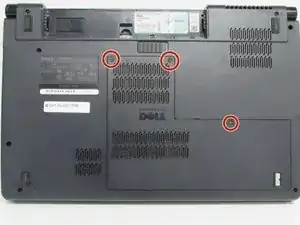
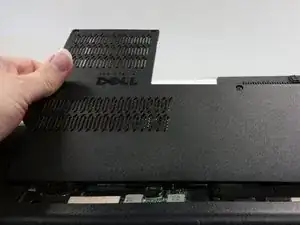
    • Unscrew the three screws (Phillips #0) on the back panel to reveal the innards underneath the panel. It is helpful to keep these screws in the holes of the back panel.

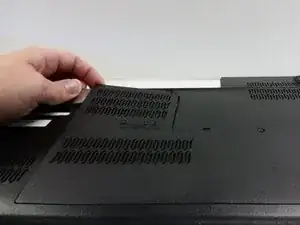
    • Pry the back panel off and set aside.

    • A little bit of force may be necessary in removing the panel as there are some minor plastic clips holding the panel in place in addition to the screws.

  6. xjtr6KFcNeu6RBkh
    xjtr6KFcNeu6RBkh
    6qyXjZjQJ4nCUw5p
    yFIaaNhoBaGhQZsj
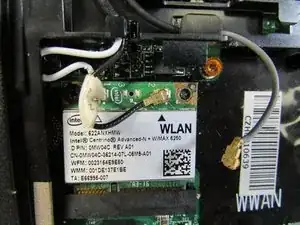
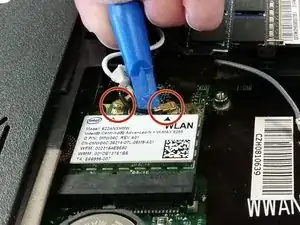
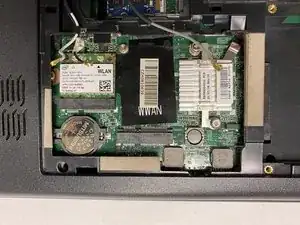
    • Disconnect the WLAN (Wi-Fi) antenna cables.

    • These cables connect like button snaps, so just unsnap them by tugging lightly or gently prying them up away from the WLAN card.

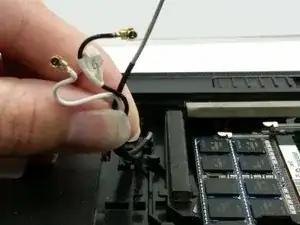
    • Gather the antenna cables (black, white, and grey) and unwind them from the clips they are pinned under to keep them from rattling around.

    • The grey cable may be attached or unattached to the WLAN card depending on the number of antenna cables your card supports.

    • Remove the single screw (Philips #0).

Conclusion

To reassemble your device, follow these instructions in reverse order.
Logan McAtee

Member since: 12/04/22

313 Reputation

0 comments