Introduction

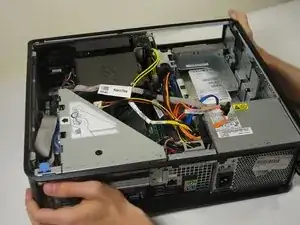
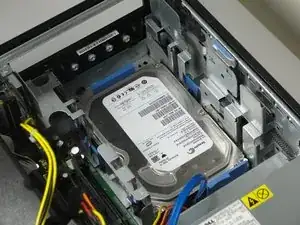
This guide will help you remove the hard drive for replacement.

  1. XCHqm6cF2OD2pIMM
    XCHqm6cF2OD2pIMM
    URwbcn32NyXYWTsC
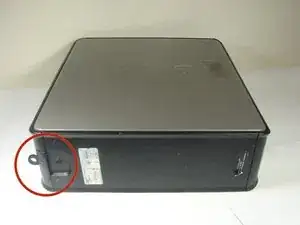
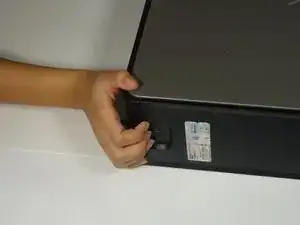
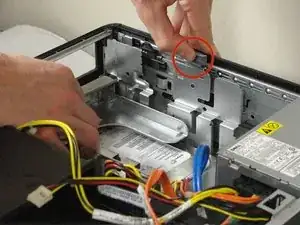
    • Pull the tab and the lid will pop up.

  2. ZpAyvrC6FXiViYUH
    ZpAyvrC6FXiViYUH
    CVtxCFSScLFWCLAv
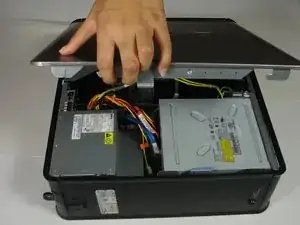
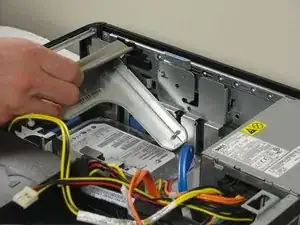
    • Grab the lid and pull it up and off.

  3. doeUSuwaCJnKRMcr
    doeUSuwaCJnKRMcr
    fd3XXxG1mchtVub3
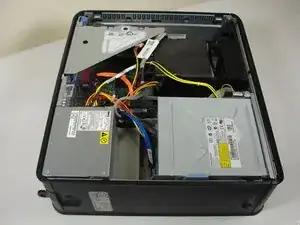
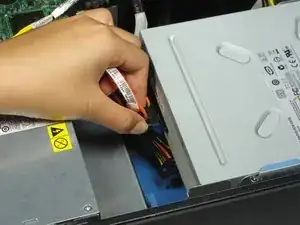
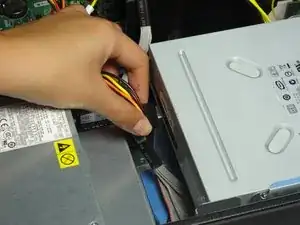
    • Pull out both sets of cables from the side of the optical drive.

    • Both cables are plugged into the drive right next to each other.

  4. WfRJLwDeyEYglJBy
    WfRJLwDeyEYglJBy
    AOjIknNFWYhajXYW
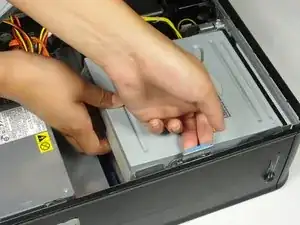
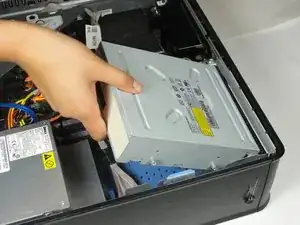
    • Pull the tab up holding the optical drive in place.

    • Slide the optical drive out.

  5. 5fcUZFWEFROIIC3y
    5fcUZFWEFROIIC3y
    nf1ZJMvfYi2SiNiL
    XUGm3SrTYpikVaWG
    • Rotate the computer 180 degrees.

    • Pull the metal tab up.

    • Pull the tray away from the case.

  6. SFdwhR4WN6xoUUL5
    SFdwhR4WN6xoUUL5
    WxsedmNRSejUVKT5
    XcKsSSWVKg2QW5jK
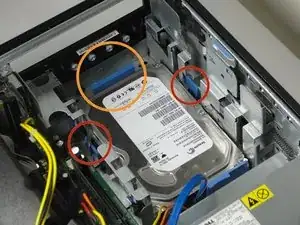
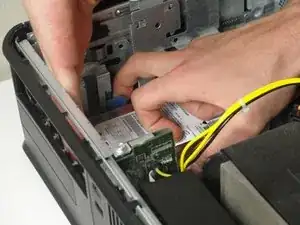
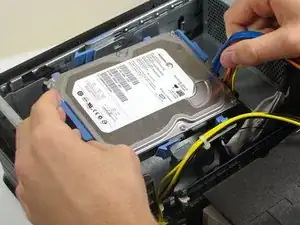
    • Pinch the 2 small blue tabs towards each other.

    • Push the large blue tab into the hard drive and push the hard drive away from the tower wall.

    • Lift the hard drive from the case after it comes loose.

  7. dnlwYfRWUbgndUaZ
    dnlwYfRWUbgndUaZ
    Kf5iY5VSXlHLHemB
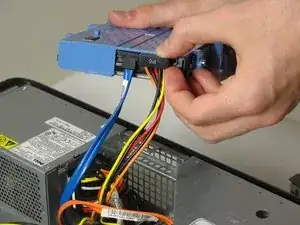
    • Pull out both bundles of wires connected to the hard drive.

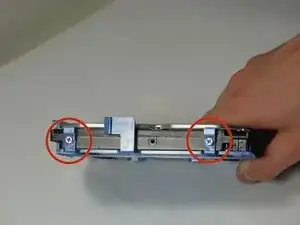
    • Flip the hard drive so that the blue case is facing down, and the marked tabs are facing toward you.

  8. wRNIlKw4lYtS6pRC
    wRNIlKw4lYtS6pRC
    rXUcqgFHoENNrgfS
    3XCpAyIMLAY1CetO
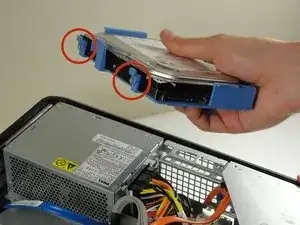
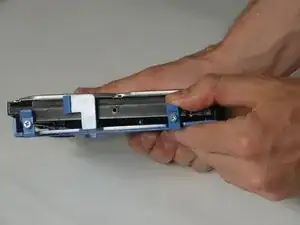
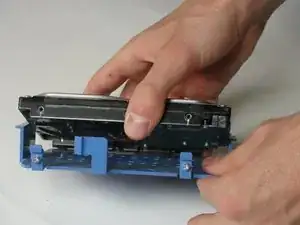
    • Pull the 2 blue tabs away from the hard drive and then pull the hard drive case down.

Conclusion

To reassemble your device, follow these instructions in reverse order.
Rebecca Harrison

Member since: 29/09/14

512 Reputation

0 comments