Introduction
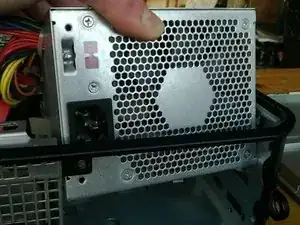
This shows you how to replace a blown power supply on a Dell Optiplex 330 small form factor PC. Power supplies are normally the first part to go on a desktop and will result in a solid amber power light illuminated on a Dell desktop.
Tools
-
-
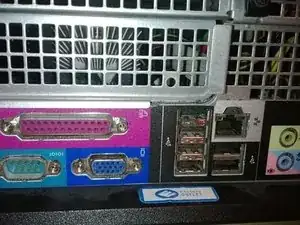
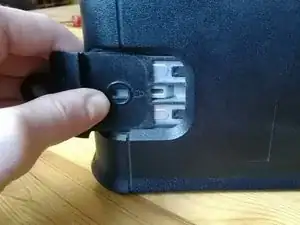
Round the back of the computer next to the power supply you will find a latch.
-
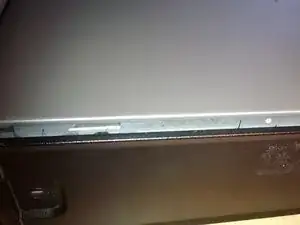
In order to release the case pull this latch straight back - this should make the back of the case pop up.
-
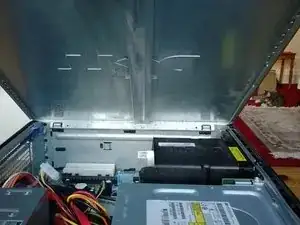
You can now just lift the case up and away from the computer.
-
-
-
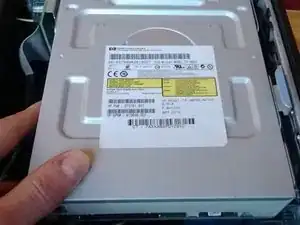
Before you can remove the power supply you first have to remove the optical drive.
-
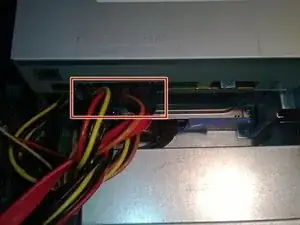
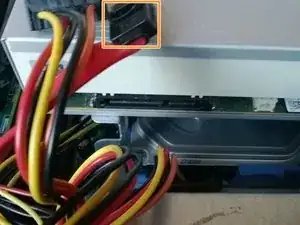
First find the two cables going into the optical drive - they are shown in the first picture.
-
Gently pull both of them out - one of the cables might have a little latch that you have to press in order to release it from the optical drive.
-
-
-
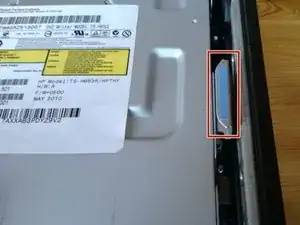
To remove the optical drive first find the little blue latch located next to the optical drive.
-
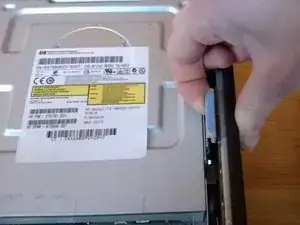
Pull the latch straight up - at the same time pull the optical drive back. It should now be easy to remove it from the computer.
-
-
-
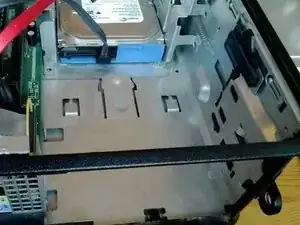
It should now look like the first picture with the optical drive removed.
-
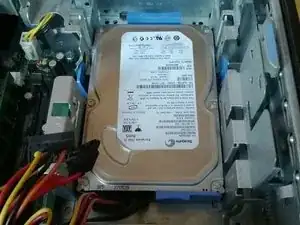
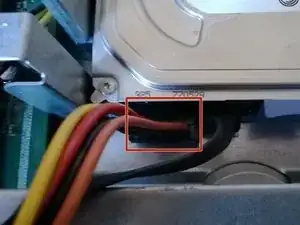
You now need to remove the power cable from the hard drive.
-
Gently pull the cable out of the back of the hard drive.
-
-
-
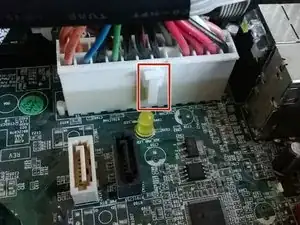
You now need to remove the power cable connected to the motherboard.
-
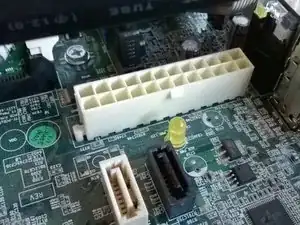
Locate the large 24 pin power connecter - it is located next to the power supply. Carefully press down on the little latch and pull straight up to release.
-
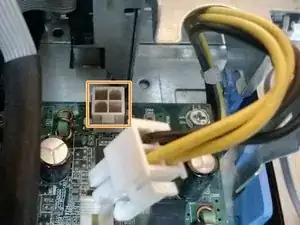
Repeat this procedure for the little 4 pin connecter located between the processer and hard drive.
-
-
-
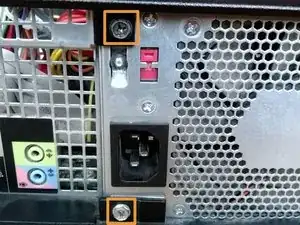
In order to remove the power supply you have to first remove two screws connecting the power supply to the case.
-
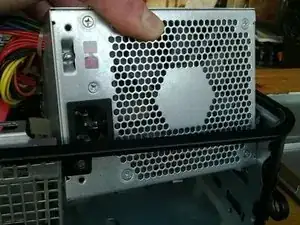
You can now slide the power supply straight back and lift it straight up and out of the computer.
-
It should look like the last picture after the power supply is removed.
-
To reassemble your device, follow these instructions in reverse order.
