Introduction
-
-
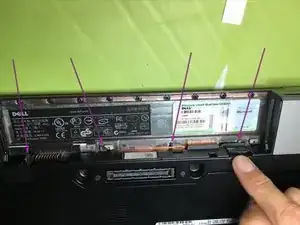
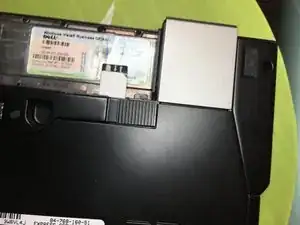
Remove the card from the slots by pulling the tab
-
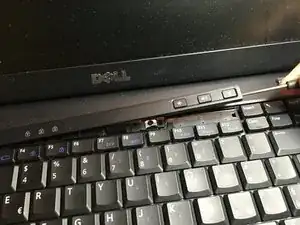
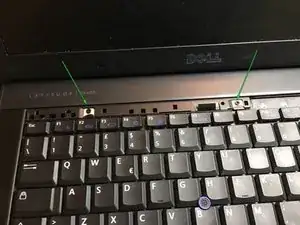
Levering on the plastic hooks, the upper line of keys that give access to the keyboard fixing screws is released at the front
-
-
-
Unscrew the two Phillips screws that hold the keyboard attached to the notebook body
-
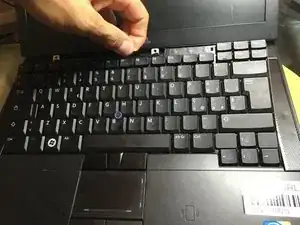
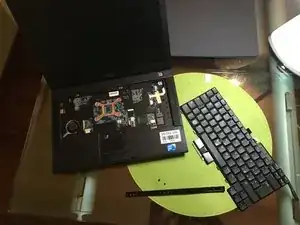
New line.itlick the black tab to pull back and to the other to unhook the keyboard
-
to reassemble your device follow these instructions in reverse order
2 comments
ciao and thanks for this guide @smilzo !
I recently had to re-seat the keyboard, which is a common trick for old Dell laptops when the keyboards starts having issues and types nonsense. However after putting it back together, the keyboard doesn’t light up anymore. what am I doing wrong? did I miss a connector?
alfx -
hi, sorry for what happened, try to disassemble the keyboard again and check that the connectors are inserted well on the correct side and that the cable has not broken. good luck
Smilzo -
