Introduction
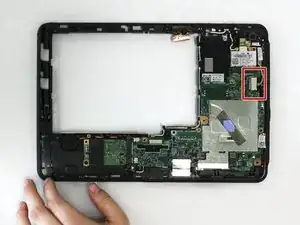
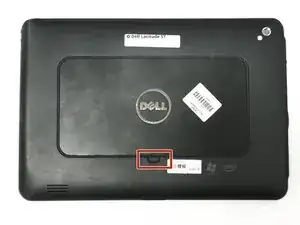
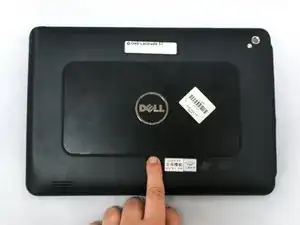
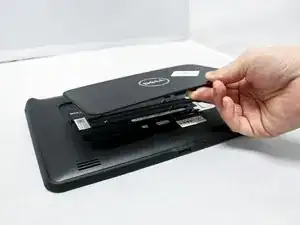
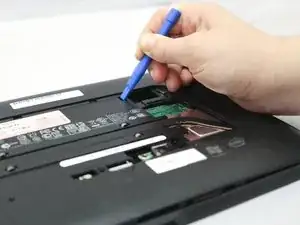
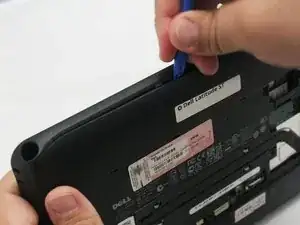
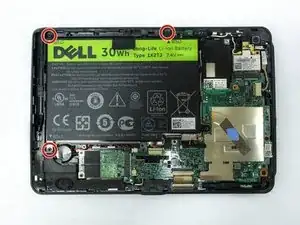
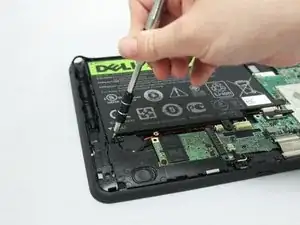
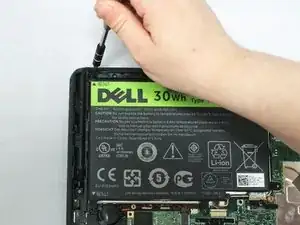
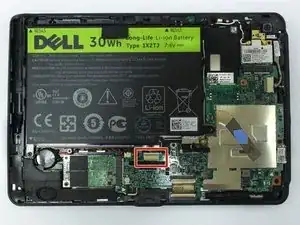
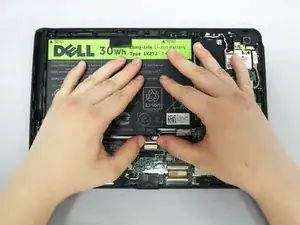
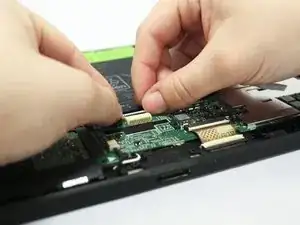
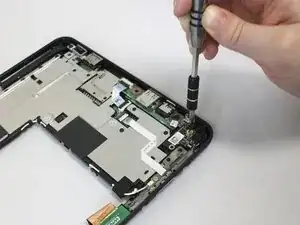
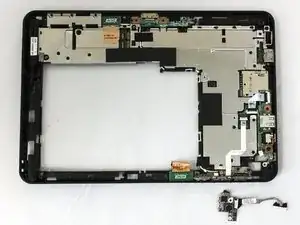
If the camera application on your Dell latitude ST is not working you may need to reboot the system. If the reboot does not solve the issue try performing a factory reset. If your camera is still not working you will need to replace the camera on the device. This guide goes through each step to show you how to replace the camera on your Dell Latitude ST.
Tools
-
-
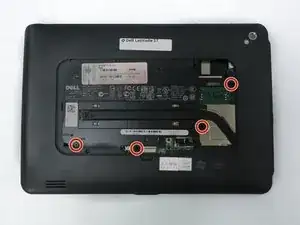
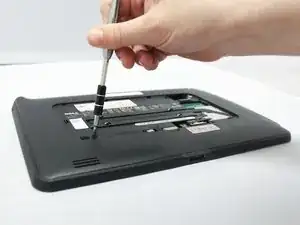
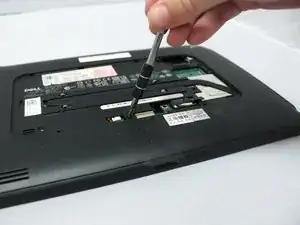
Using a Phillips #0 screwdriver, remove the four 6mm screws attaching the inside panel to the device.
-
-
-
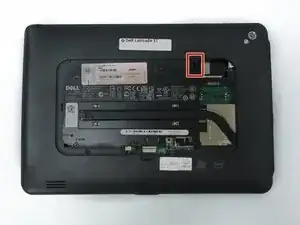
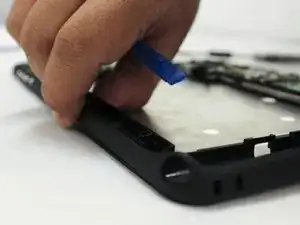
Use the blue plastic opening tool to push in the tab located on the backside of the device.
-
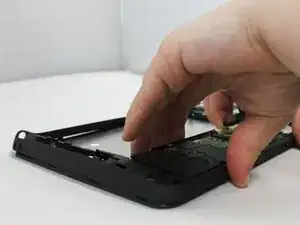
Slide the tool around the edges of the device to unsnap the tabs and pry the frame off.
-
-
-
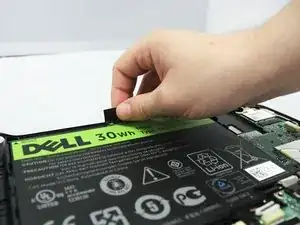
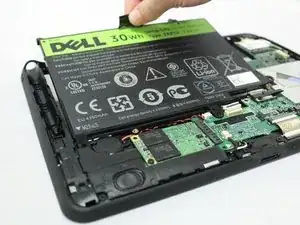
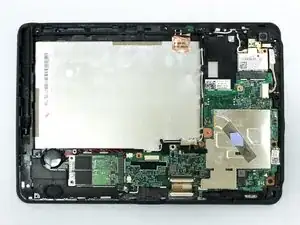
Pull up on the black tab located at the top of the battery to remove the battery from the device.
-
-
-
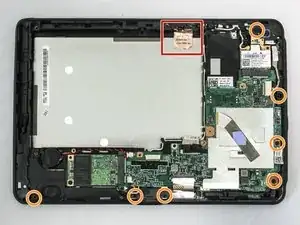
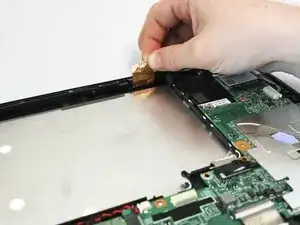
Pull up on the copper antenna tape to loosen it from the base.
-
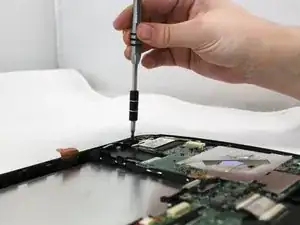
Unscrew the seven 6mm Phillips #0 screws from the base.
-
-
-
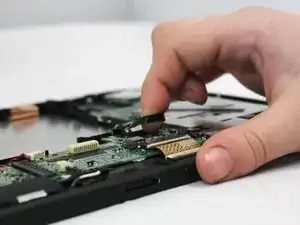
Locate the grey LCD cable attached to the motherboad on the device.
-
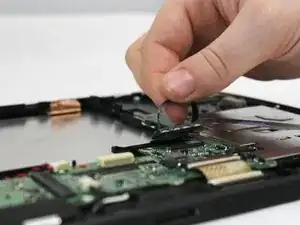
Pull up on the black tape handle attached to the LCD cable to disconnect the cable.
-
-
-
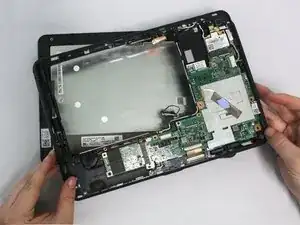
Using your hands or the blue plastic opening tool, go along the edges of the frame and unsnap the screen from the middle frame.
-
Lift the middle frame away from the screen.
-
-
-
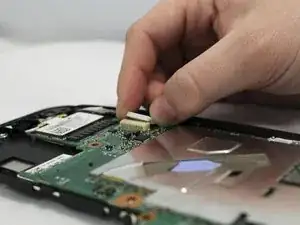
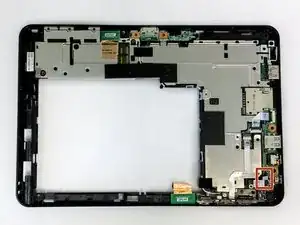
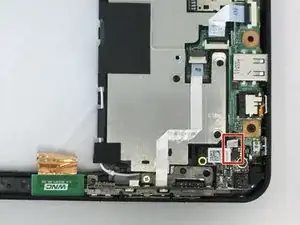
Unplug the white camera cord located on the right side of the middle frame under the WLAN card.
-
Using your hands, or the blue plastic opening tool, pull the white part of the cable to the right to disconnect it.
-
-
-
Flip over the middle frame.
-
Locate the black and red cables attached to the camera assembly.
-
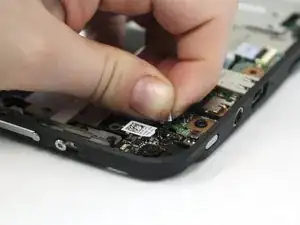
Gripping them by the white tag, disconnect the black and red cables from their socket on the camera assembly.
-
-
-
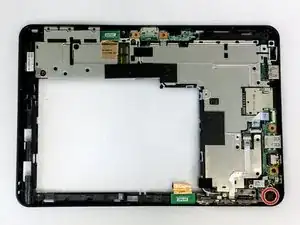
Remove the 6mm Phillips #0 screw next to the camera.
-
Pull the camera out to remove it from the device.
-
To reassemble your device, follow these instructions in reverse order.
