Introduction
This guide will cover the replacement of the motherboard for the Dell Latitude E7470 laptop. The motherboard is the core of the system and as such can be the cause of a variety of issues; replacement could be the solution to a number of problems with a computer. Note that this replacement will require almost full disassembly of the laptop excluding the monitor so take care in sorting your parts and follow all steps carefully.
Tools
-
-
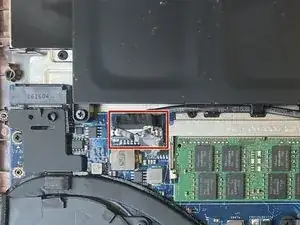
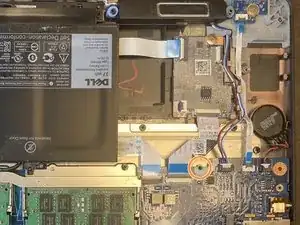
Use the pull tab on the battery connector to lift the connector straight up off its socket on the motherboard, disconnecting it.
-
-
-
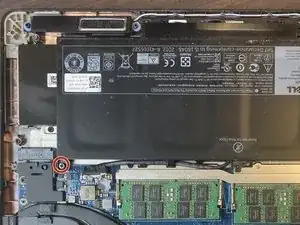
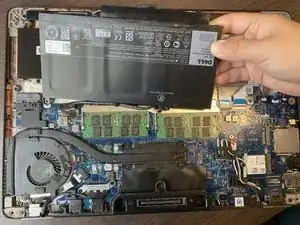
Remove the single 4 mm Phillips screw securing the bottom left corner of the battery.
-
If you are removing an extended capacity battery, remove the Phillips screw securing the bottom right corner of the battery.
-
-
-
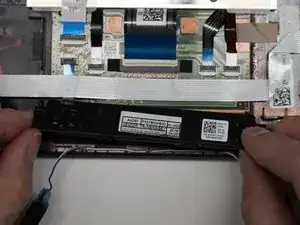
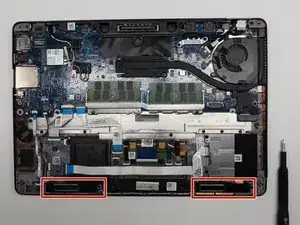
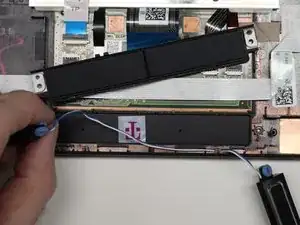
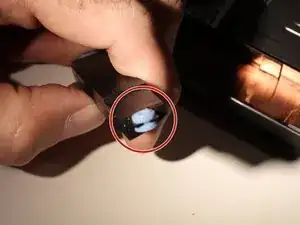
Starting with the left speaker (your right), carefully lift the units away and de-route the wire harness linking them.
-
-
-
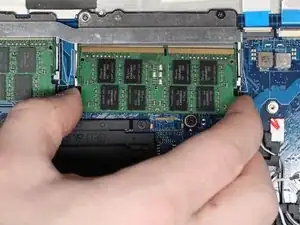
Remove the RAM sticks by pulling the holding clips in opposite directions, then pull the sticks straight out.
-
Remove the RAM housing by unscrewing the two 2 mm screws using a Phillips #0 screwdriver.
-
Lift the metal housing from the motherboard.
-
-
-
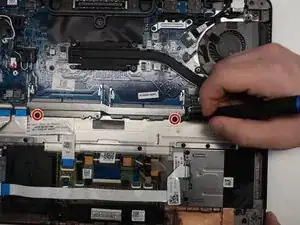
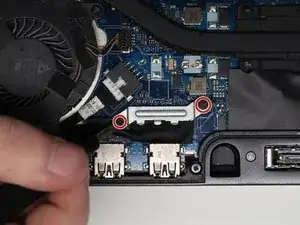
Remove the two 2 mm screws using a Phillips #0 screwdriver.
-
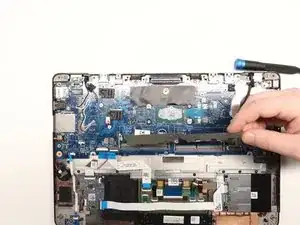
Remove the metal bracket.
-
Use your fingers to pull the plastic tab on the LCD connector straight up.
-
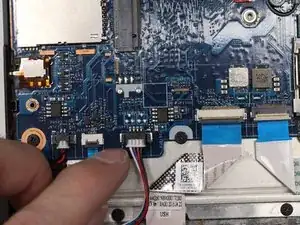
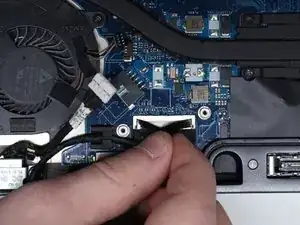
Remove the charge port connector by pulling straight out from the connector housing.
-
-
-
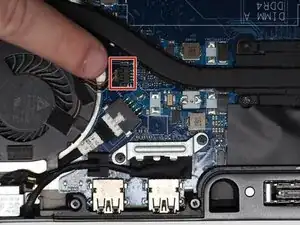
Unplug the fan's power connector.
-
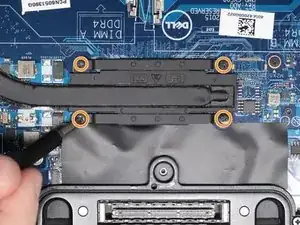
Remove the four 2 mm screws holding in the heat sink using a Phillips #0 screwdriver.
-
Carefully lift the entire laptop cooling assembly straight up from the motherboard.
-
-
-
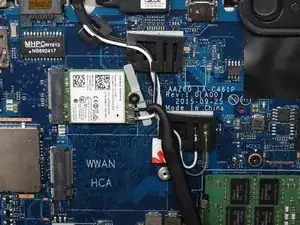
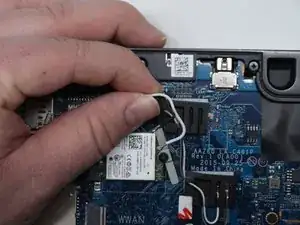
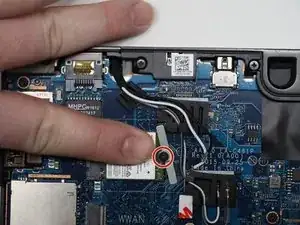
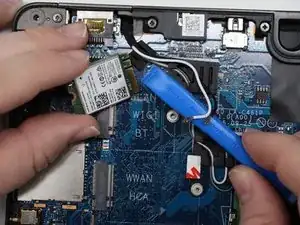
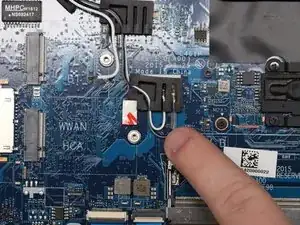
Remove the antenna wires from the rubber housing.
-
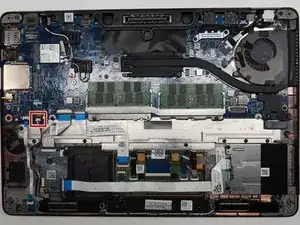
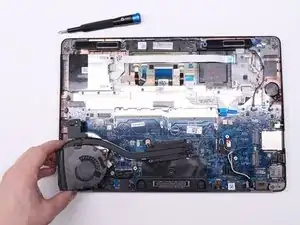
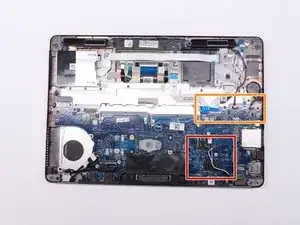
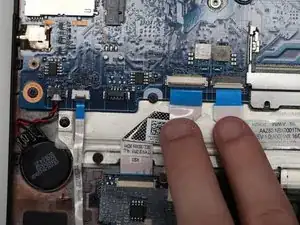
Remove all wire connections on the motherboard.
-
-
-
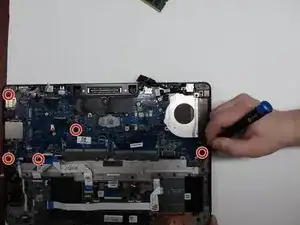
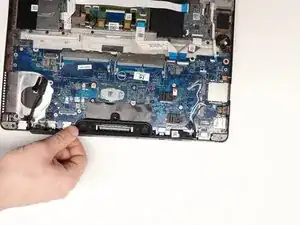
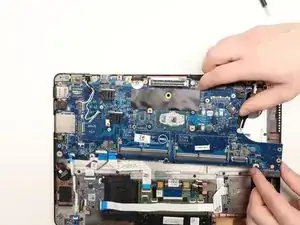
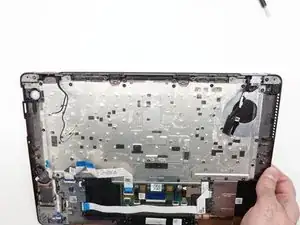
Remove all 2mm screws anchoring the motherboard to the laptop casing using a Phillips #0 screwdriver.
-
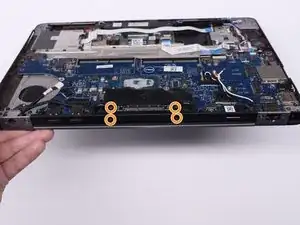
Remove the four 2 mm screws on the from back plate around the docking port using a Phillips #0 screwdriver.
-
Lift the metal bracket off of the laptop.
-
To reassemble your device, follow these instructions in reverse order.
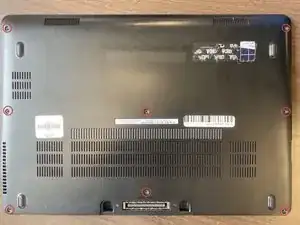
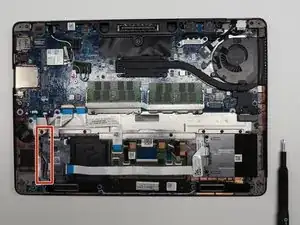
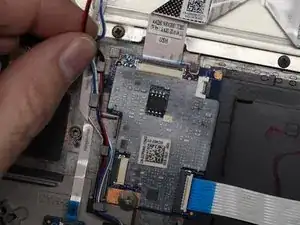
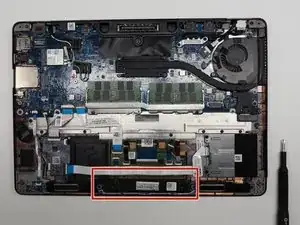
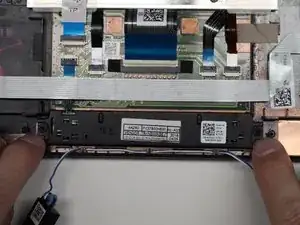
After unscrewing the 8 screws, they stay on the back cover.
Victor Ashiedu -