Introduction

The motherboard is the central hub for communication between all of the components in a device. When one or more components are failing, the motherboard may need to be replaced. Use this guide to replace the motherboard in your laptop.

  1. eIlJQNjxDw2TLAyx
    eIlJQNjxDw2TLAyx
    vpYQgEHH2fonsALy
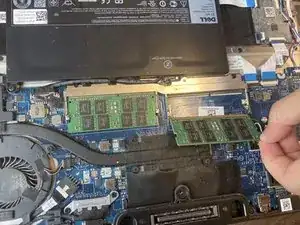
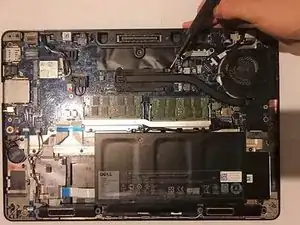
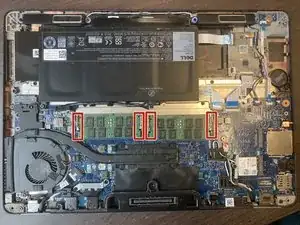
    • Grab the two clips beside the RAM stick and pull them outward. The RAM stick should release.

    • Remove the RAM from the device.

    • Repeat this for second RAM stick

  2. 3yAeDmqHgF3kPNvM
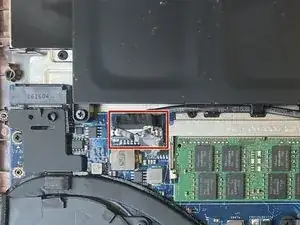
    • Use the pull tab on the battery connector to lift the connector straight up off its socket on the motherboard, disconnecting it.

    Personally, I would remove the battery as the first stage battery should be disconnected before any work is completed.

    Richard Holmes -

  3. NuiTeIZQJXECEFta
    NuiTeIZQJXECEFta
    2i5XNthrPAhNwteE
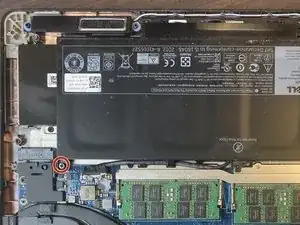
    • Remove the single 4 mm Phillips screw securing the bottom left corner of the battery.

    • If you are removing an extended capacity battery, remove the Phillips screw securing the bottom right corner of the battery.

    My laptop had 2 screws holding the battery. I am not sure why. It may be useful to check whether yours has 2 as well. Unlike the laptop’s back cover, after unscrewing the screws on the battery, you have to remove the screws.

    Victor Ashiedu -

  4. pumoahILSLPQnvYC
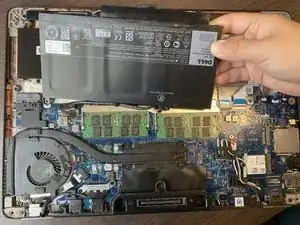
    • Remove the battery from the laptop.

  5. un2UxVMLOgaomScY
    un2UxVMLOgaomScY
    ypASouahgPdlkJmi
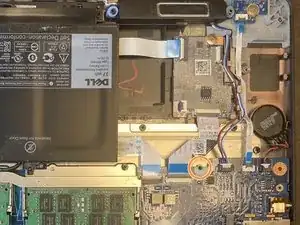
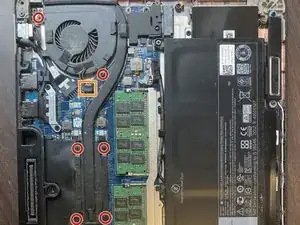
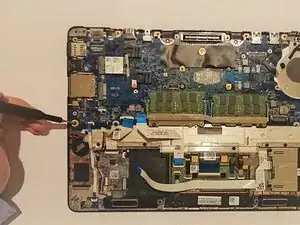
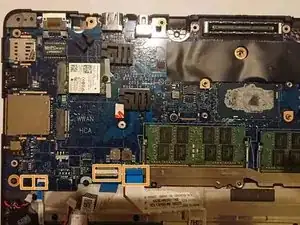
    • After opening the backcase of the computer, remove the screws using the Phillips #0 screwdriver.

    • Unplug and remove the wire from the socket.

  6. QVMWgUKttHj5NDad
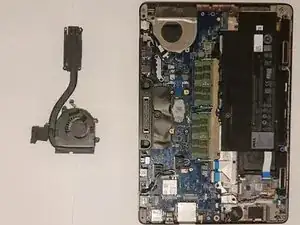
    • Remove the fan and heatsink from the laptop.

    • Make sure to wipe off the existing thermal paste from the CPU and heatsink with an alcohol-soaked pad and apply a new layer.

    Why do you have to remove the heatsink when it can just be lifted out with the motherboard?

    Jarrod Findon -

  7. gRB4LXjGQoiA4DOM
    gRB4LXjGQoiA4DOM
    h5DIAh6Lw1bKEhIT
    i1WPZk6cLUHXBKIT
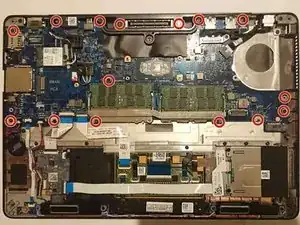
    • Remove all the screws using a Phillips #0 screwdriver.

    • Disconnect all of the cables from the motherboard.

    In order to access the two screws near the docking port, you need to remove the docking port cover. This is released by removing the two screws on the rear edge of the case and then lifting the part clear - assuming you have removed all the other screws.

    The screws on the board are hidden by the two-round caps, on either side of the docking port.

    Richard Holmes -

  8. MafRSNk34Y5Th6ko
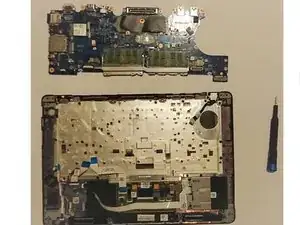
    • Remove the motherboard from the laptop.

Conclusion

To reassemble your device, follow these instructions in reverse order.

Bo Zeng

Member since: 01/10/19

385 Reputation

One comment

Good overall, the motherboard screw picture shows too many screws. Also, might need a picture of removing the two side screws for the port cover, and that there are two screws next to the expansion port, under the port cover.
Charles Coburn -