Introduction
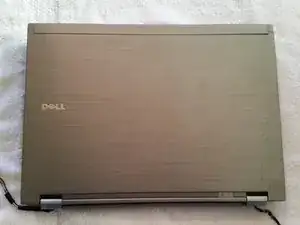
Use this guide to replace the entire Dell Latitude e6410 screen assembly. You will be removing the entire old screen assembly and replacing it with the new screen.
Use this guide only to replace the entire screen assembly. "Screen assembly" refers to the all of the screen components fully assembled into the screen case including the display, camera, and other components.
Tools
-
-
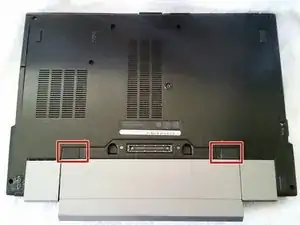
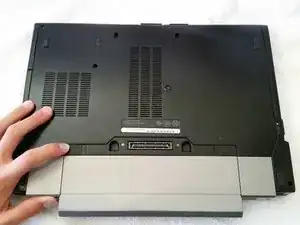
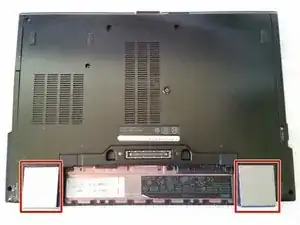
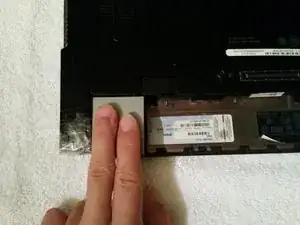
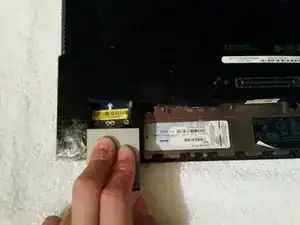
Remove the two 5 mm Phillip's screws located on the left and right side of the battery socket.
-
-
-
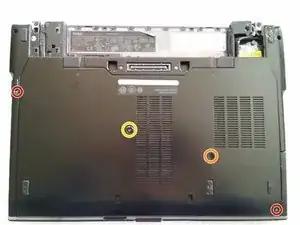
Remove the two 5mm Phillip's screws in the bottom right and the top left corners of the back panel.
-
Remove the 3mm Phillip's screw that is near the bottom right corner.
-
Loosen the Phillip's screw that is near the center until the spring pops up, but do not remove it.
-
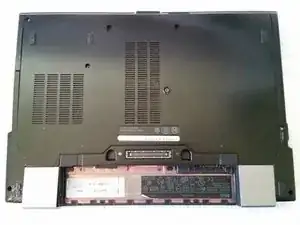
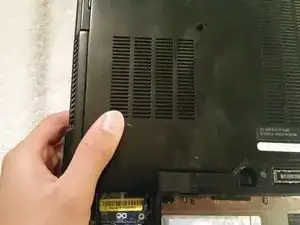
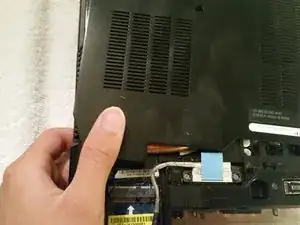
Detach the back case panel by sliding it away from the battery slot and lifting it out of place.
-
-
-
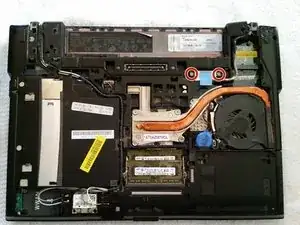
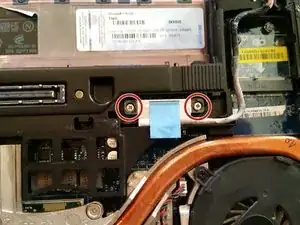
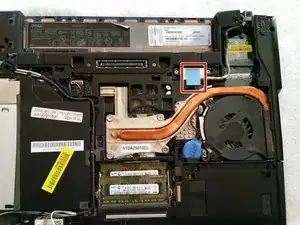
Loosen the two 5mm Phillip's screws near the top right corner that are holding the display cable onto the motherboard.
-
-
-
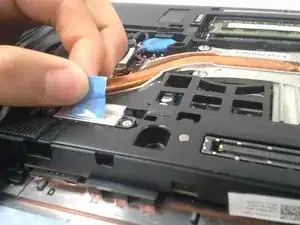
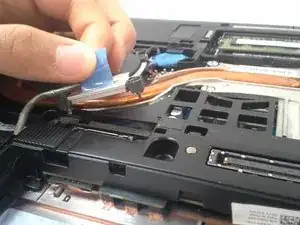
Detach the display cord from the motherboard by grabbing the blue tab in between your thumb and index finger and carefully pulling upwards.
-
-
-
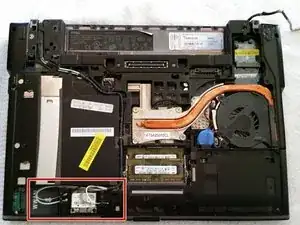
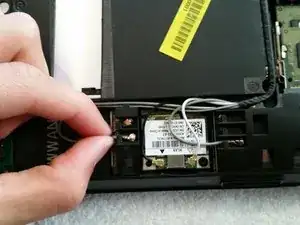
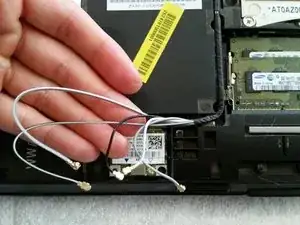
Near the bottom left corner, detach the grey, black, and white wires from the graphics card and the two wires hooked in place by carefully unhooking them or pulling them off.
-
-
-
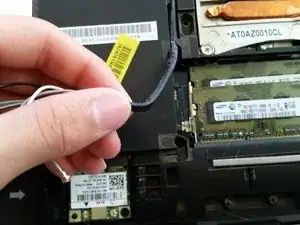
Carefully unthread the wires detached in the last step from the hooks to completely free them from the laptop.
-
-
-
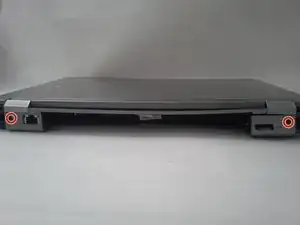
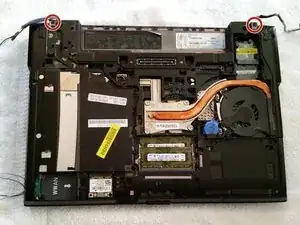
Remove the two 5mm Phillip's screws that are in the top right and left corners of the laptop.
-
-
-
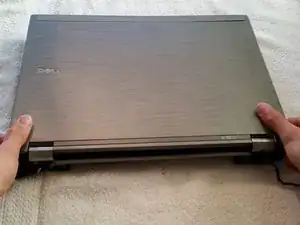
Flip the laptop so that the top is facing up and grab the back two corners of the laptop screen. Pull upwards to remove the screen.
-
To reassemble your device, follow these instructions in reverse order.
