Introduction
Introduction
The touch pad is critical to addressing almost all elements of the laptop. If damaged and needs to be replaced following this guide will help. In the meantime you may plug in an external mouse until you are able to fix the touch pad.
This Guide Will Teach You
- The basic safety steps to follow when fixing the laptop
- To disassemble of the laptops internals and reach the Touch Pad
- Precautions to prevent further damage to the laptop
- Tools needed for the repair
Tools
-
-
Shutdown the computer, detach it from any power source, and make sure the laptop is closed with its latch securely shut.
-
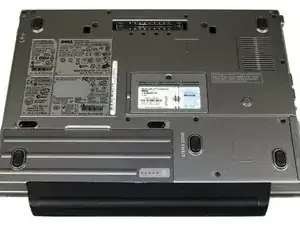
Turn the laptop over so its bottom is facing you.
-
-
-
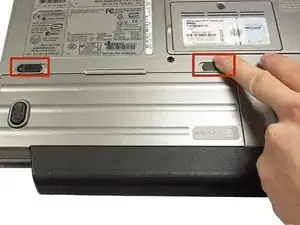
Using two index fingers, slide the battery latches outward.
-
While still holding the latches out, use your thumbs to slide the battery out towards you.
-
Once the battery is dislodged, you can let go of the latches and remove the battery.
-
-
-
With the battery removed, turn the laptop face up and open the lid a complete 180 degrees.
-
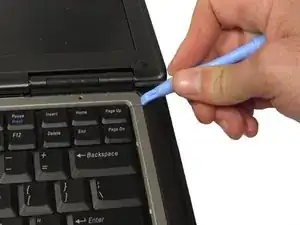
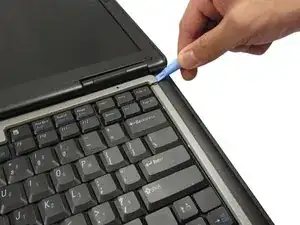
Using a plastic opening tool, pry off the corner of the keyboard bezel by undoing the tab.
-
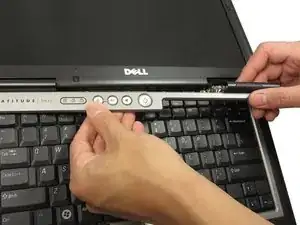
Once you've removed the corner of the bezel, you can use your hands to slowly, but with moderate force, pull the rest of the bezel slightly up and towards you to release the remaining tabs.
-
-
-
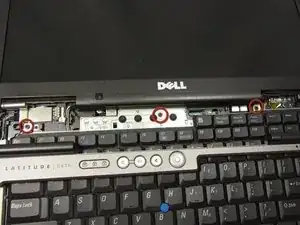
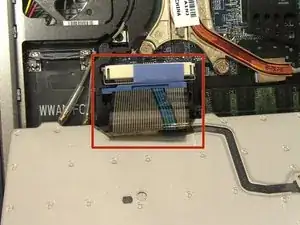
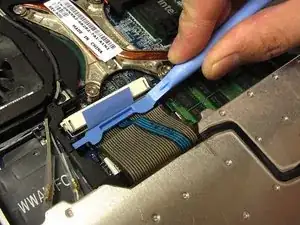
Use a plastic opening tool to unhook the blue latch that secures the keyboard cable.
-
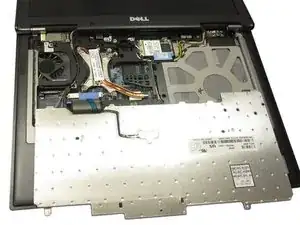
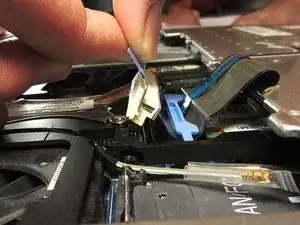
Using the blue tab, pull the keyboard cable connector from its socket on the motherboard.
-
-
-
Find and remove the display's ribbon cable by gently pulling on the blue tab indicated in the picture.
-
While tracing the path of the cable back to the display, unhook the cable from the tabs of the body using the spudger.
-
-
-
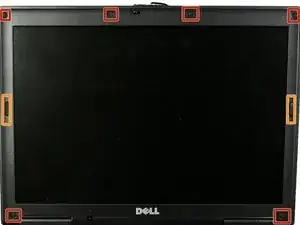
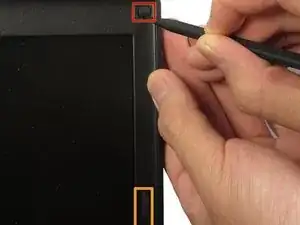
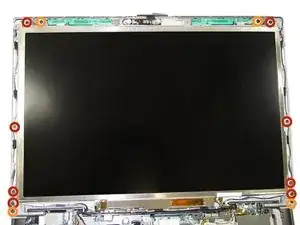
Using the spudger, peel off the 6 circular rubber pads on the display to reveal the bezel screws beneath them. Put the rubber pads aside in a labeled container.
-
Careful: do not remove the two longer pads on the left and right side of the bezel; they do not contain any screws!
-
-
-
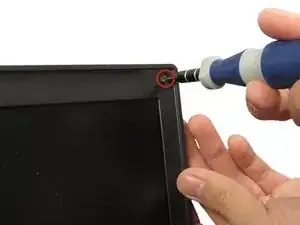
Using the Phillips #0 screwdriver, remove each of the six screws (M2.5-5mm) on the bezel and put them in a labeled container.
-
-
-
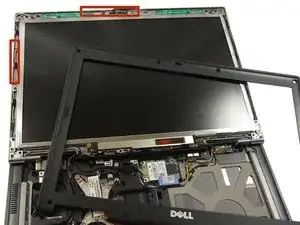
Using the spudger, slowly pry off the the bezel from the rest of the laptop. This can be done by placing the spludge in the small opening that separates the the two adjoining screen pieces along the edge. Slowly slide along this opening till the screen is free.
-
-
-
Remove the 8 screws (M2-3mm) indicated in the picture. Place these screws in a labeled container as they are different than the bezel screws.
-
Do not remove these screws
-
-
-
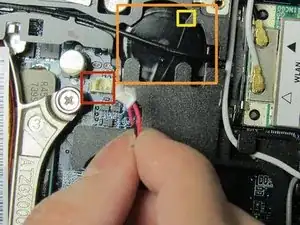
Remove the connector to the coin using the spudger.
-
Slide the coin battery out of its slot by wiggling its connector with a gentle tug.
-
You may also need to use the spudger to carefully push out the battery from the top of the slot where the yellow square is.
-
-
-
Carefully, close the laptop and turn it over.
-
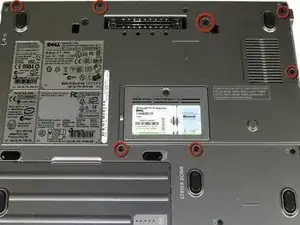
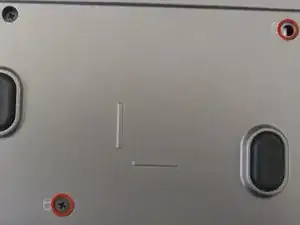
Remove the seven screws (M2.5-8mm) indicated to the left and place them in a labeled container.
-
-
-
Remove the hard drive screws and place them in a labeled container.
-
Slide out the hard drive and set it aside.
-
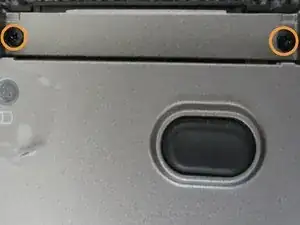
Loosen, but do not remove, the two screws at the edge of the laptop.
-
Turn the laptop back over and open the screen to continue disassembly.
-
-
-
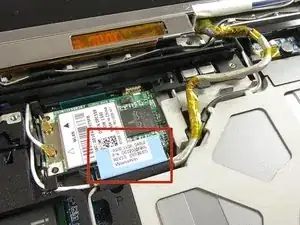
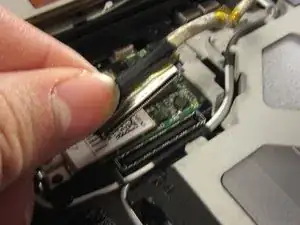
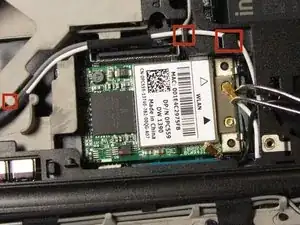
Remove the black and white cables on the wireless card using the tweezers by pulling upward.
-
While tracing the path of the black and white cables back to the display, unhook the cablse from the tabs of the body using the spudger. Both wires need to be completely out of all the tabs, loose and unattached.
-
-
-
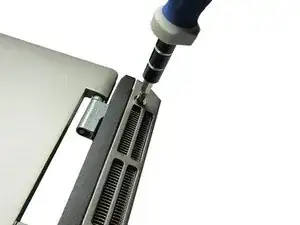
Remove the two screws (M2.5-8mm) on the back panel of the laptop to release the hinges and place them into a labeled container.
-
Pull up on the full screen to completely remove it from the bottom half of the laptop.
-
-
-
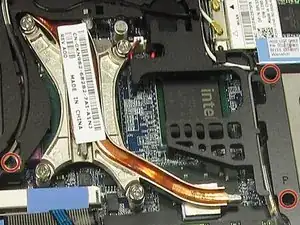
Remove the three (M2.5-8mm) "P" screws indicated to the left and place them in a labeled container.
-
-
-
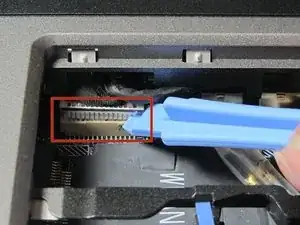
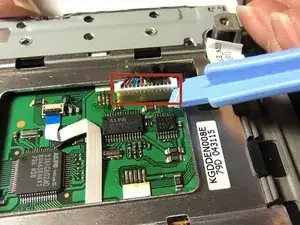
Using the spudger, unhook the touchpad's ribbon cable from the left side of the board indicated in the picture.
-
-
-
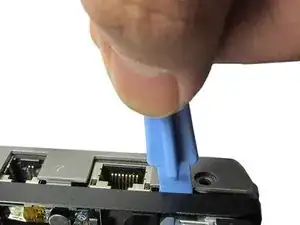
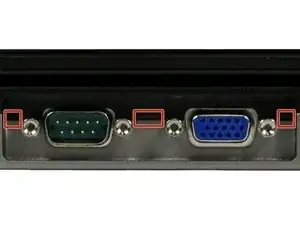
Using the spudger, go around the perimeter of the laptop and separate the black-grey palm rest layer from the lighter-grey base layer.
-
It's easiest to start in an opening near the display input ports on the back of the laptop and make your way around.
-
Once all of the tabs have been unlatched, remove the palm rest layer.
-
-
-
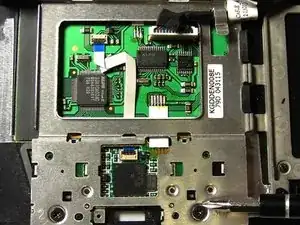
Flip over the palm rest layer to reveal the touchpad.
-
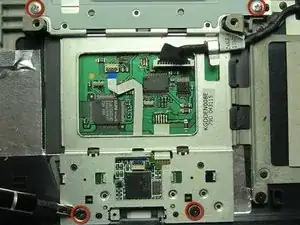
Remove the four screws (M2-5mm) indicated in the picture to the left and place them in a labeled container.
-
To reassemble your device, follow these instructions in reverse order with your new touchpad.
